
It has been a long time since Live and Let Hike has featured a true slot canyon. Nearly five years, in fact. Fortunately, the drought is over: a January trip brought us to California’s Death Valley National Park, which boasts several such slots—narrow sluices in the rock that form dark passages, sinuous bends, and hidden natural bridges begging to be explored. Unlike the slot canyons of Utah, which were carved in the colorful sandstone, the slots of Death Valley slice through clunky conglomerate with highly speckled and protruding walls. The three main slots at Sidewinder Canyon, situated south of Furnace Creek in the Black Mountains, are among the park’s best and can be explored as part of a half-day’s hike. Come prepared with good boots, headlamps, and perhaps even some gloves: the Sidewinder slots are far from obstacle-free and require some (albeit relatively mild—and far from technical) climbing skills to negotiate.

The hike
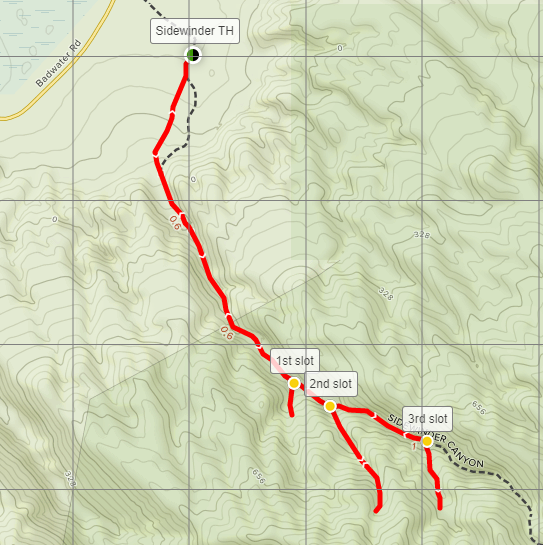
There is little fanfare at the trailhead for the hike to Sidewinder Canyon. Roughly 33 miles south of Death Valley’s Furnace Creek Visitor Center—and 14.5 miles south of Badwater Basin—there is a small sign pointing toward the Sidewinder parking area on the left. (Note: If driving south from Furnace Creek and you hit the “Mormon Point” sign, you have gone too far.) A short, unpaved track leads to a broad parking lot situated amid large mounds of gravel.
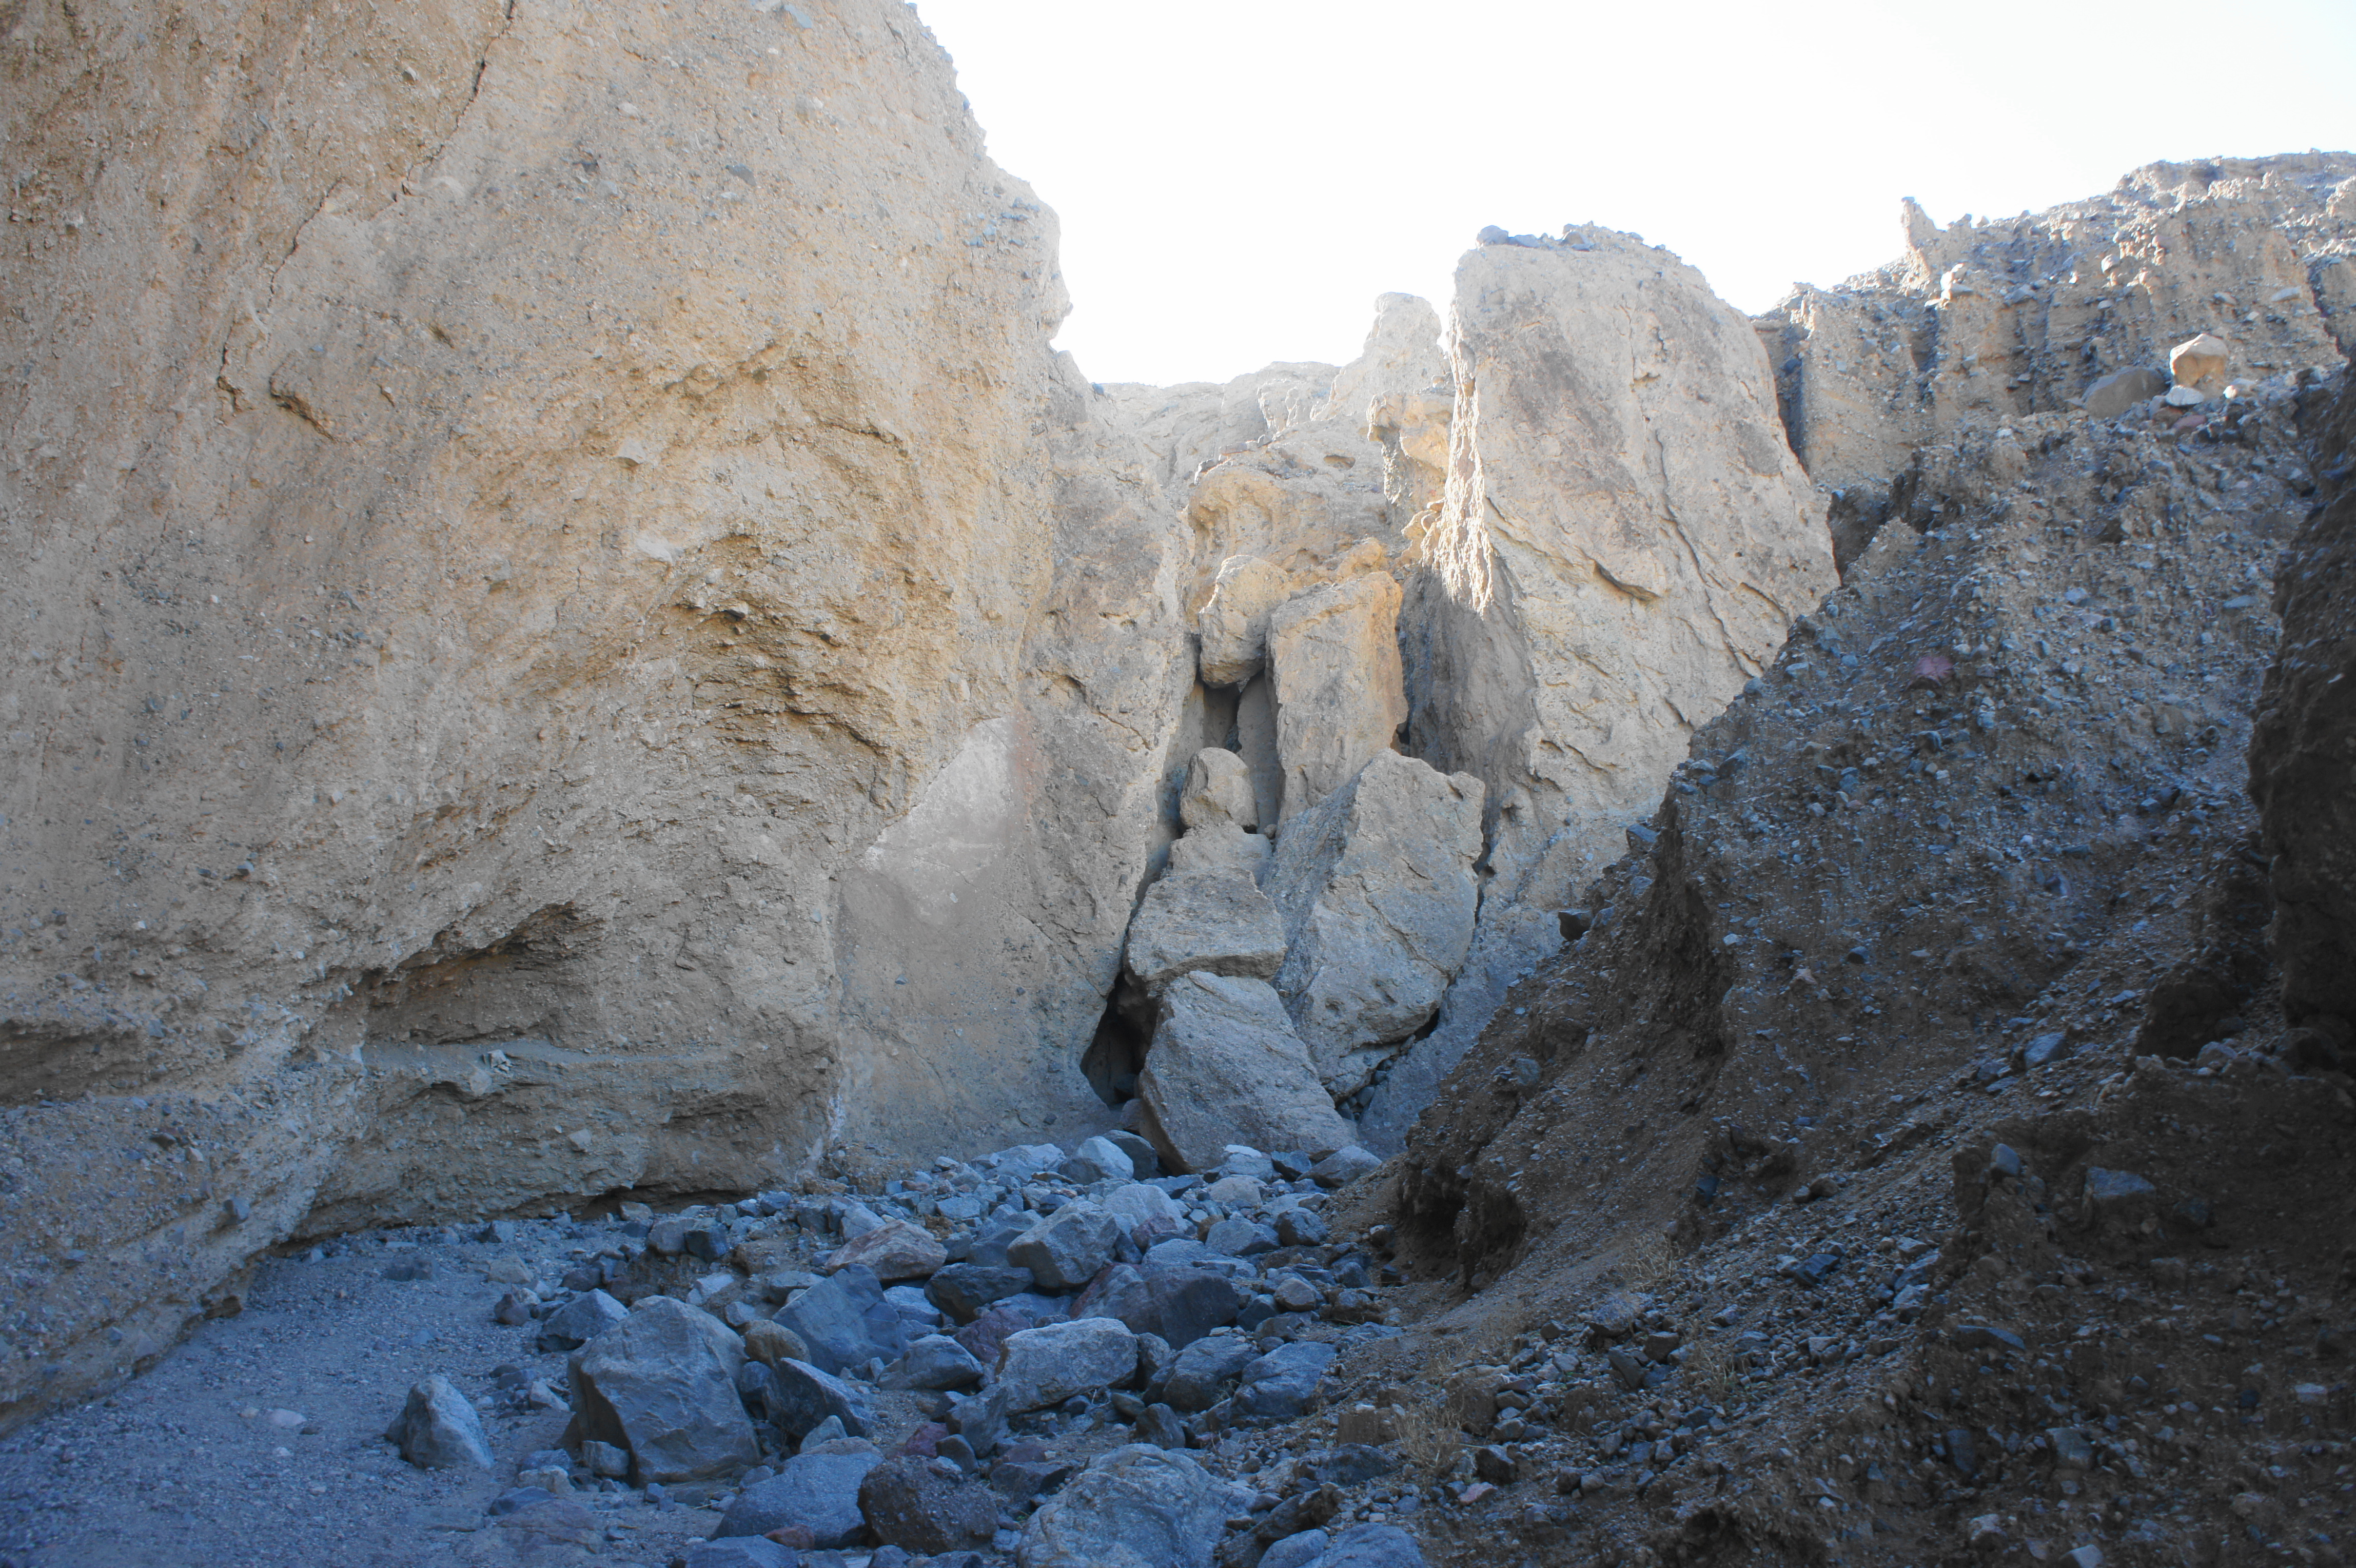
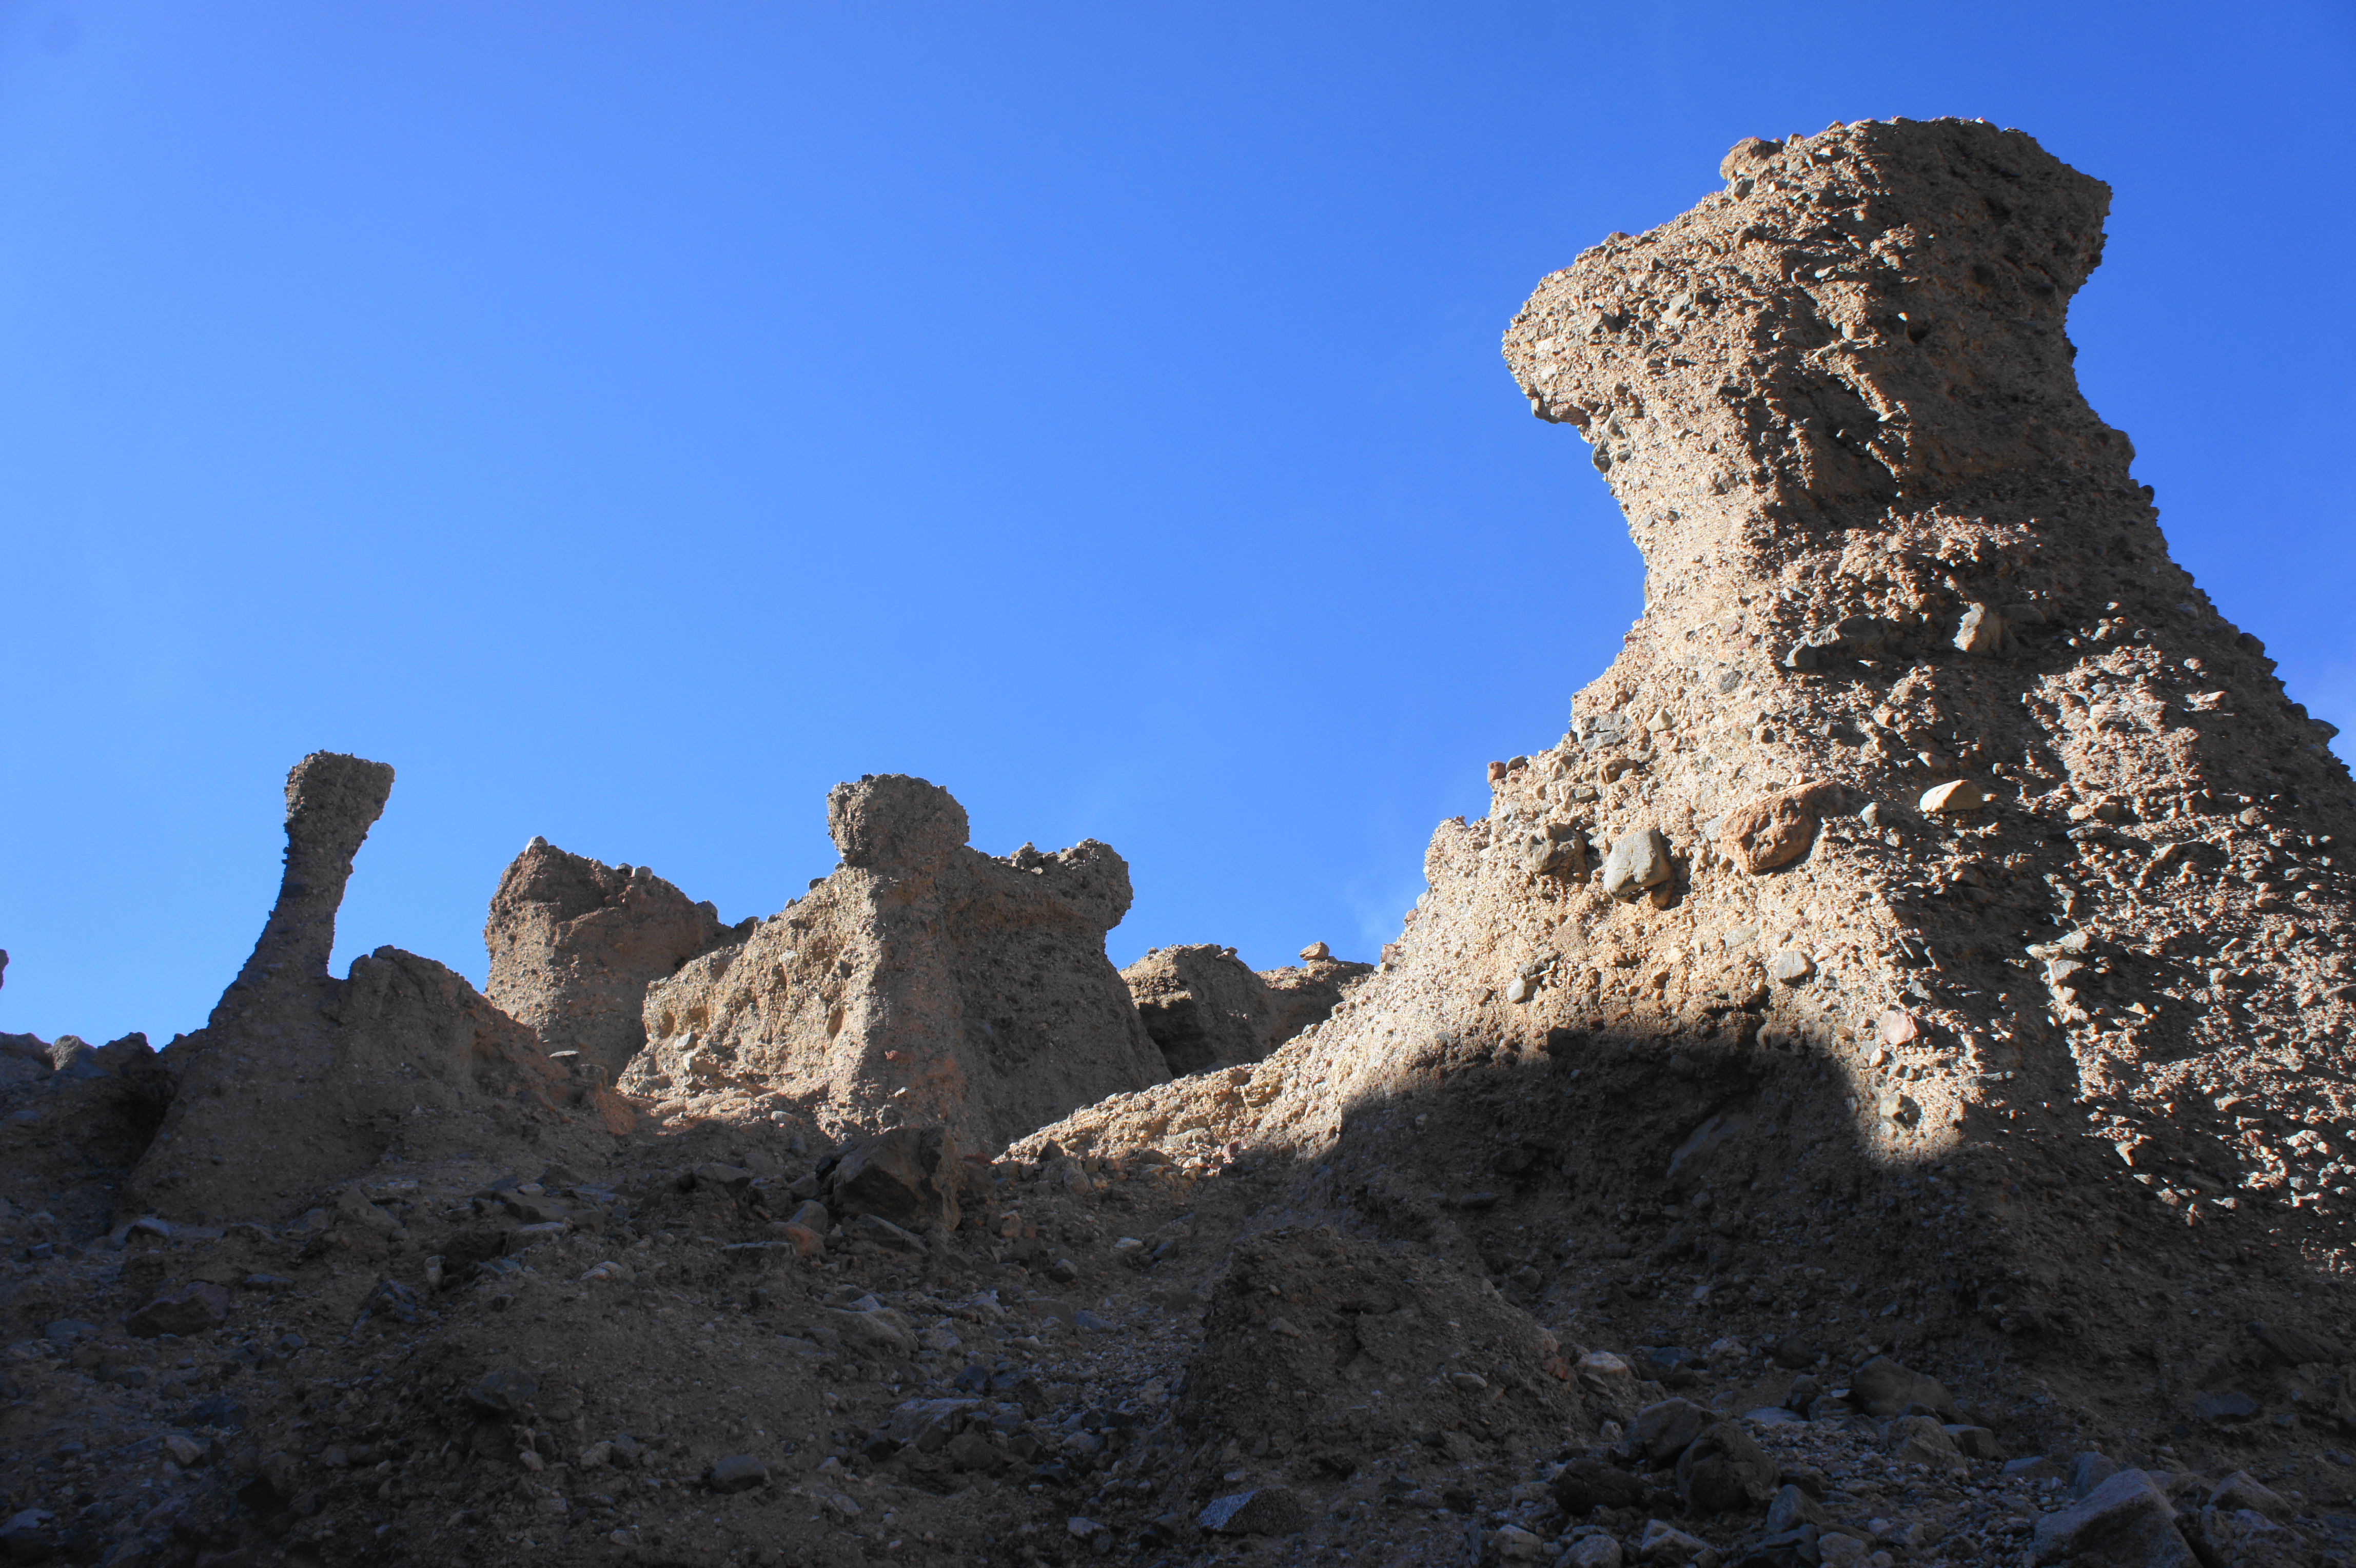
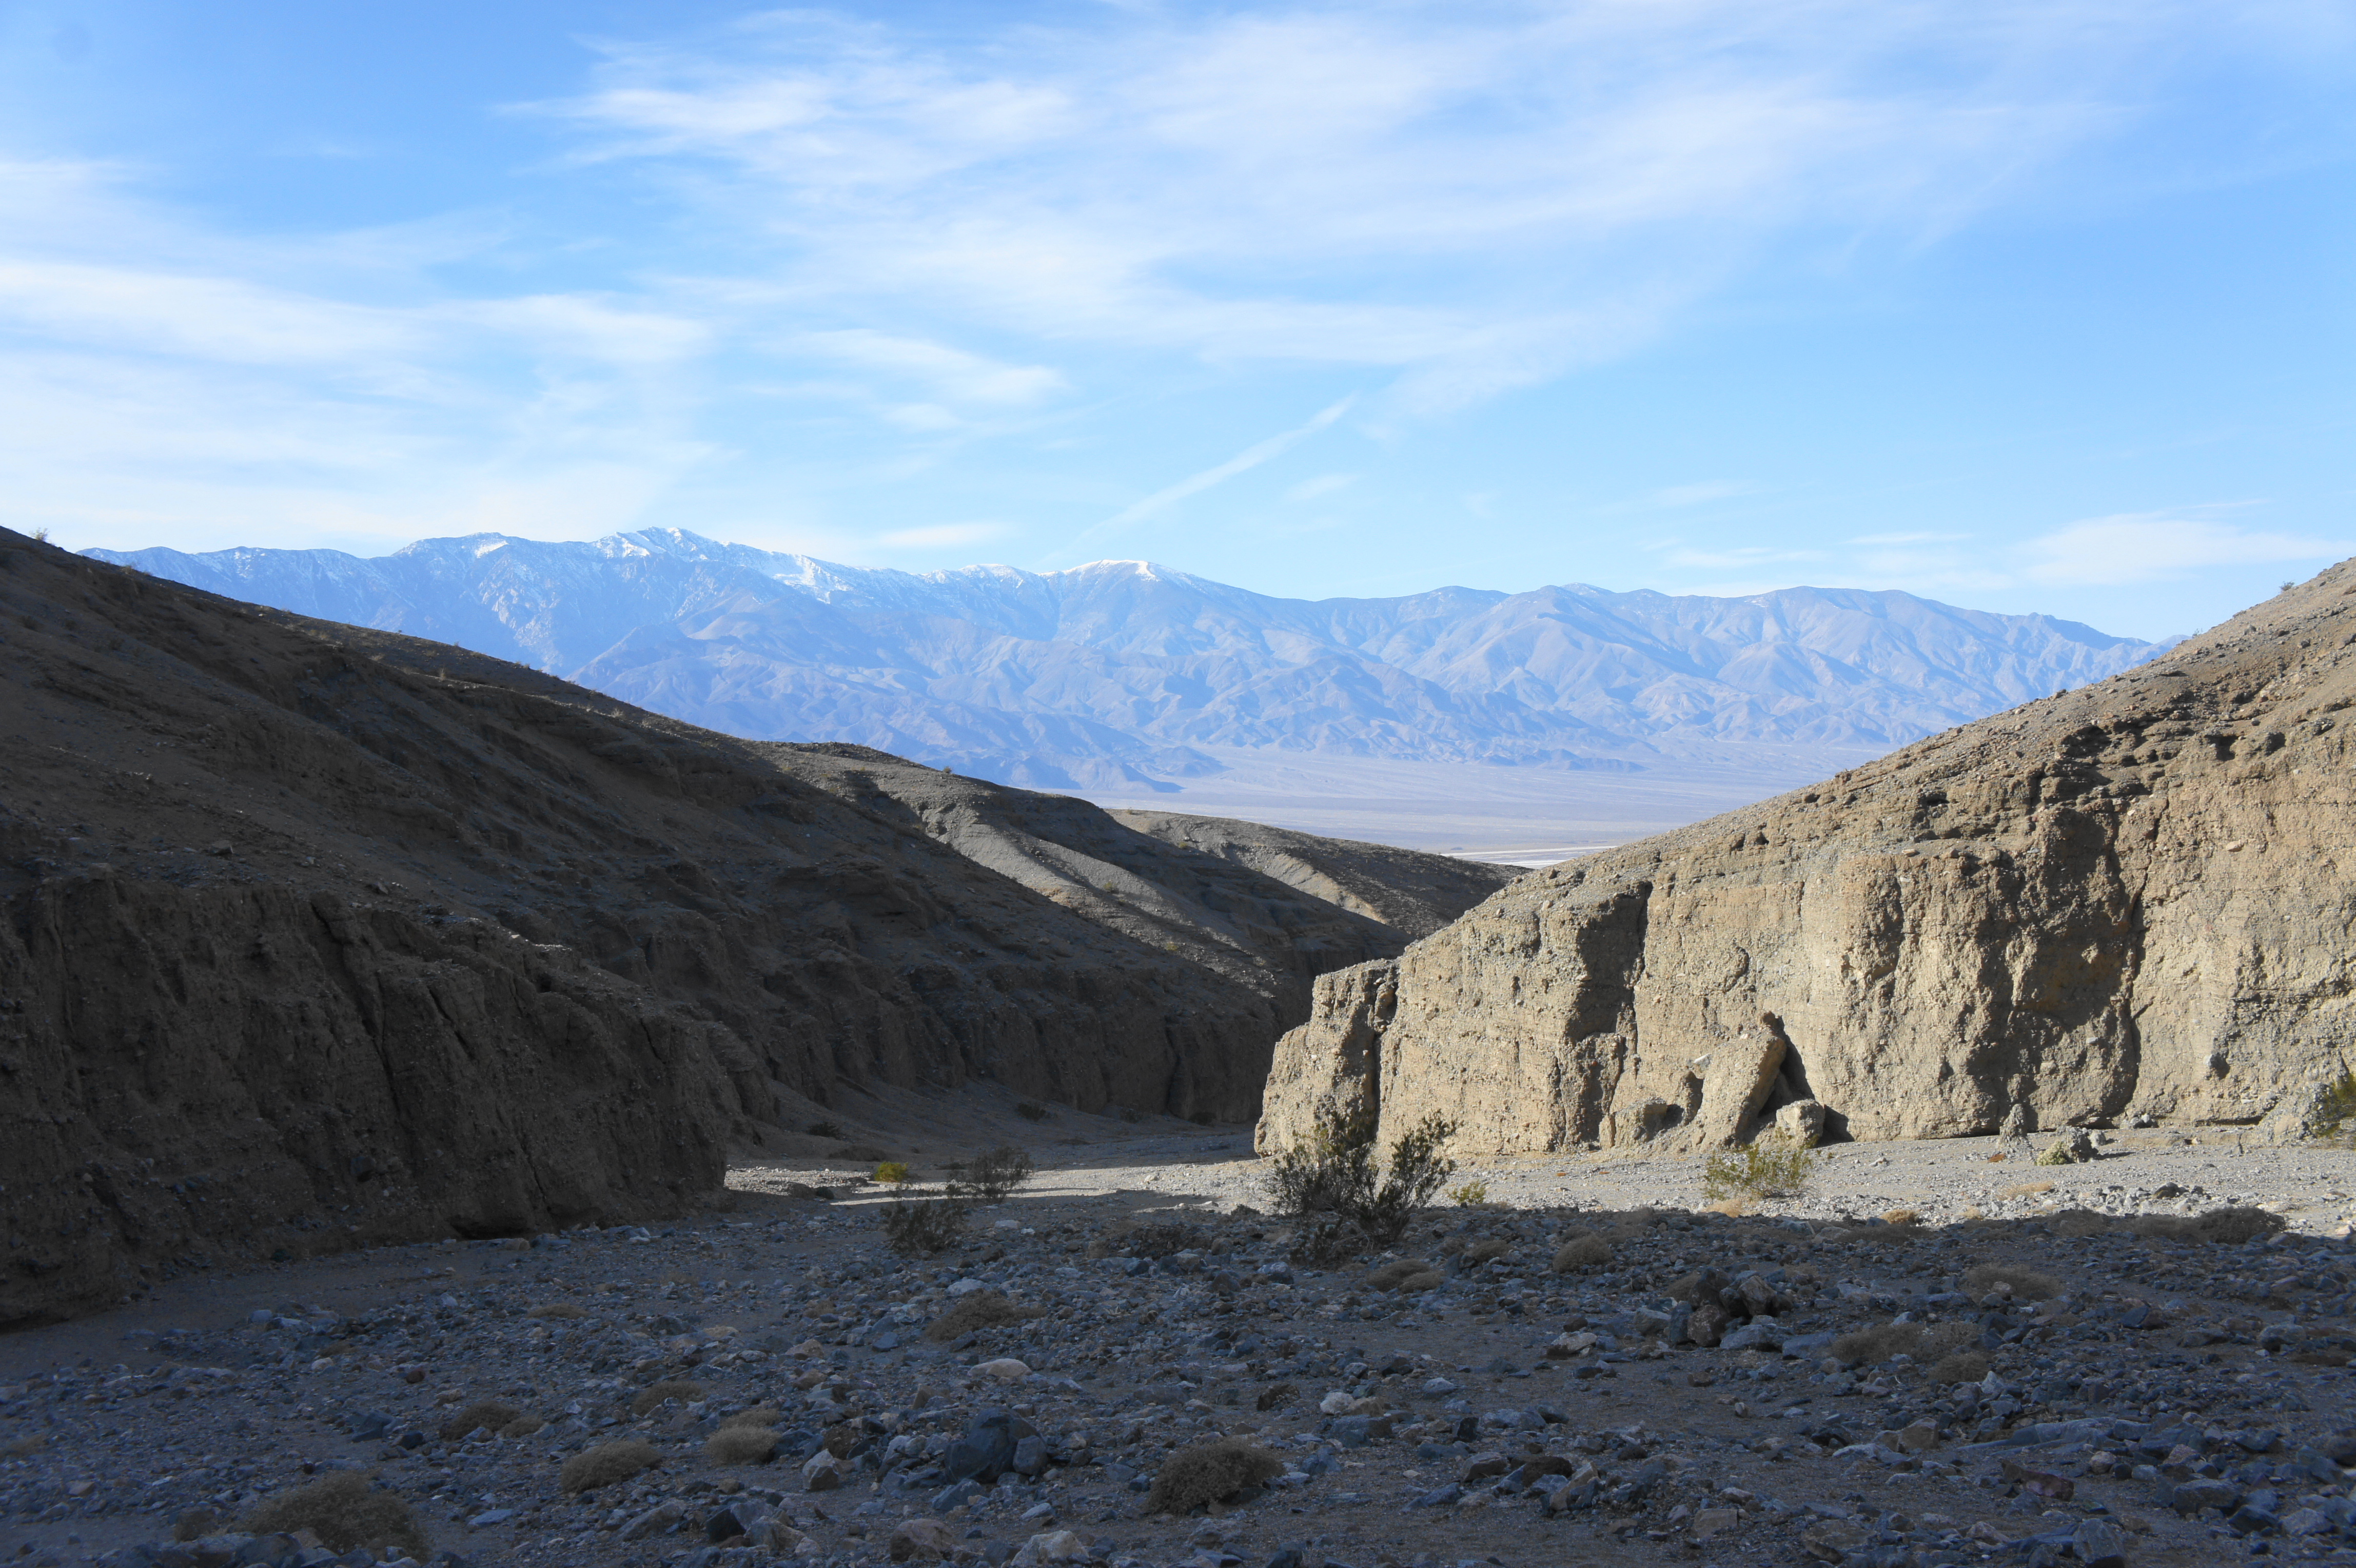
Choosing the right trail from here can be confusing. In fact, a second hike also begins from the same area—a longer but slot-less walk through Willow Canyon, the next major drainage to the north. To reach Sidewinder, look instead to the south, where a greyish berm appears to lead into a larger canyon, which cuts suddenly eastward. (See picture below) From the end of the parking area, a well-worn hiker’s path leads up a rocky alluvial fan toward the canyon.
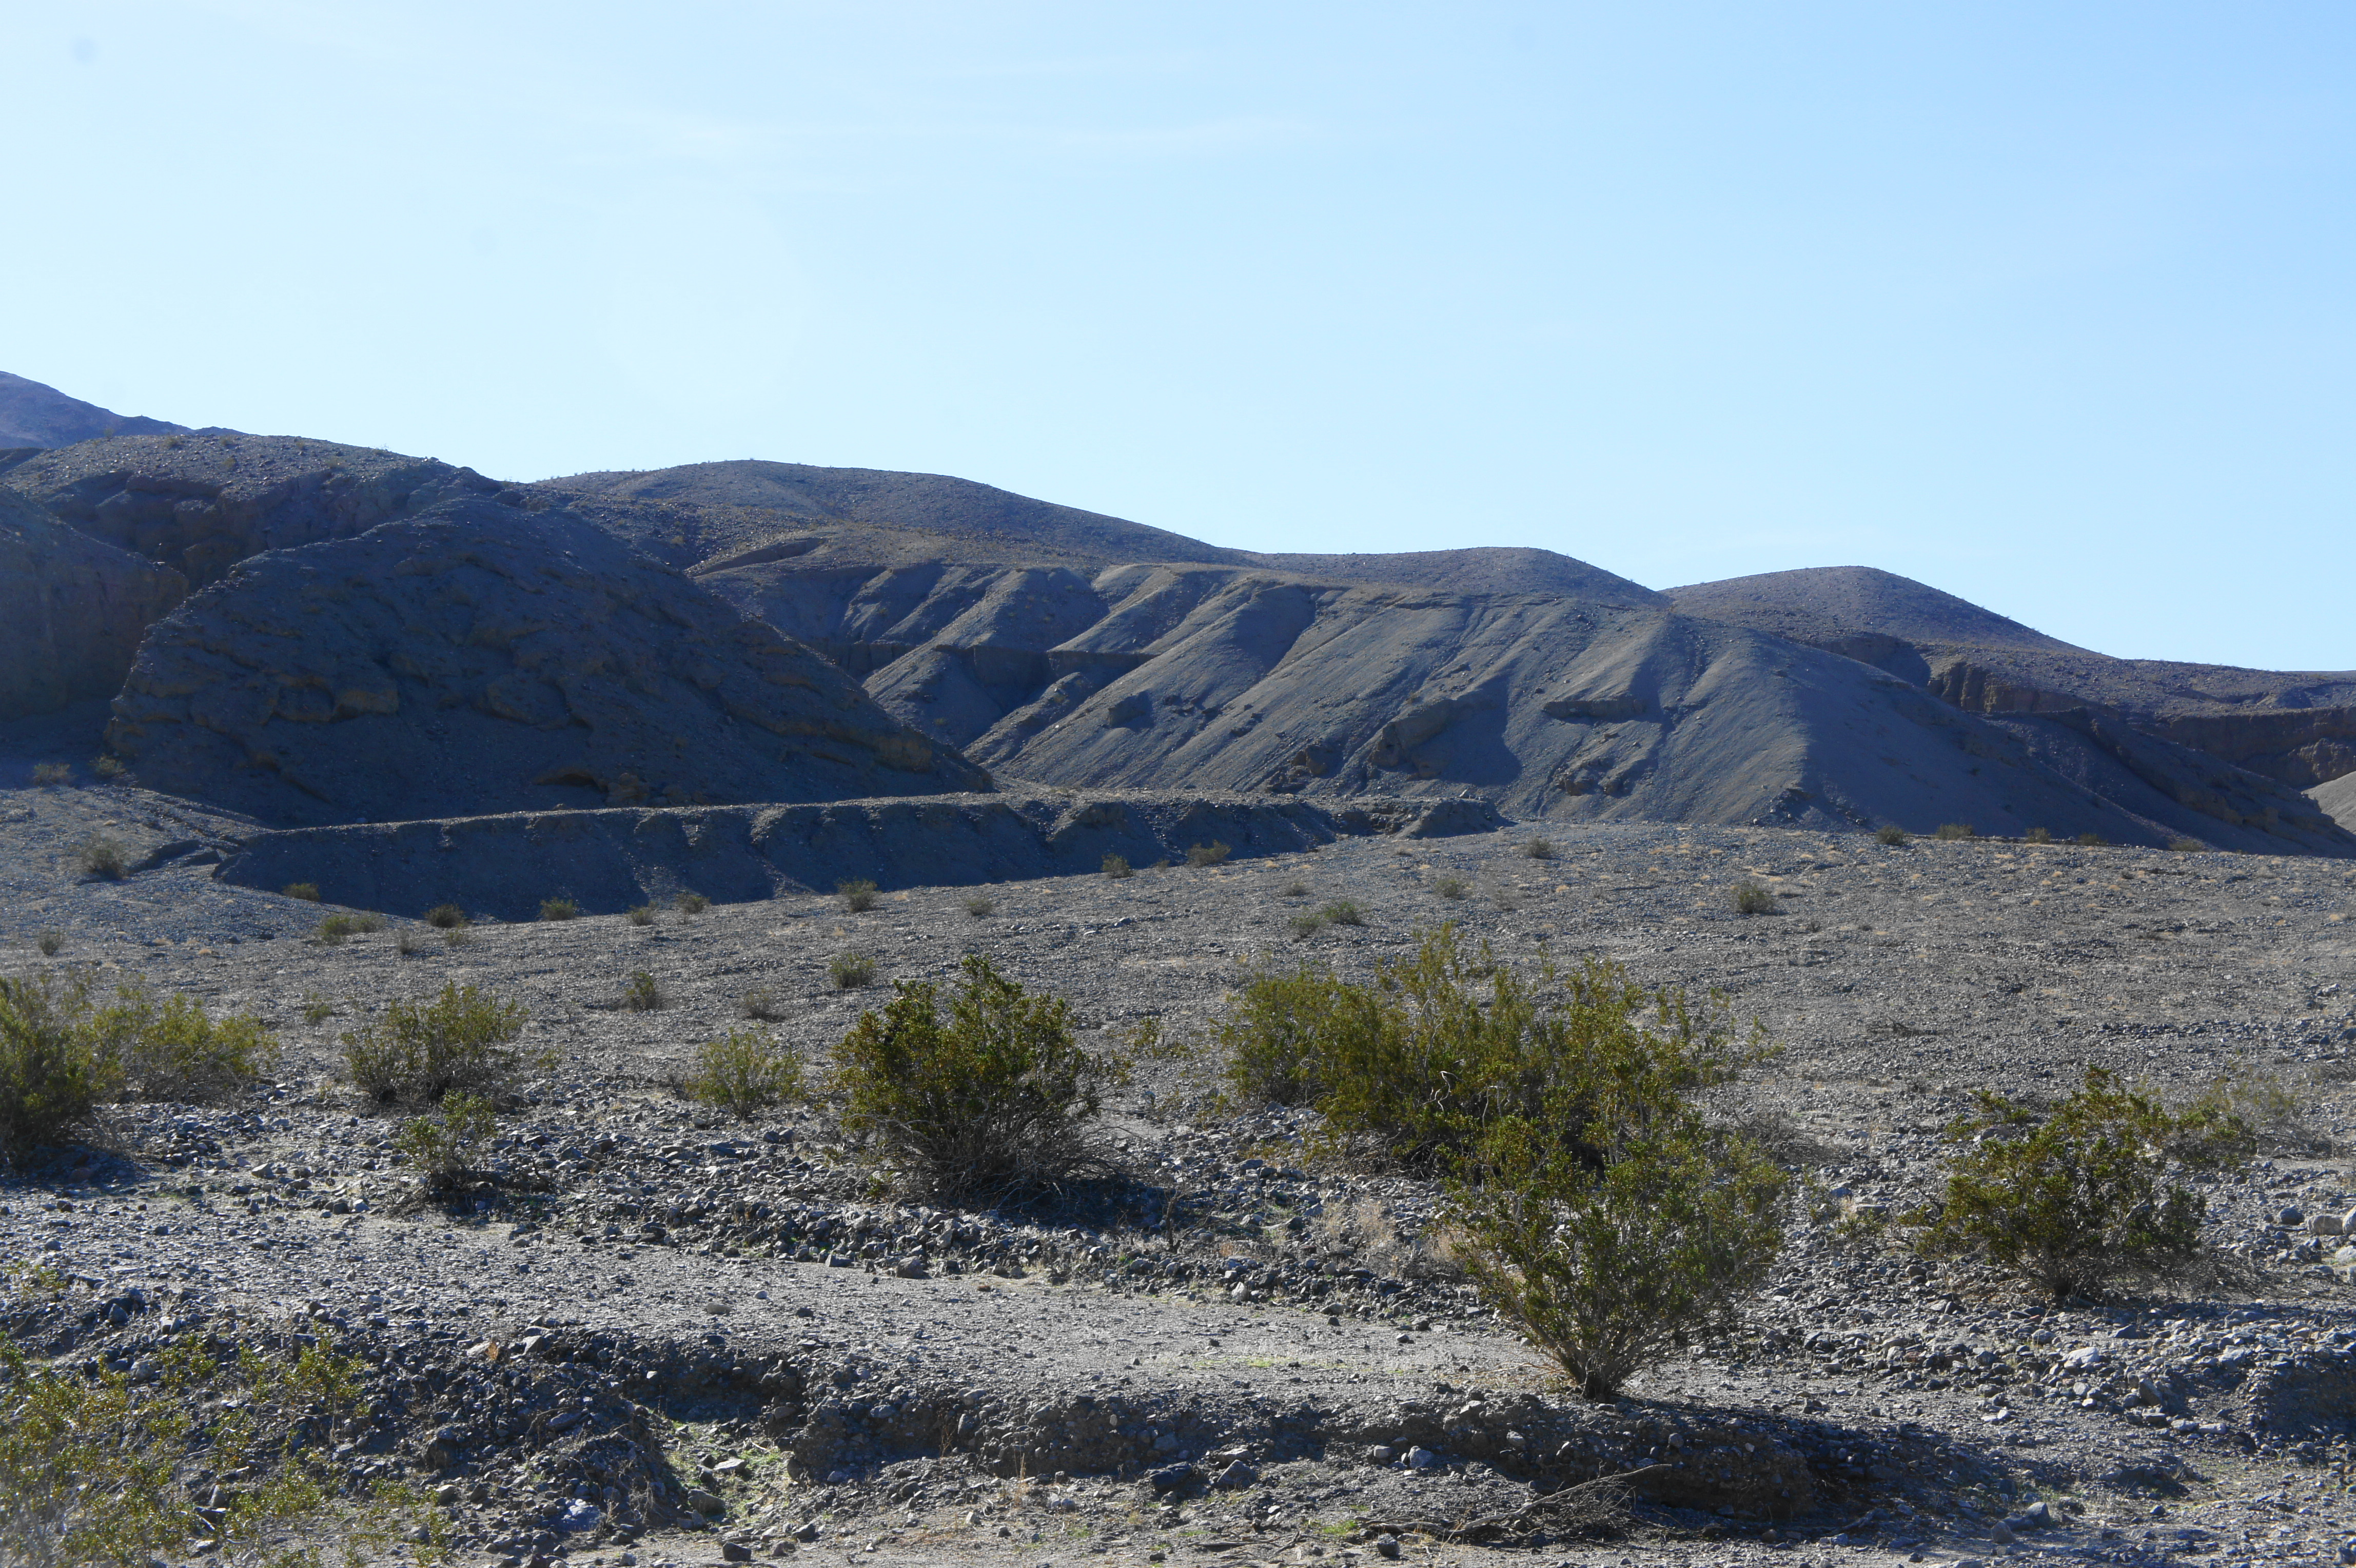
The first 1/3 mile requires an uphill slog to the canyon’s mouth, with broad views of Death Valley and the Black Mountains, with the Panamint Range across the low desert to the west. Once in the canyon, the trail disappears as it settles into the wash—simply follow the drainage up-canyon to the southeast.
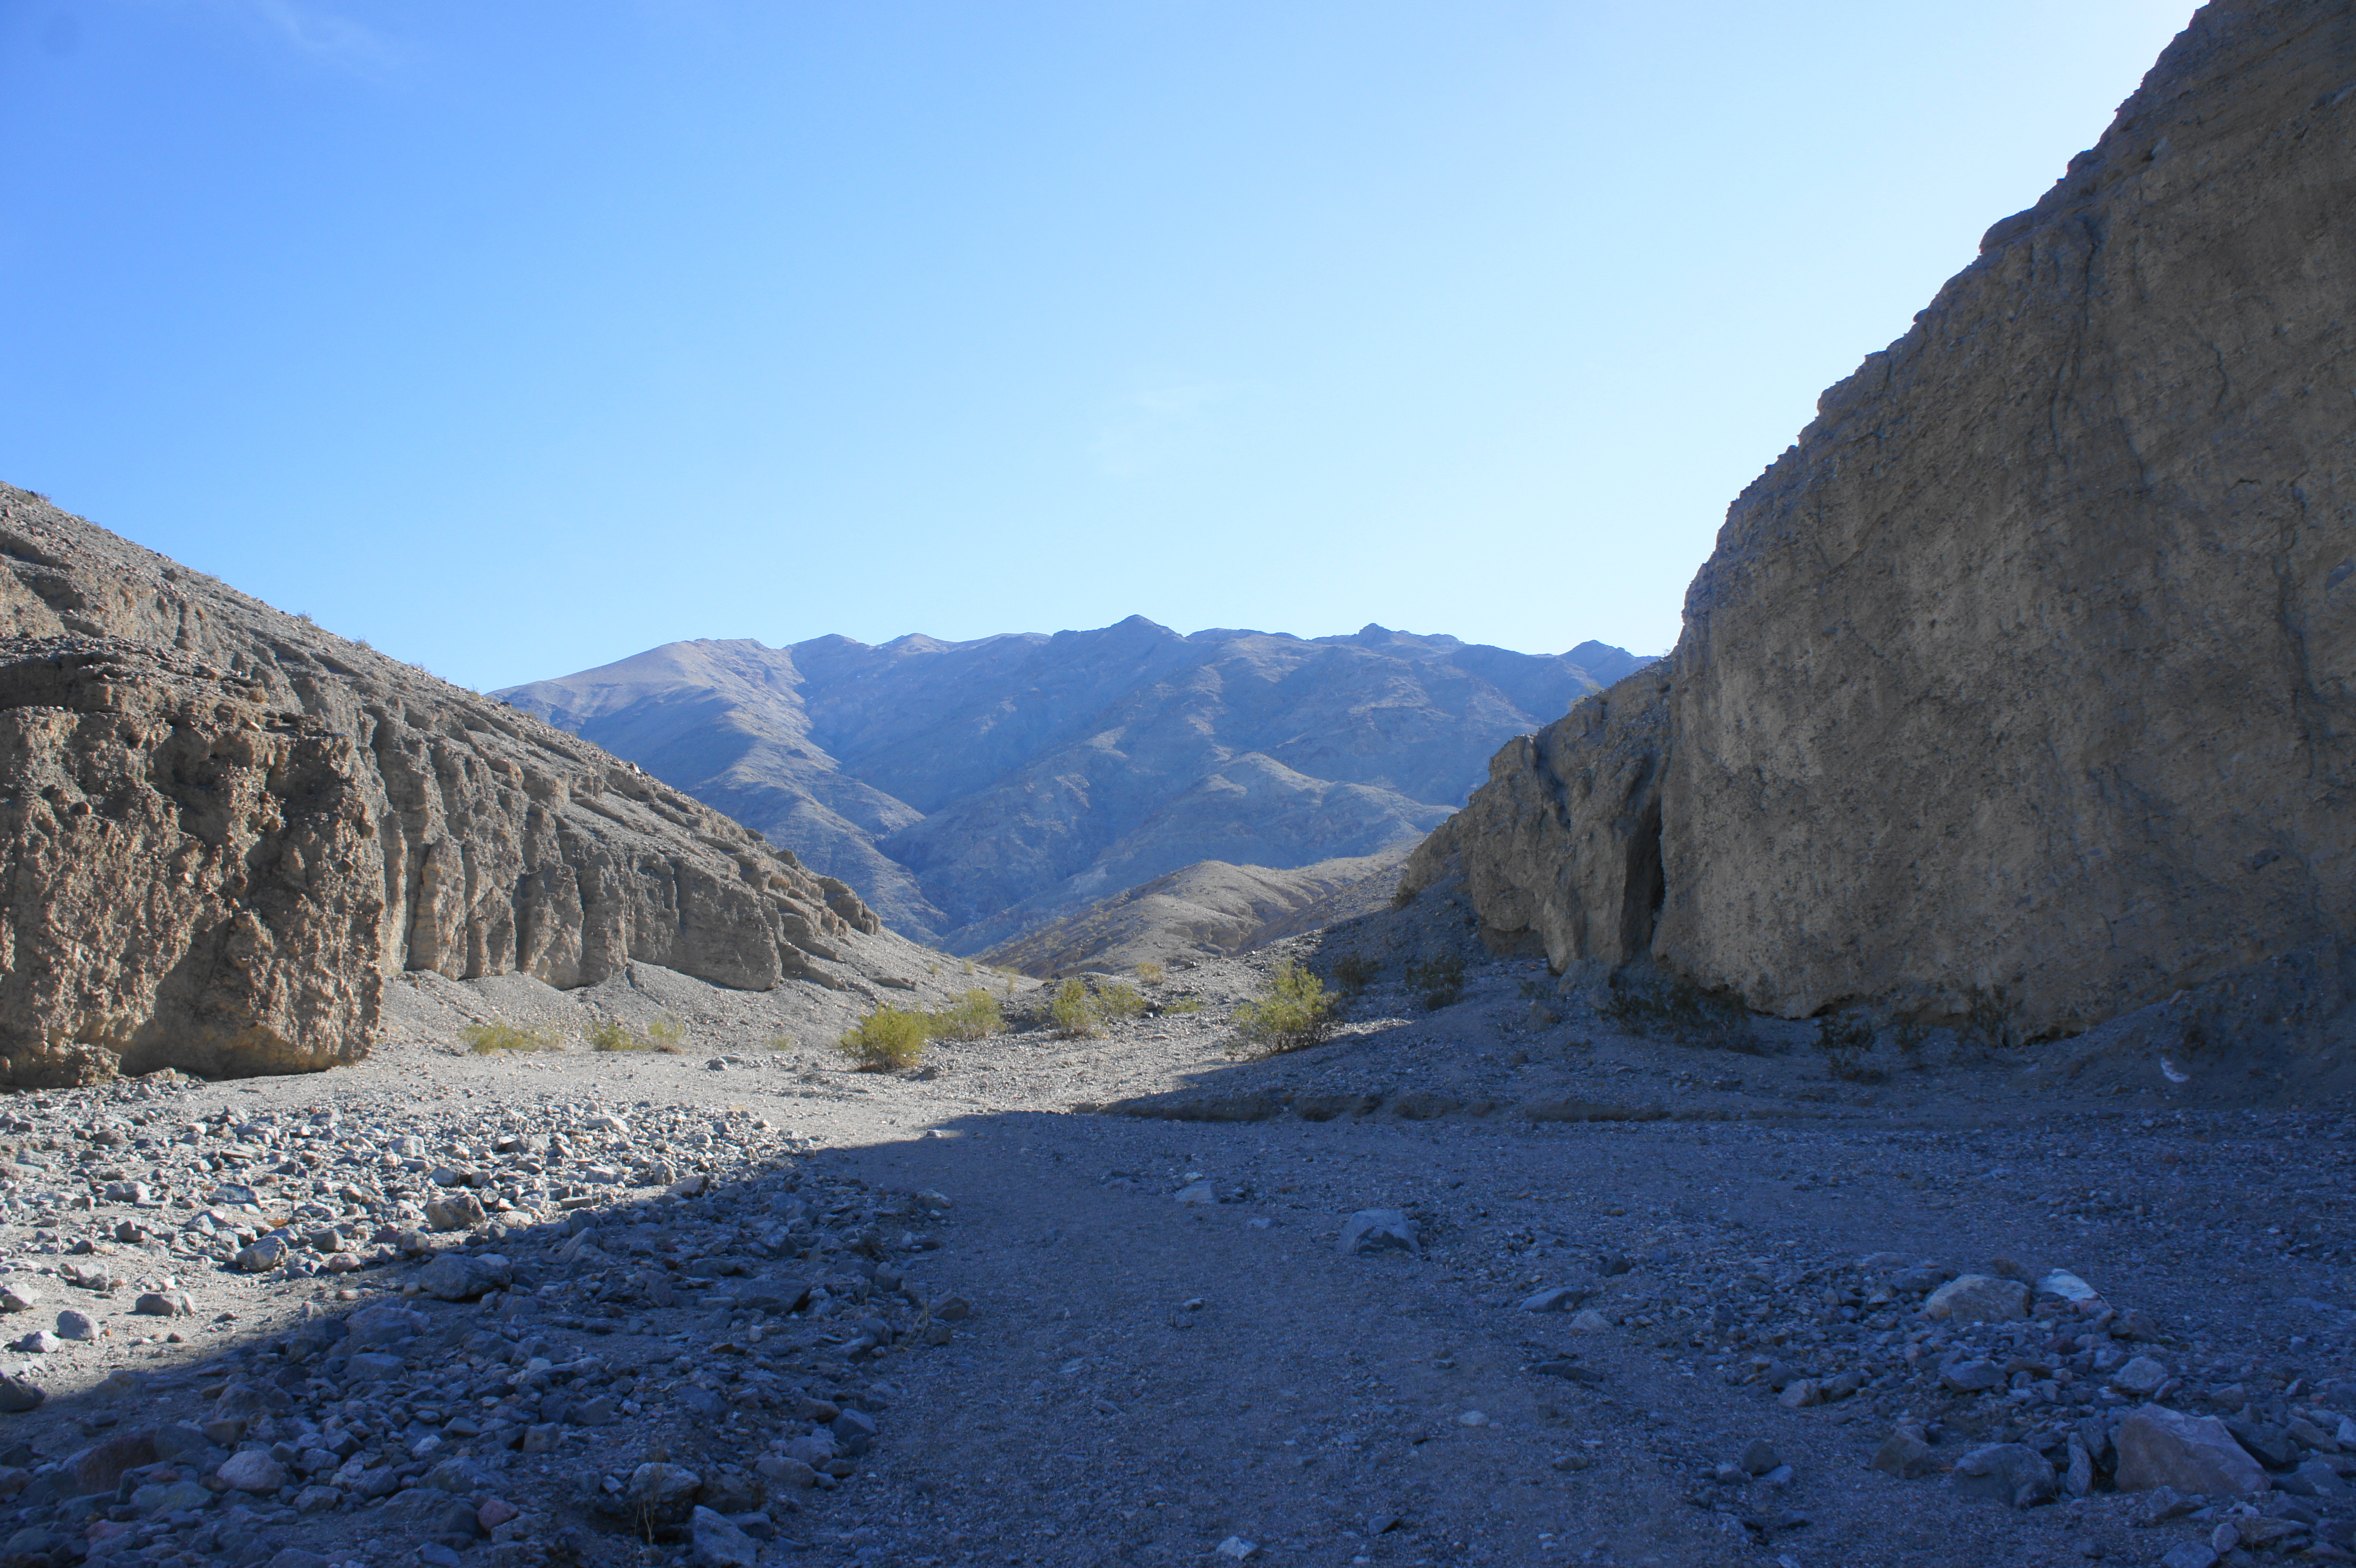
Over the course of a half-mile, the canyon’s low walls of gray and brown conglomerate gradually grow taller and more inviting. A teaser slot appears on the left at 6/10 mile, followed by a second on the right about 250 yards later, but these are merely appetizers for the main slots. At 9/10 mile, a major side canyon enters from the right. This is your cue to turn: the first of the three Sidewinder slots is ahead on the left. (Note: This side canyon too splits; stay left and make your way toward what appears to be a massive boulder jam: this is the entrance to the first slot.)
The first Sidewinder slot
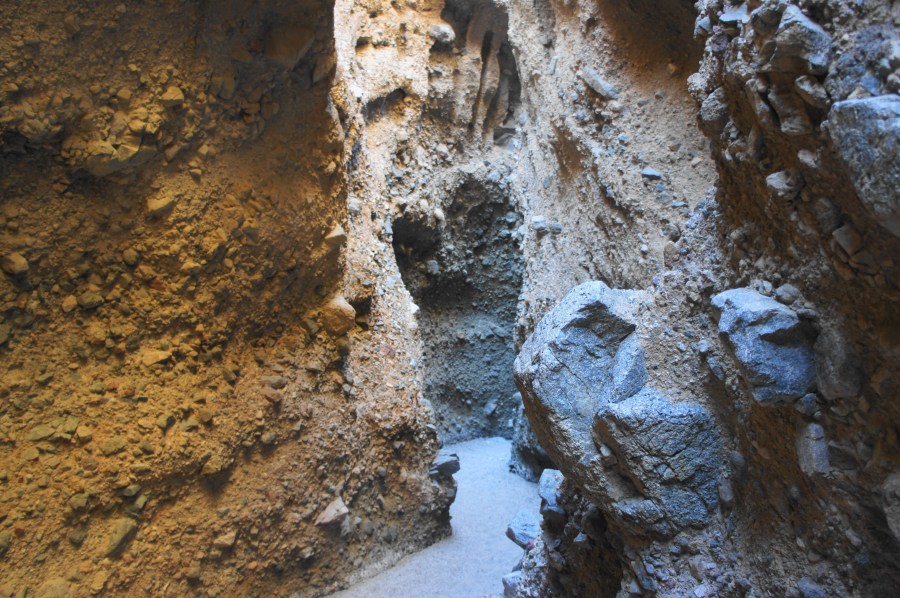
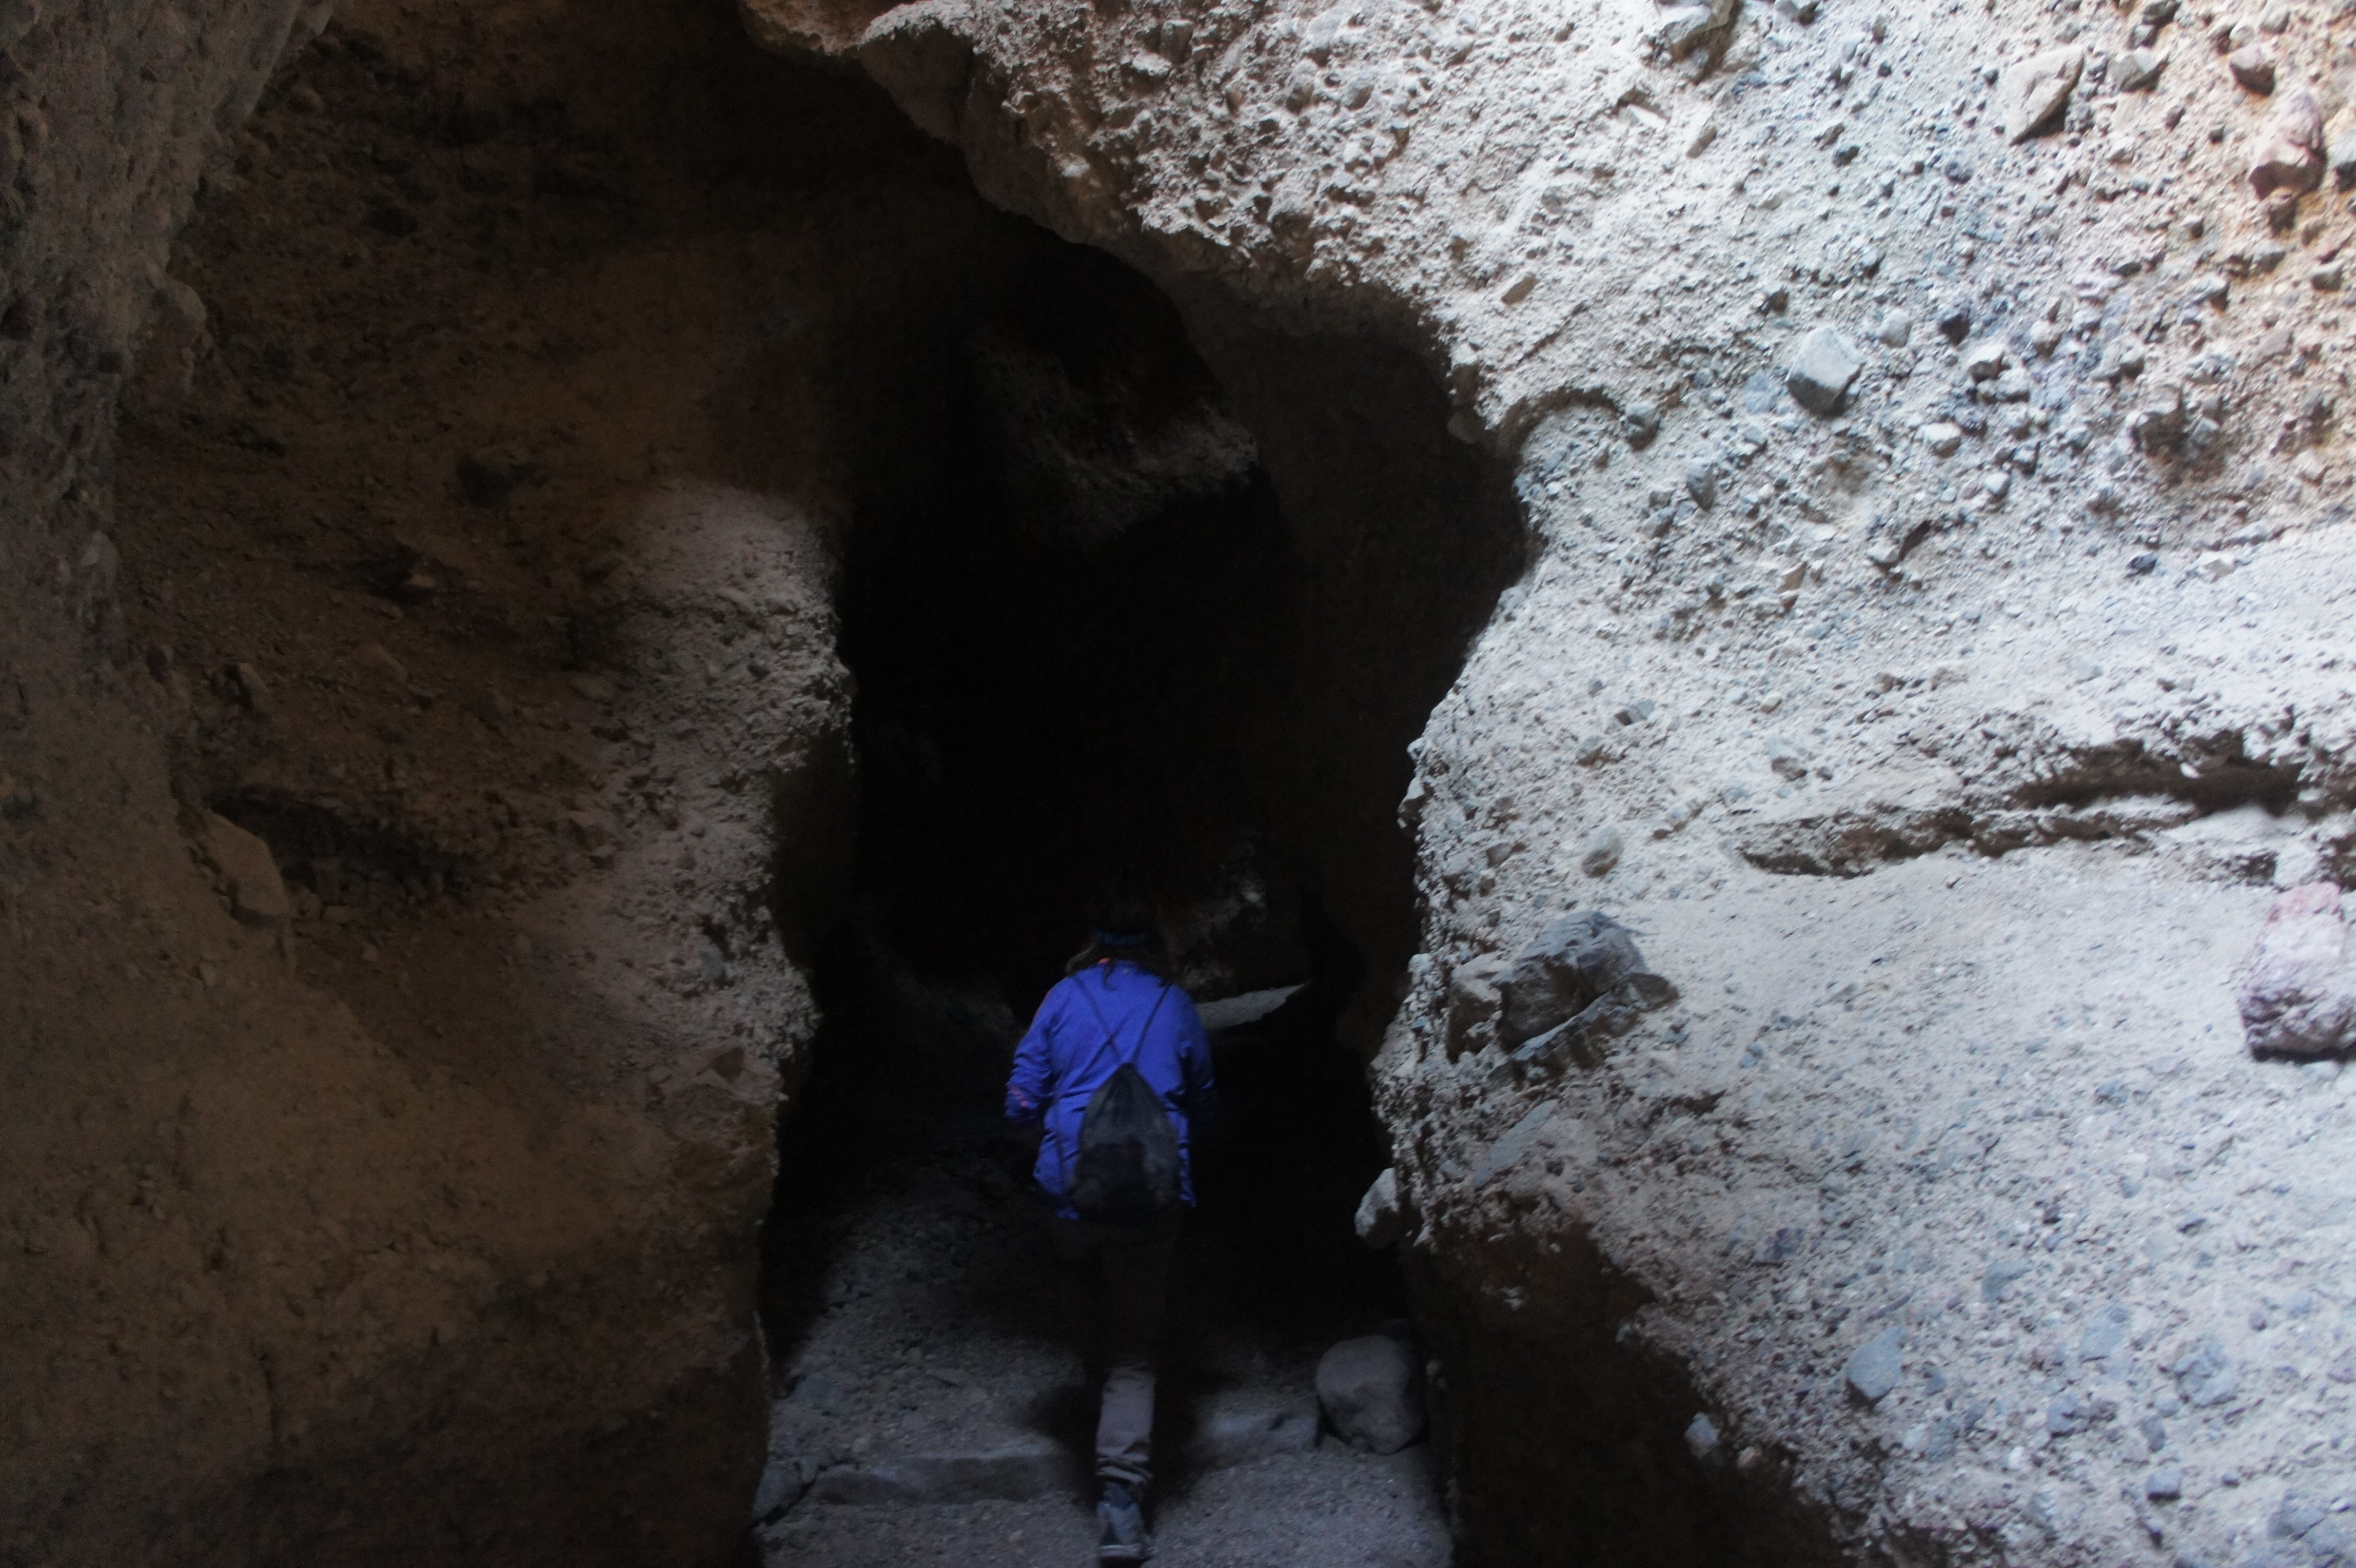
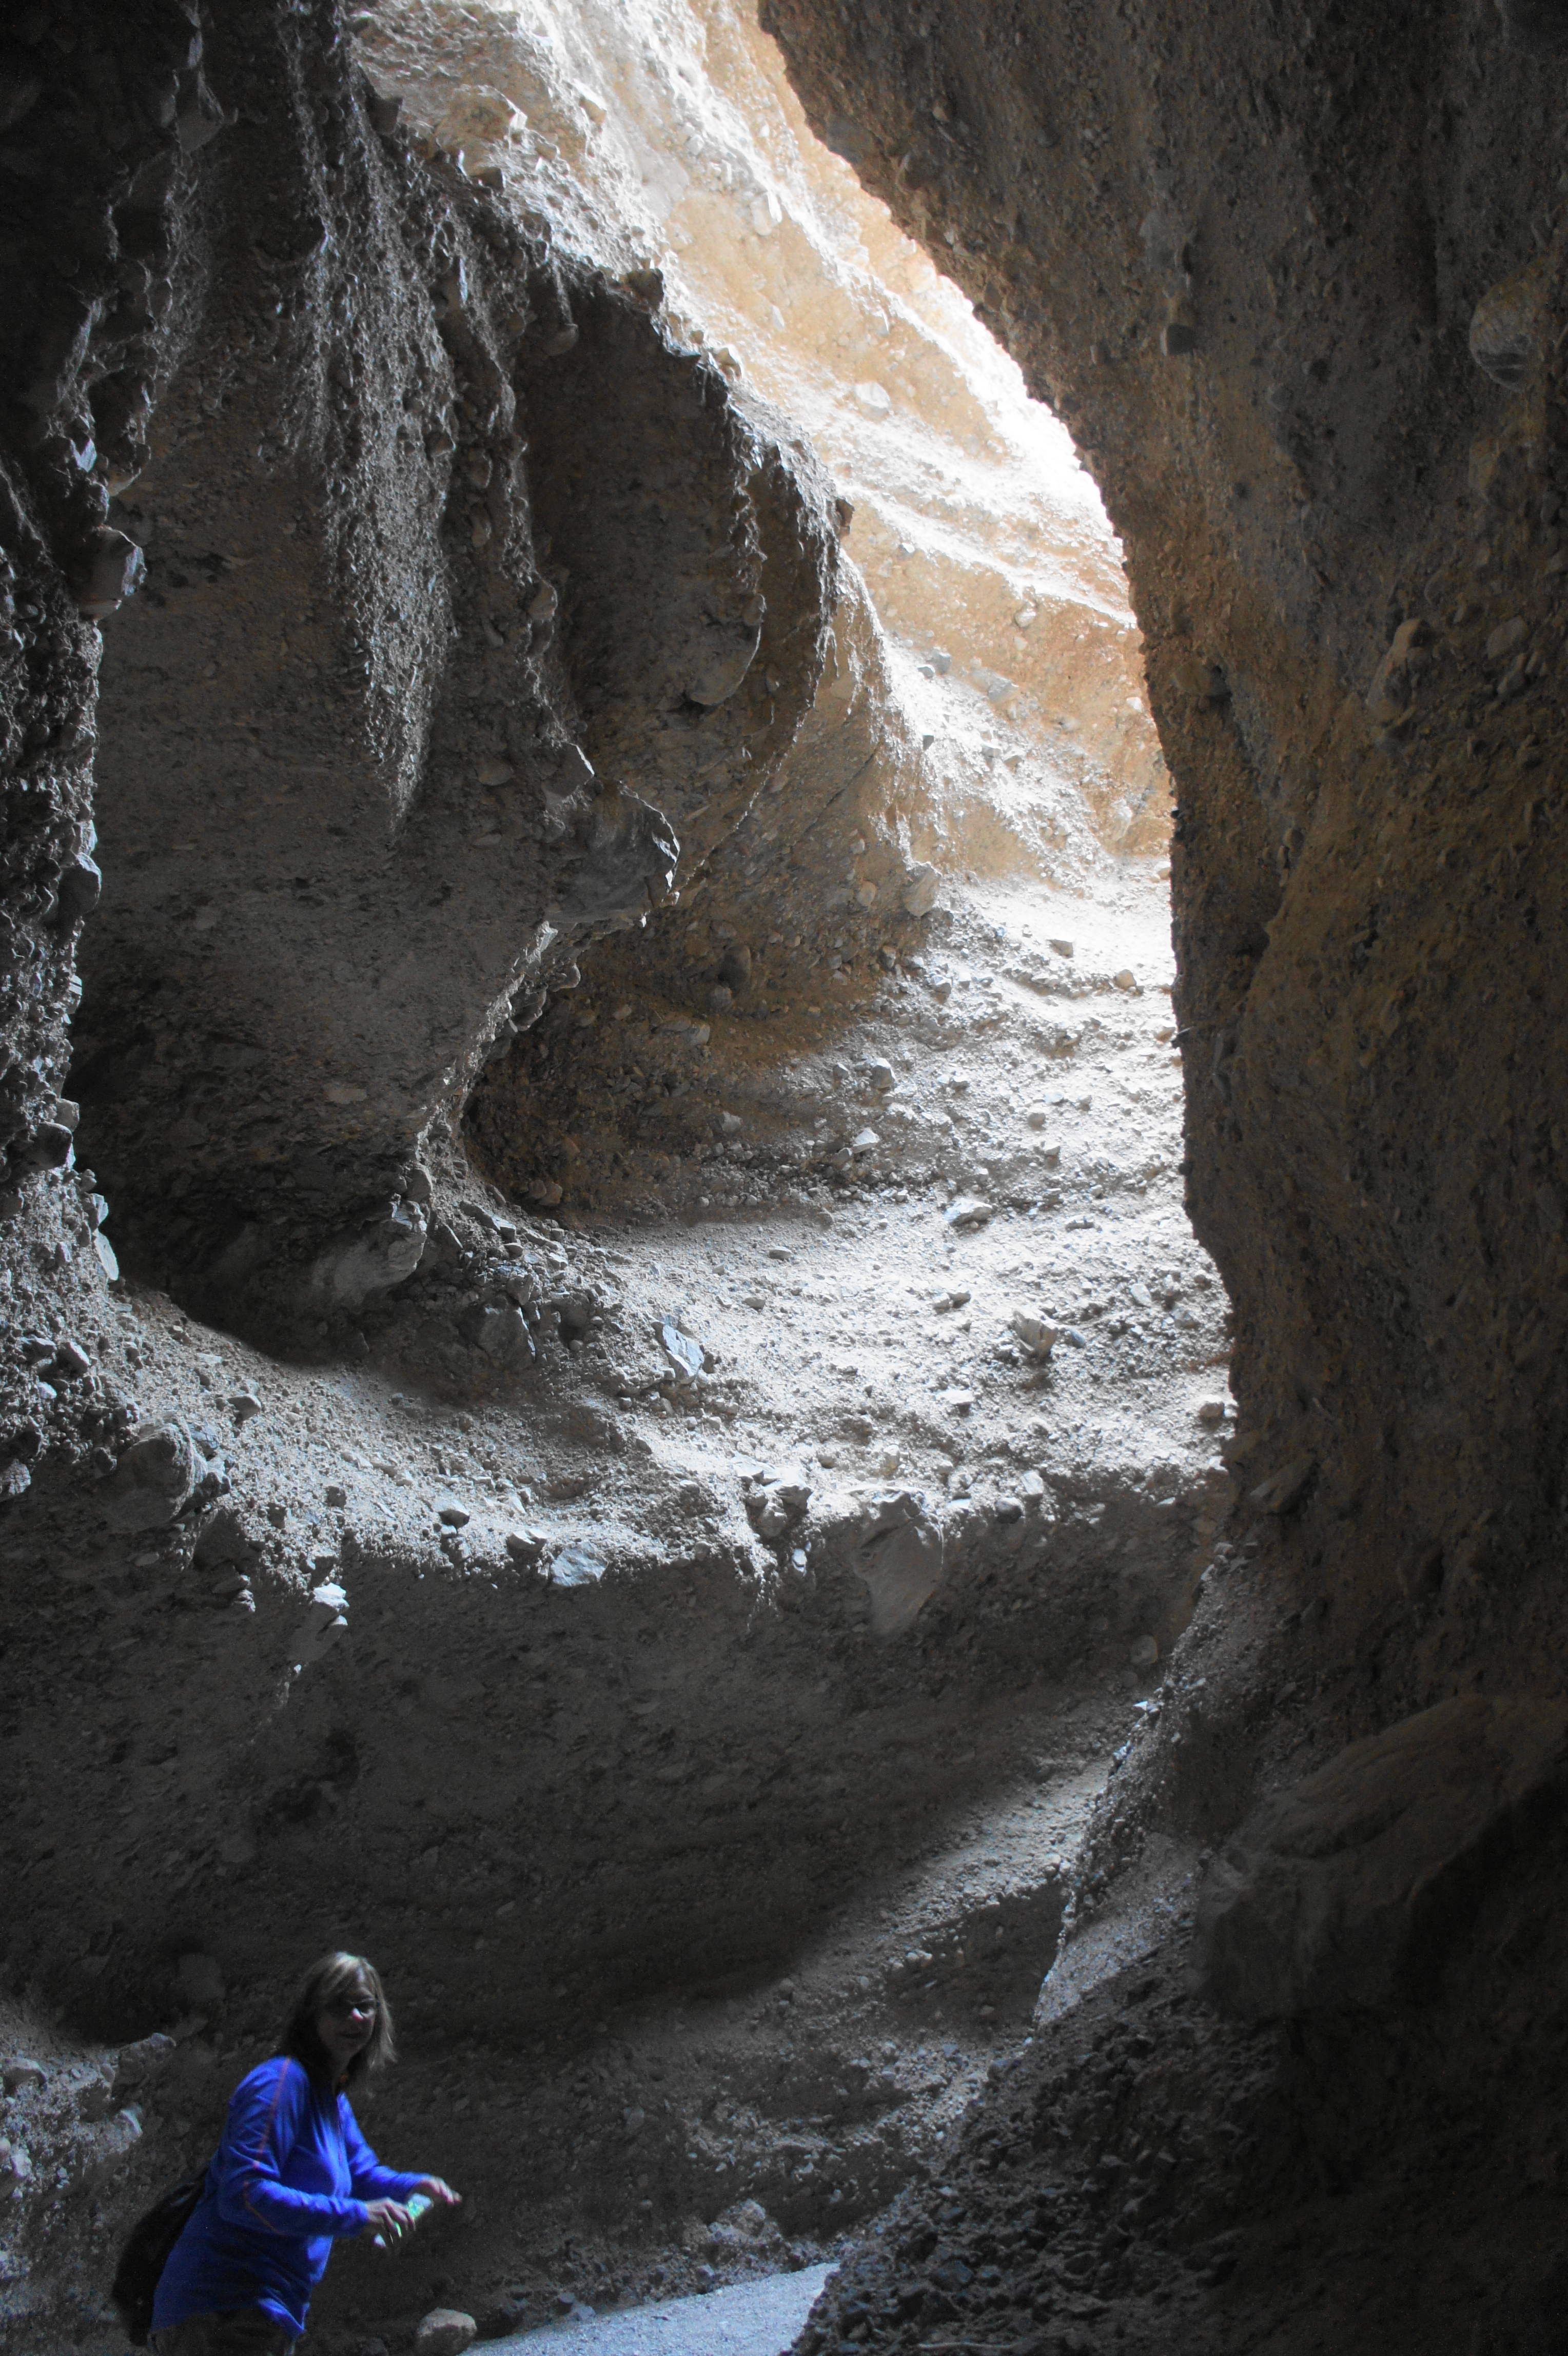
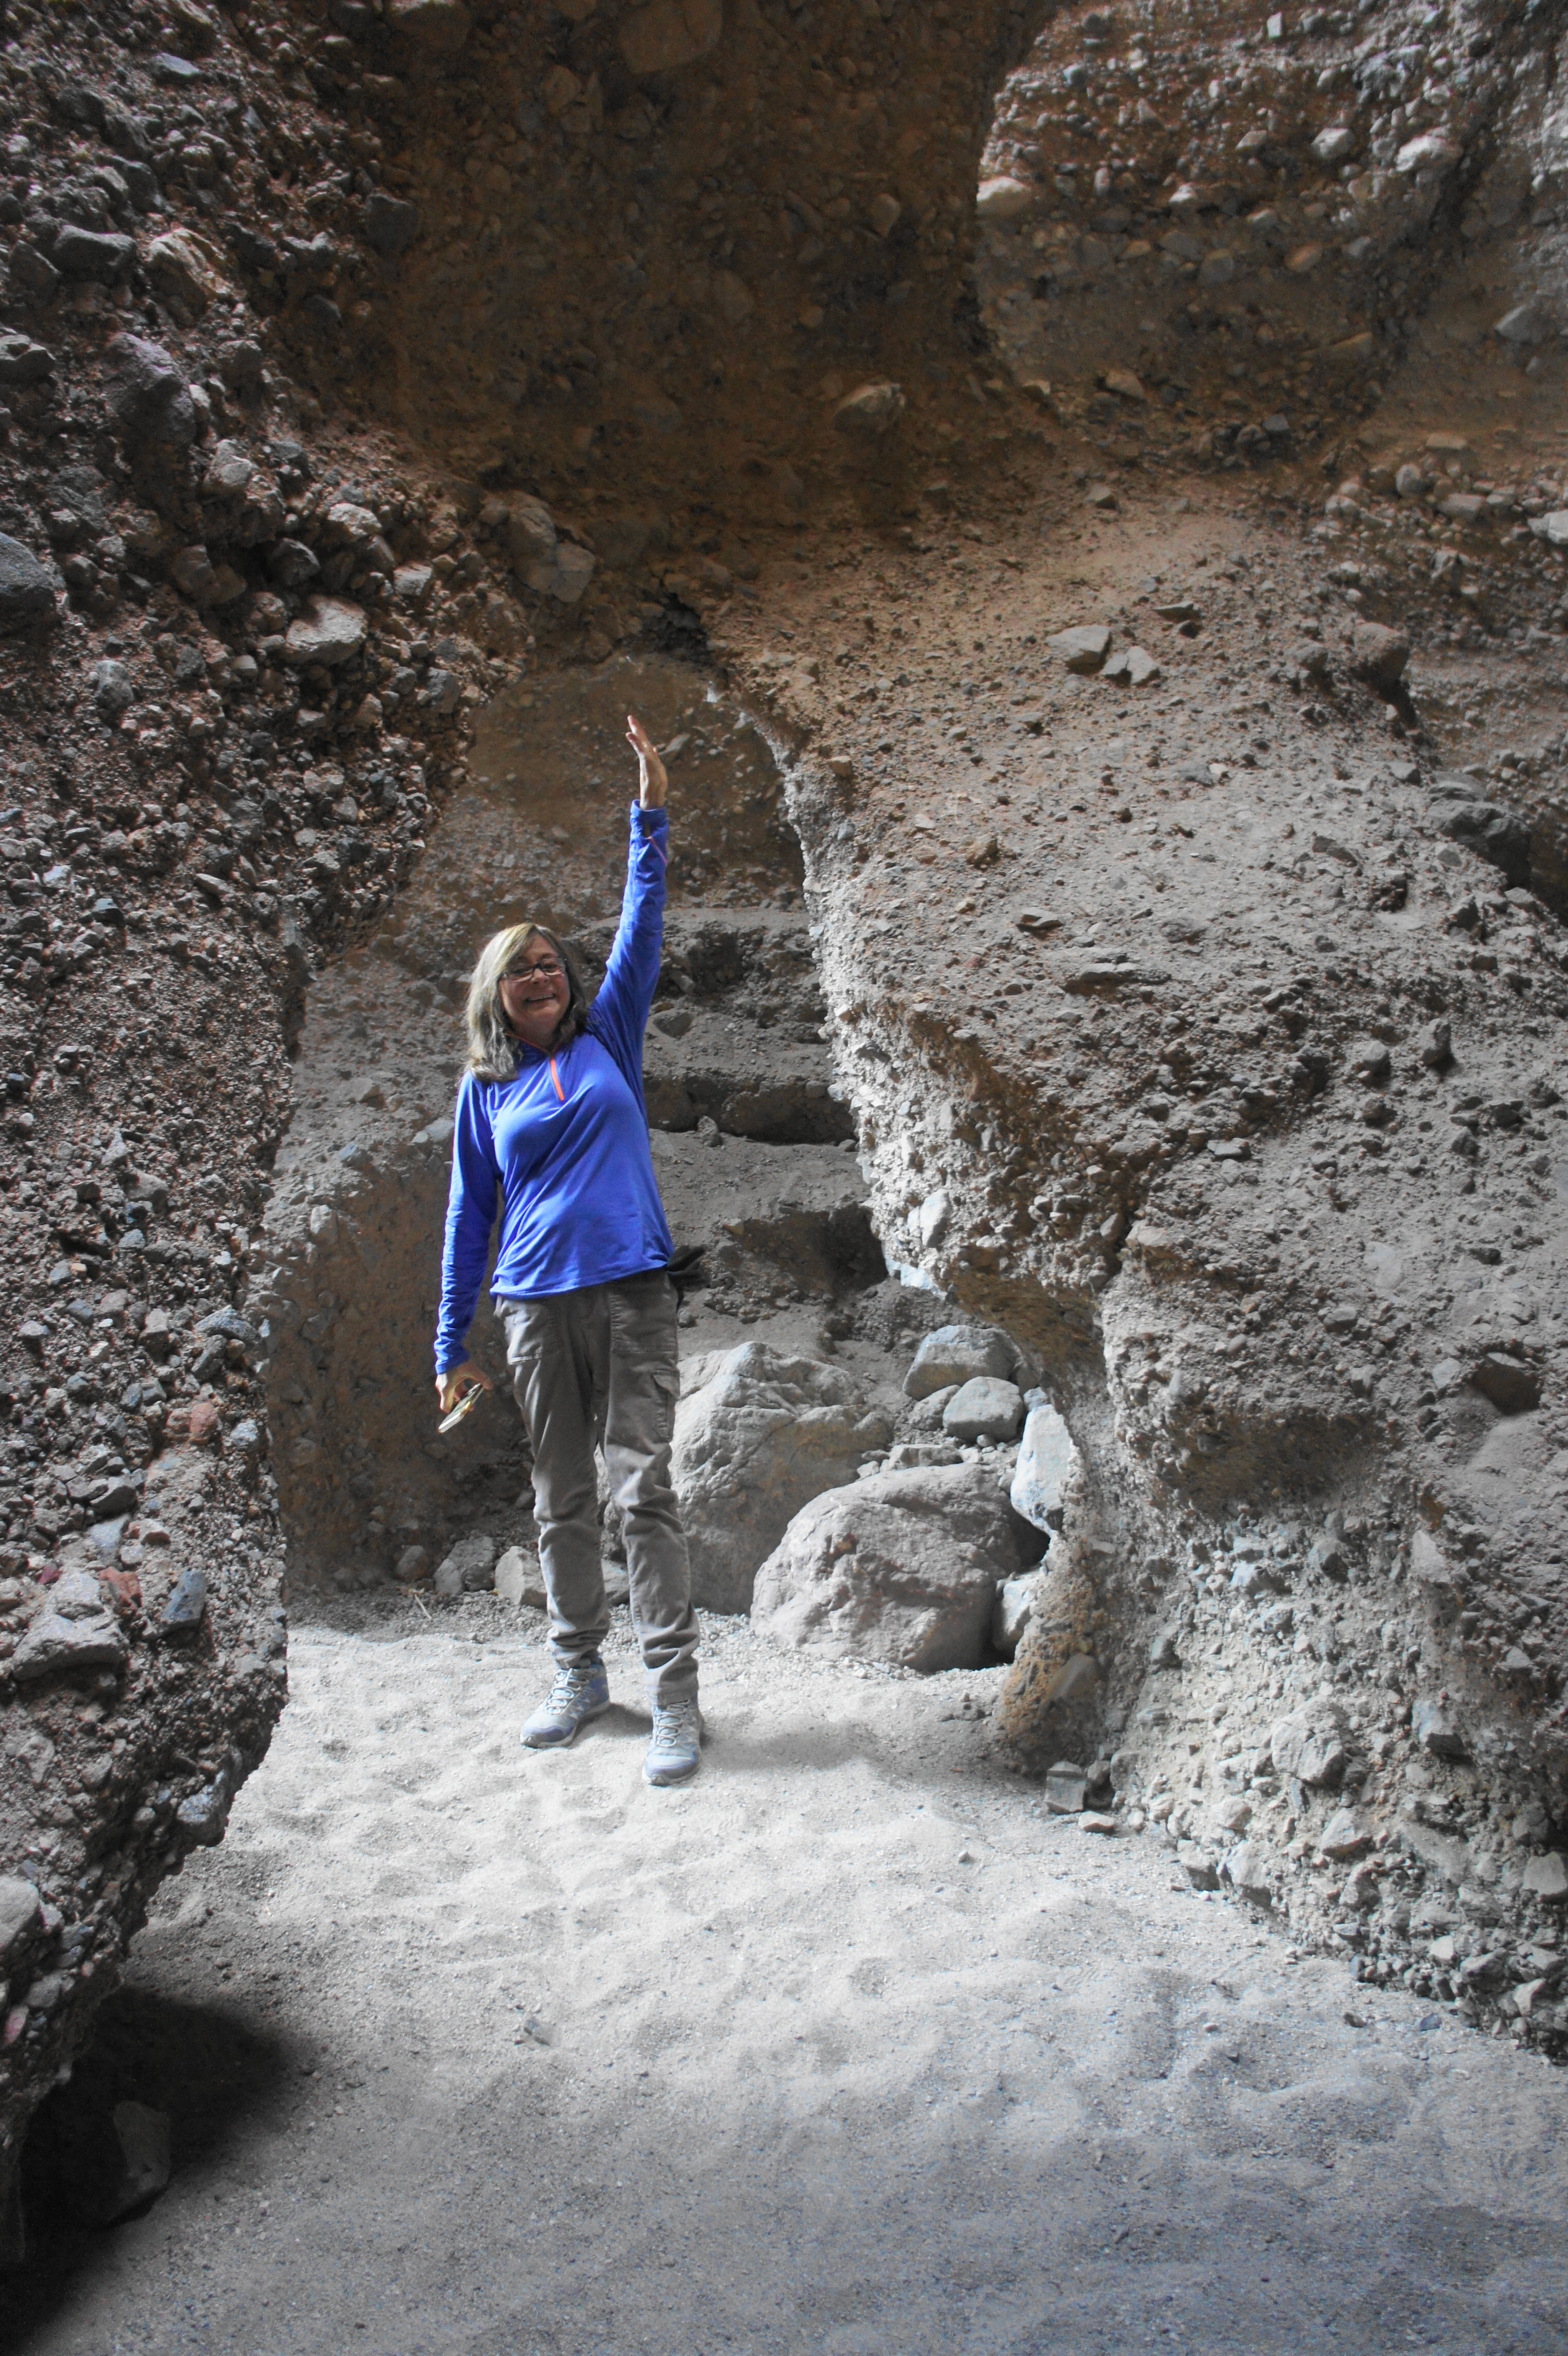
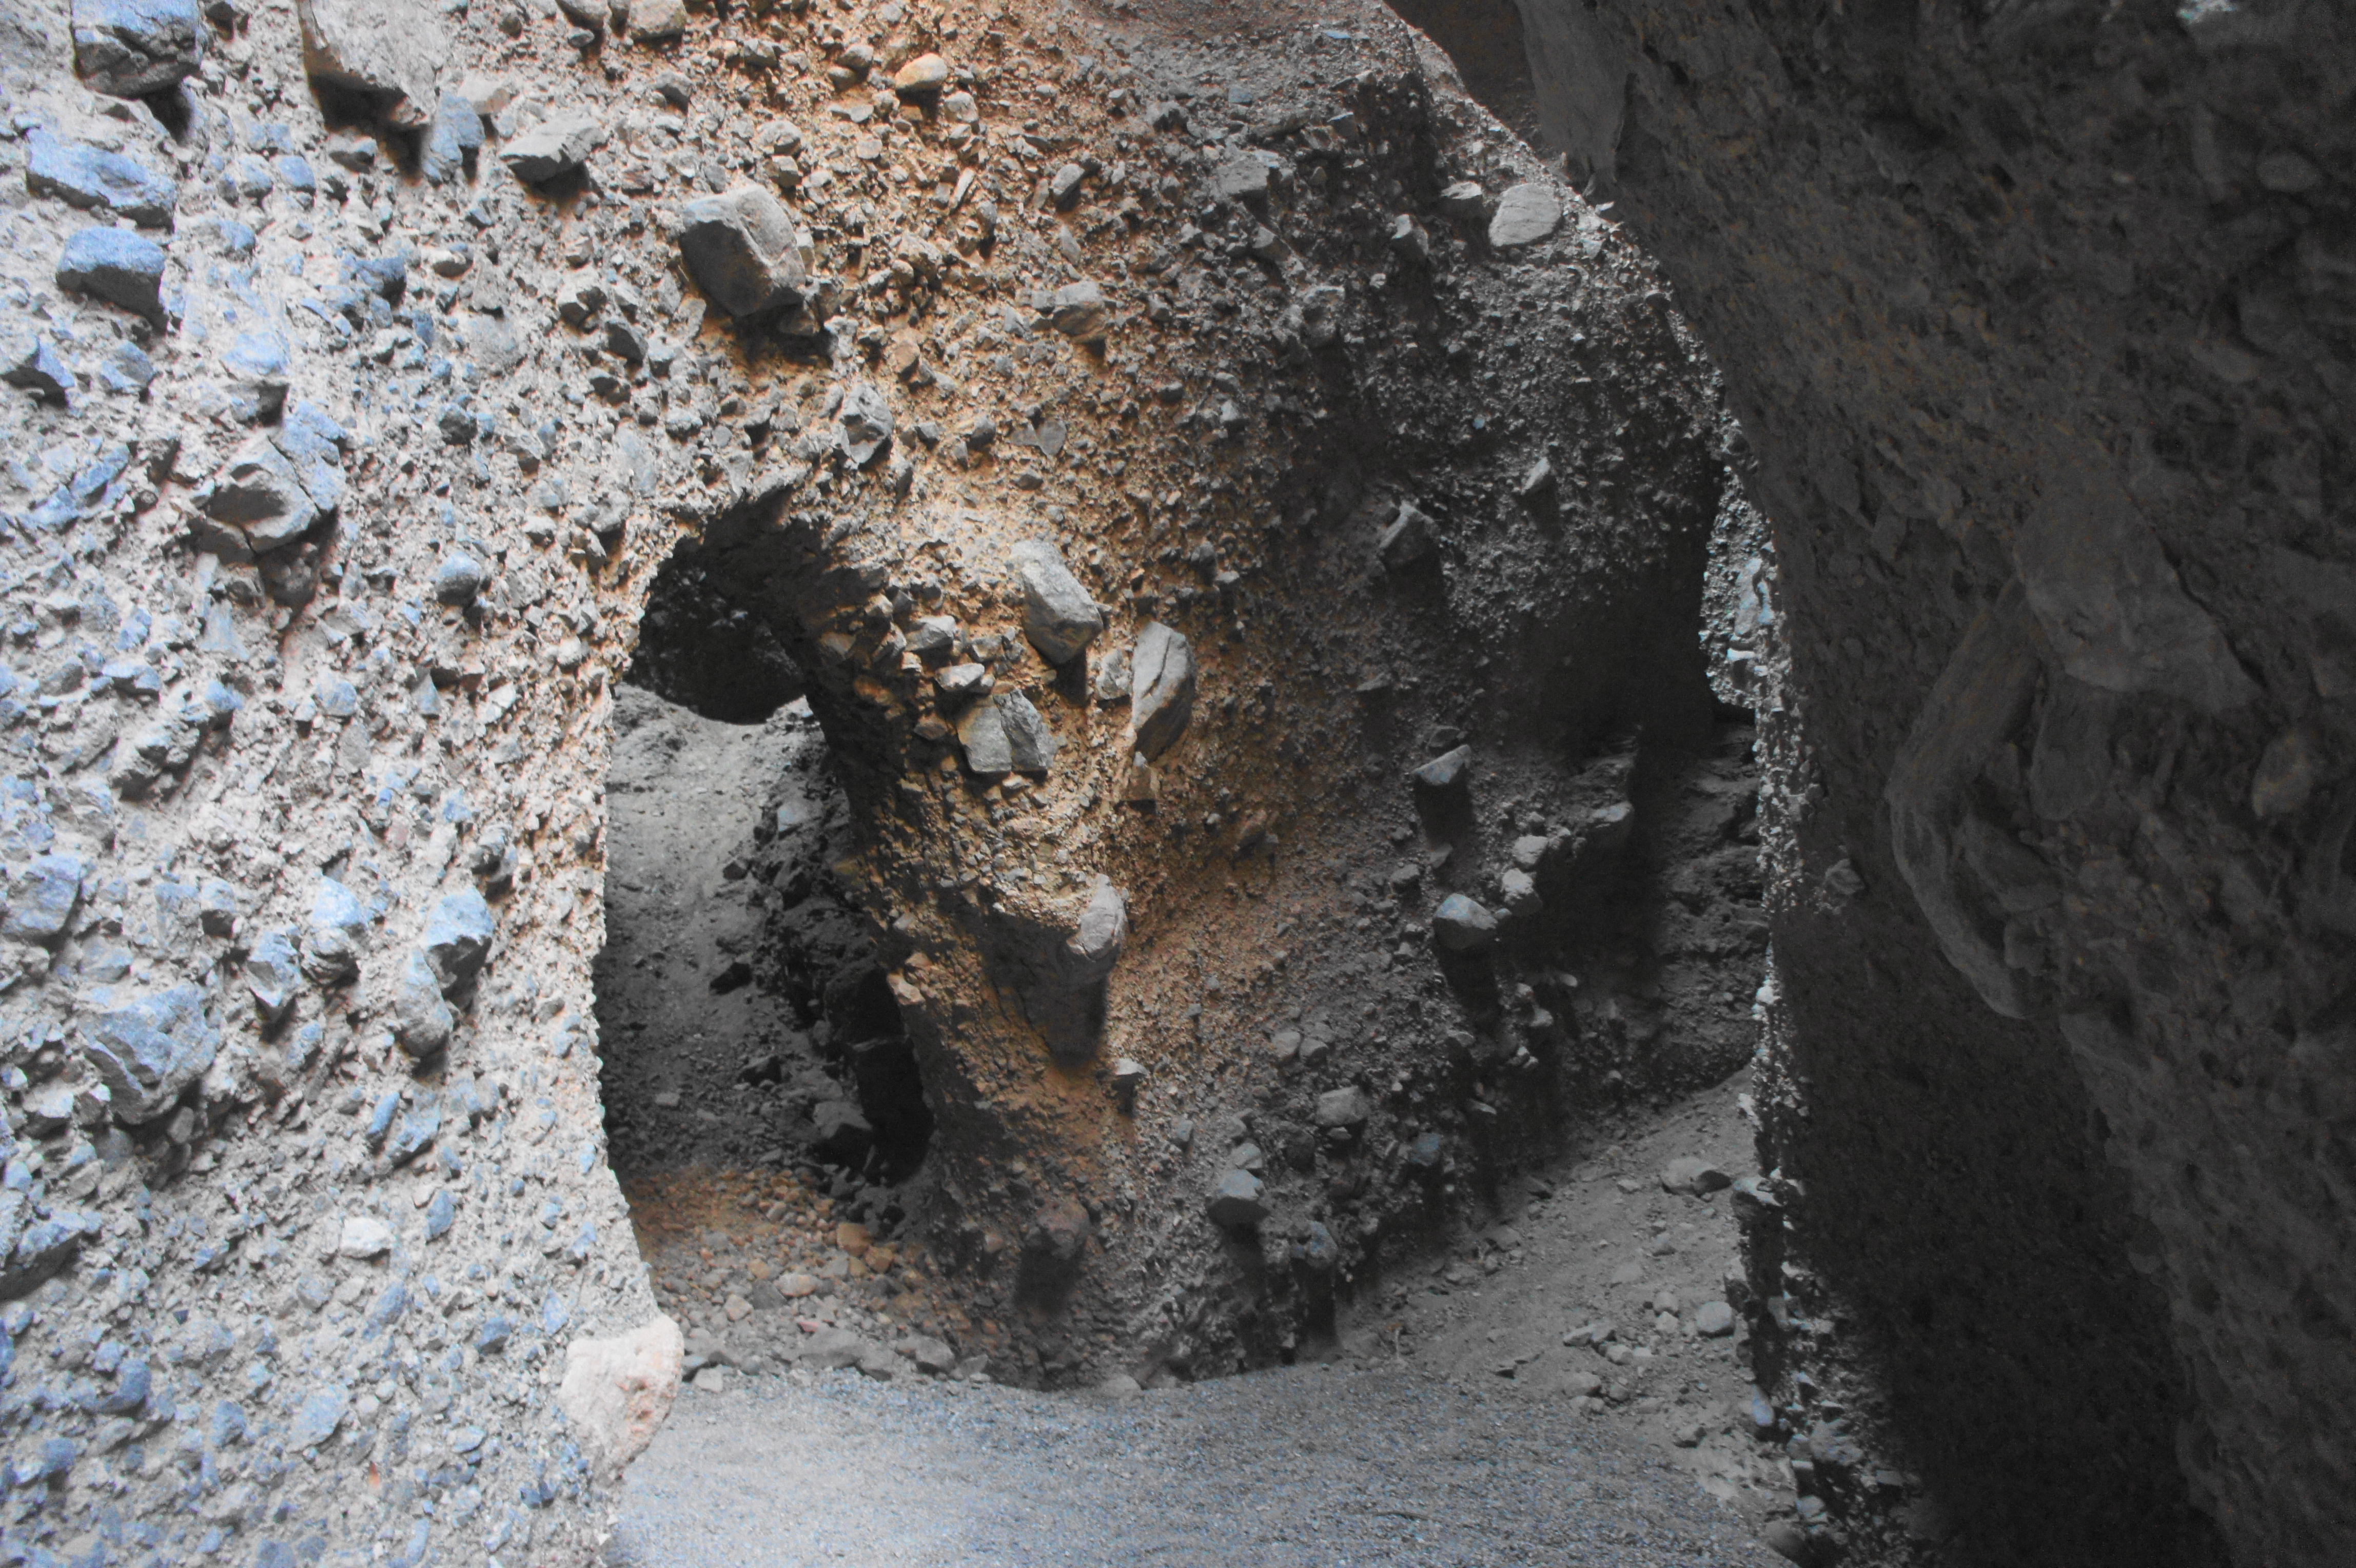
The first slot canyon of the hike is the shortest of the three but also the darkest. Headlamps will be needed if you proceed to its end. The most difficult obstacle comes right at the beginning: a 3- to 4-foot climb at the start will require hikers to set aside their packs and use a bit of upper-body strength to mount a rock jam and crawl through a small window under the entry boulder choke (Note: It should be doable for most hikers, however.). After this rite of initiation, the canyon opens up, revealing high and curving narrows.
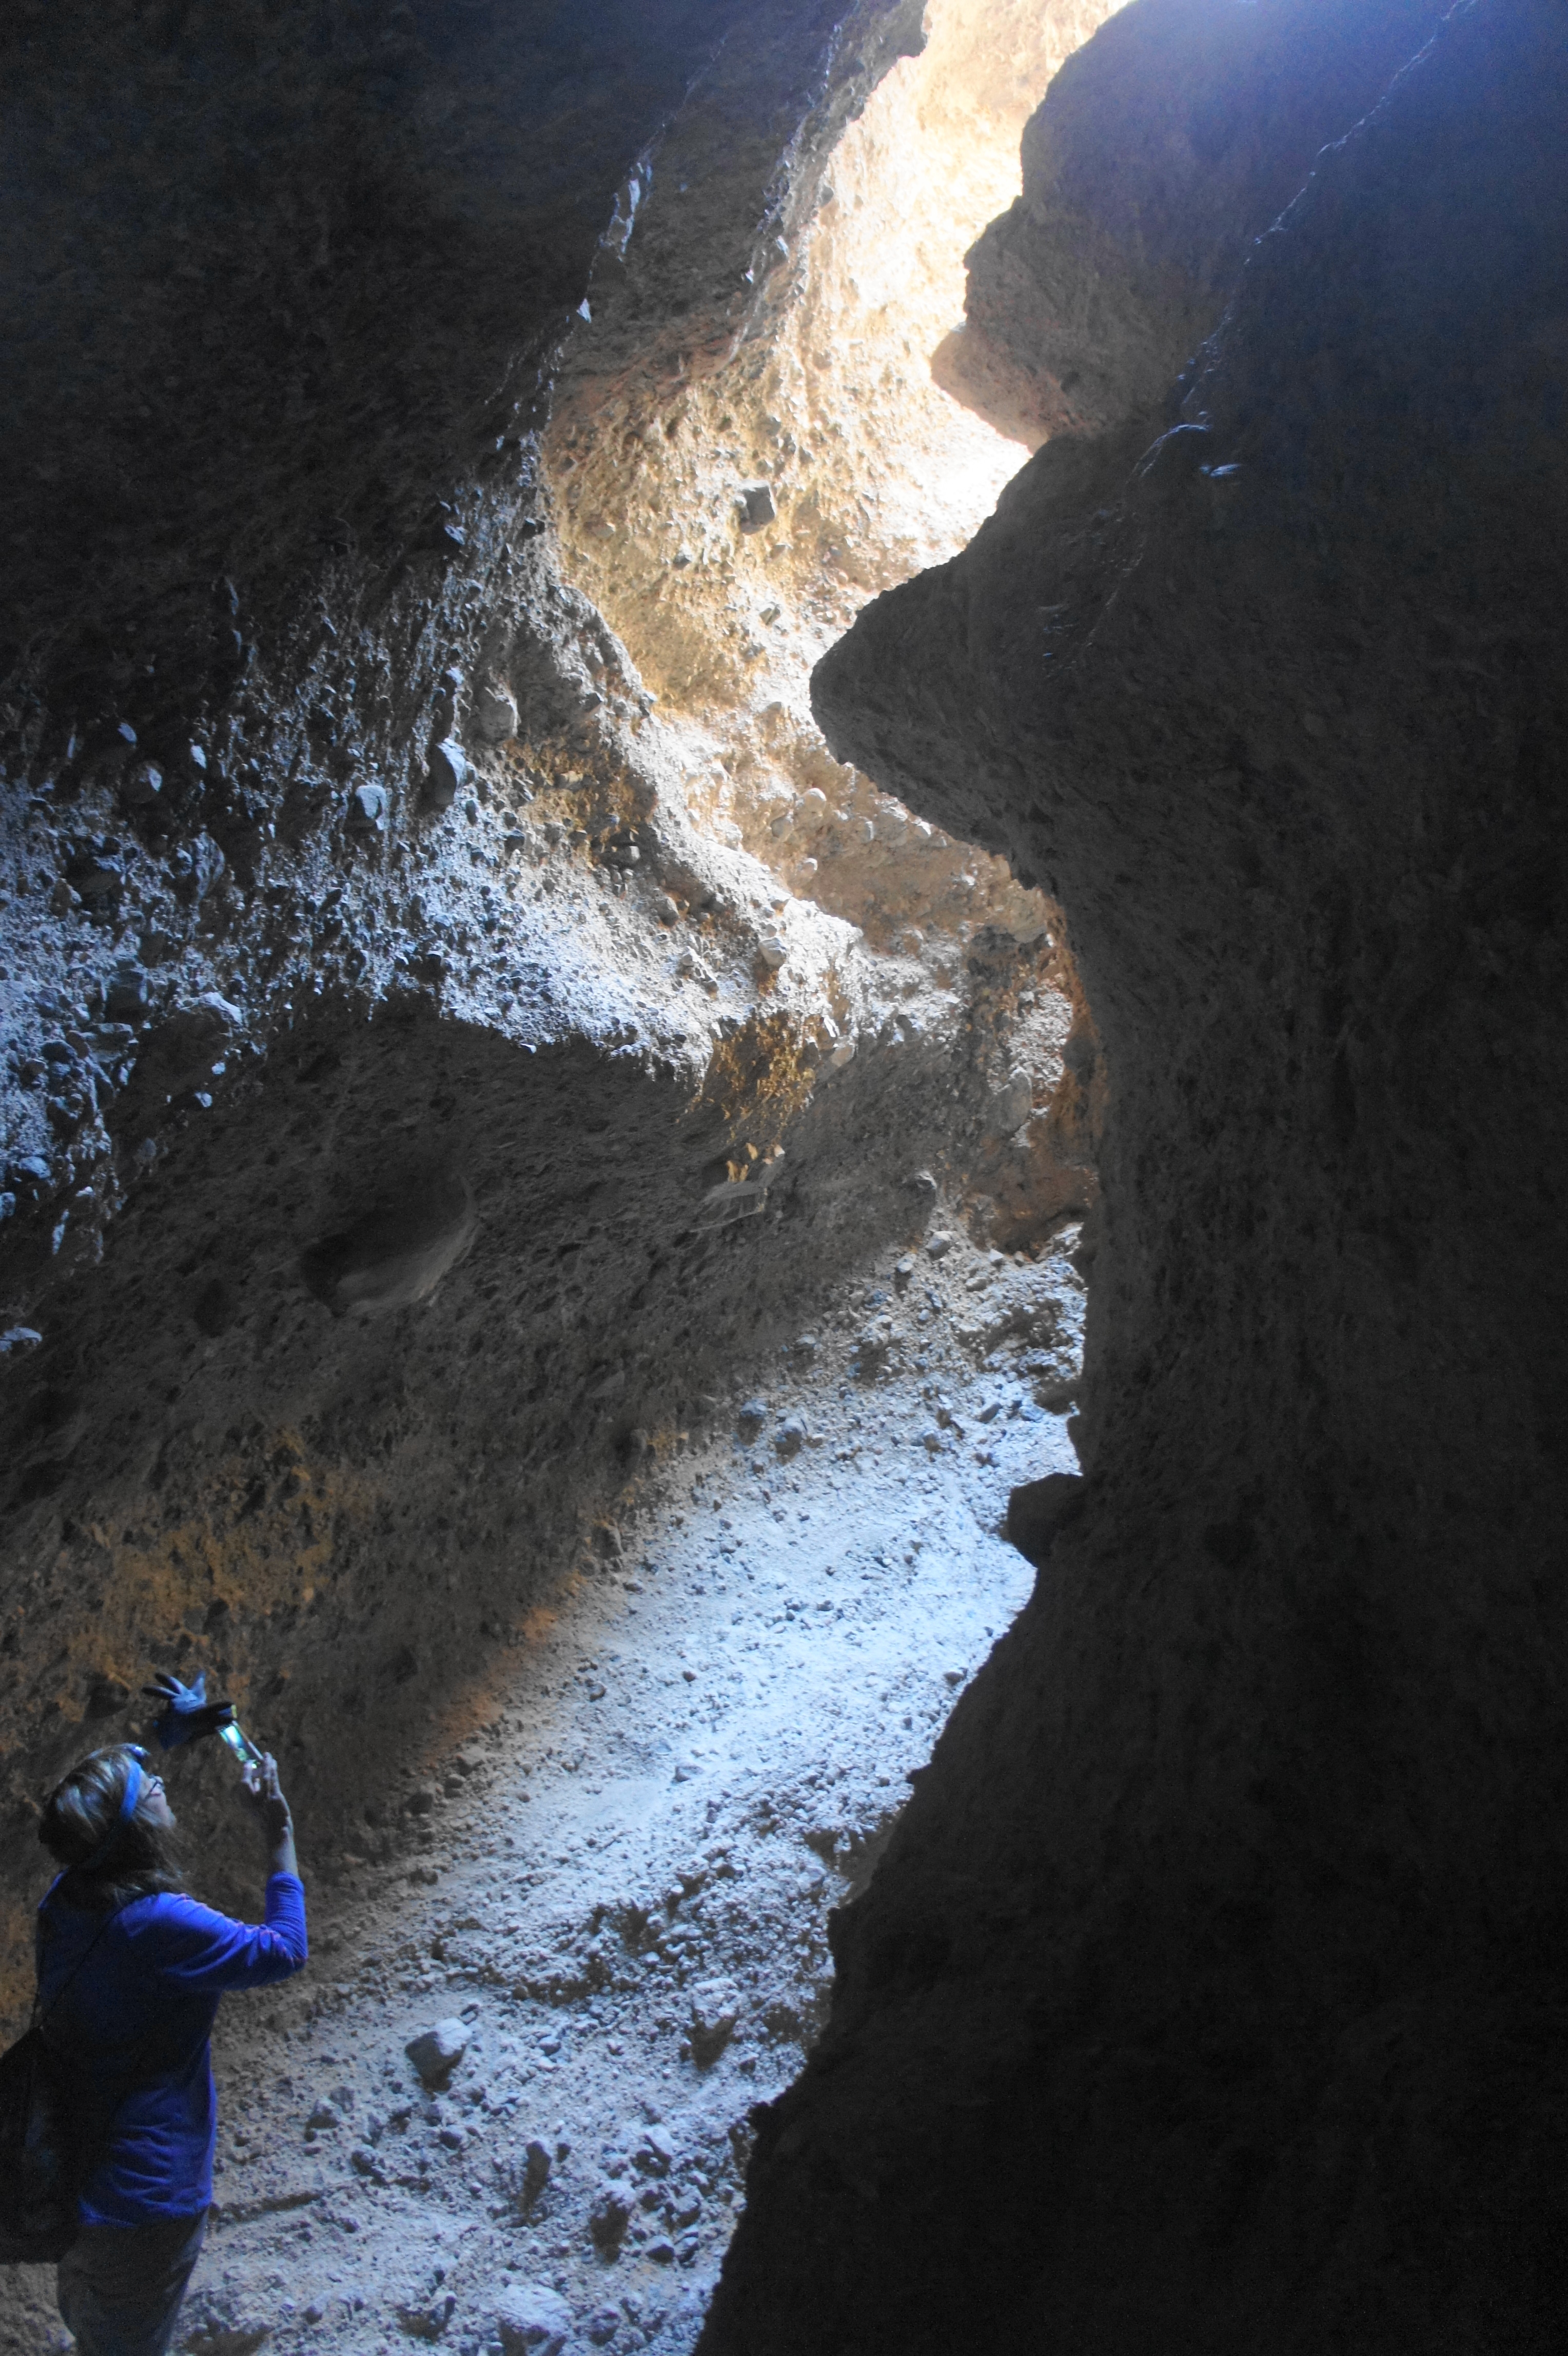
Make your way through this pleasant section, then flip on your flashlight as the slot thins and enters a dark, mysterious cut in the stony walls. After a brief, sunnier interlude, the path plunges into the darkness again; the route ends abruptly in a cavern-like chamber: the drainage technically continues onward but requires a difficult, Class 3-4 climb. Turn around here and make your way back to the slot entrance.


The second Sidewinder slot
Once back in the sunlight, follow the side canyon back to the main Sidewinder drainage and bear right, continuing up-canyon for about 1/10 mile. Look to your right, where one can spot the relatively obvious entrance to the second slot.

The second Sidewinder slot is arguably the prettiest of the three and by far the longest. It begins with an easy stroll through a dark and narrow passage, buttressed by towering and leaning walls on either side. The rock faces are dotted with thousands of rocks inside rocks—cemented into a conglomerate over the course of millennia. Like most canyons in Death Valley, the Sidewinder slots were a product of rainwater, which—though rare—produces occasional flash floods that erode weaknesses in the stone.

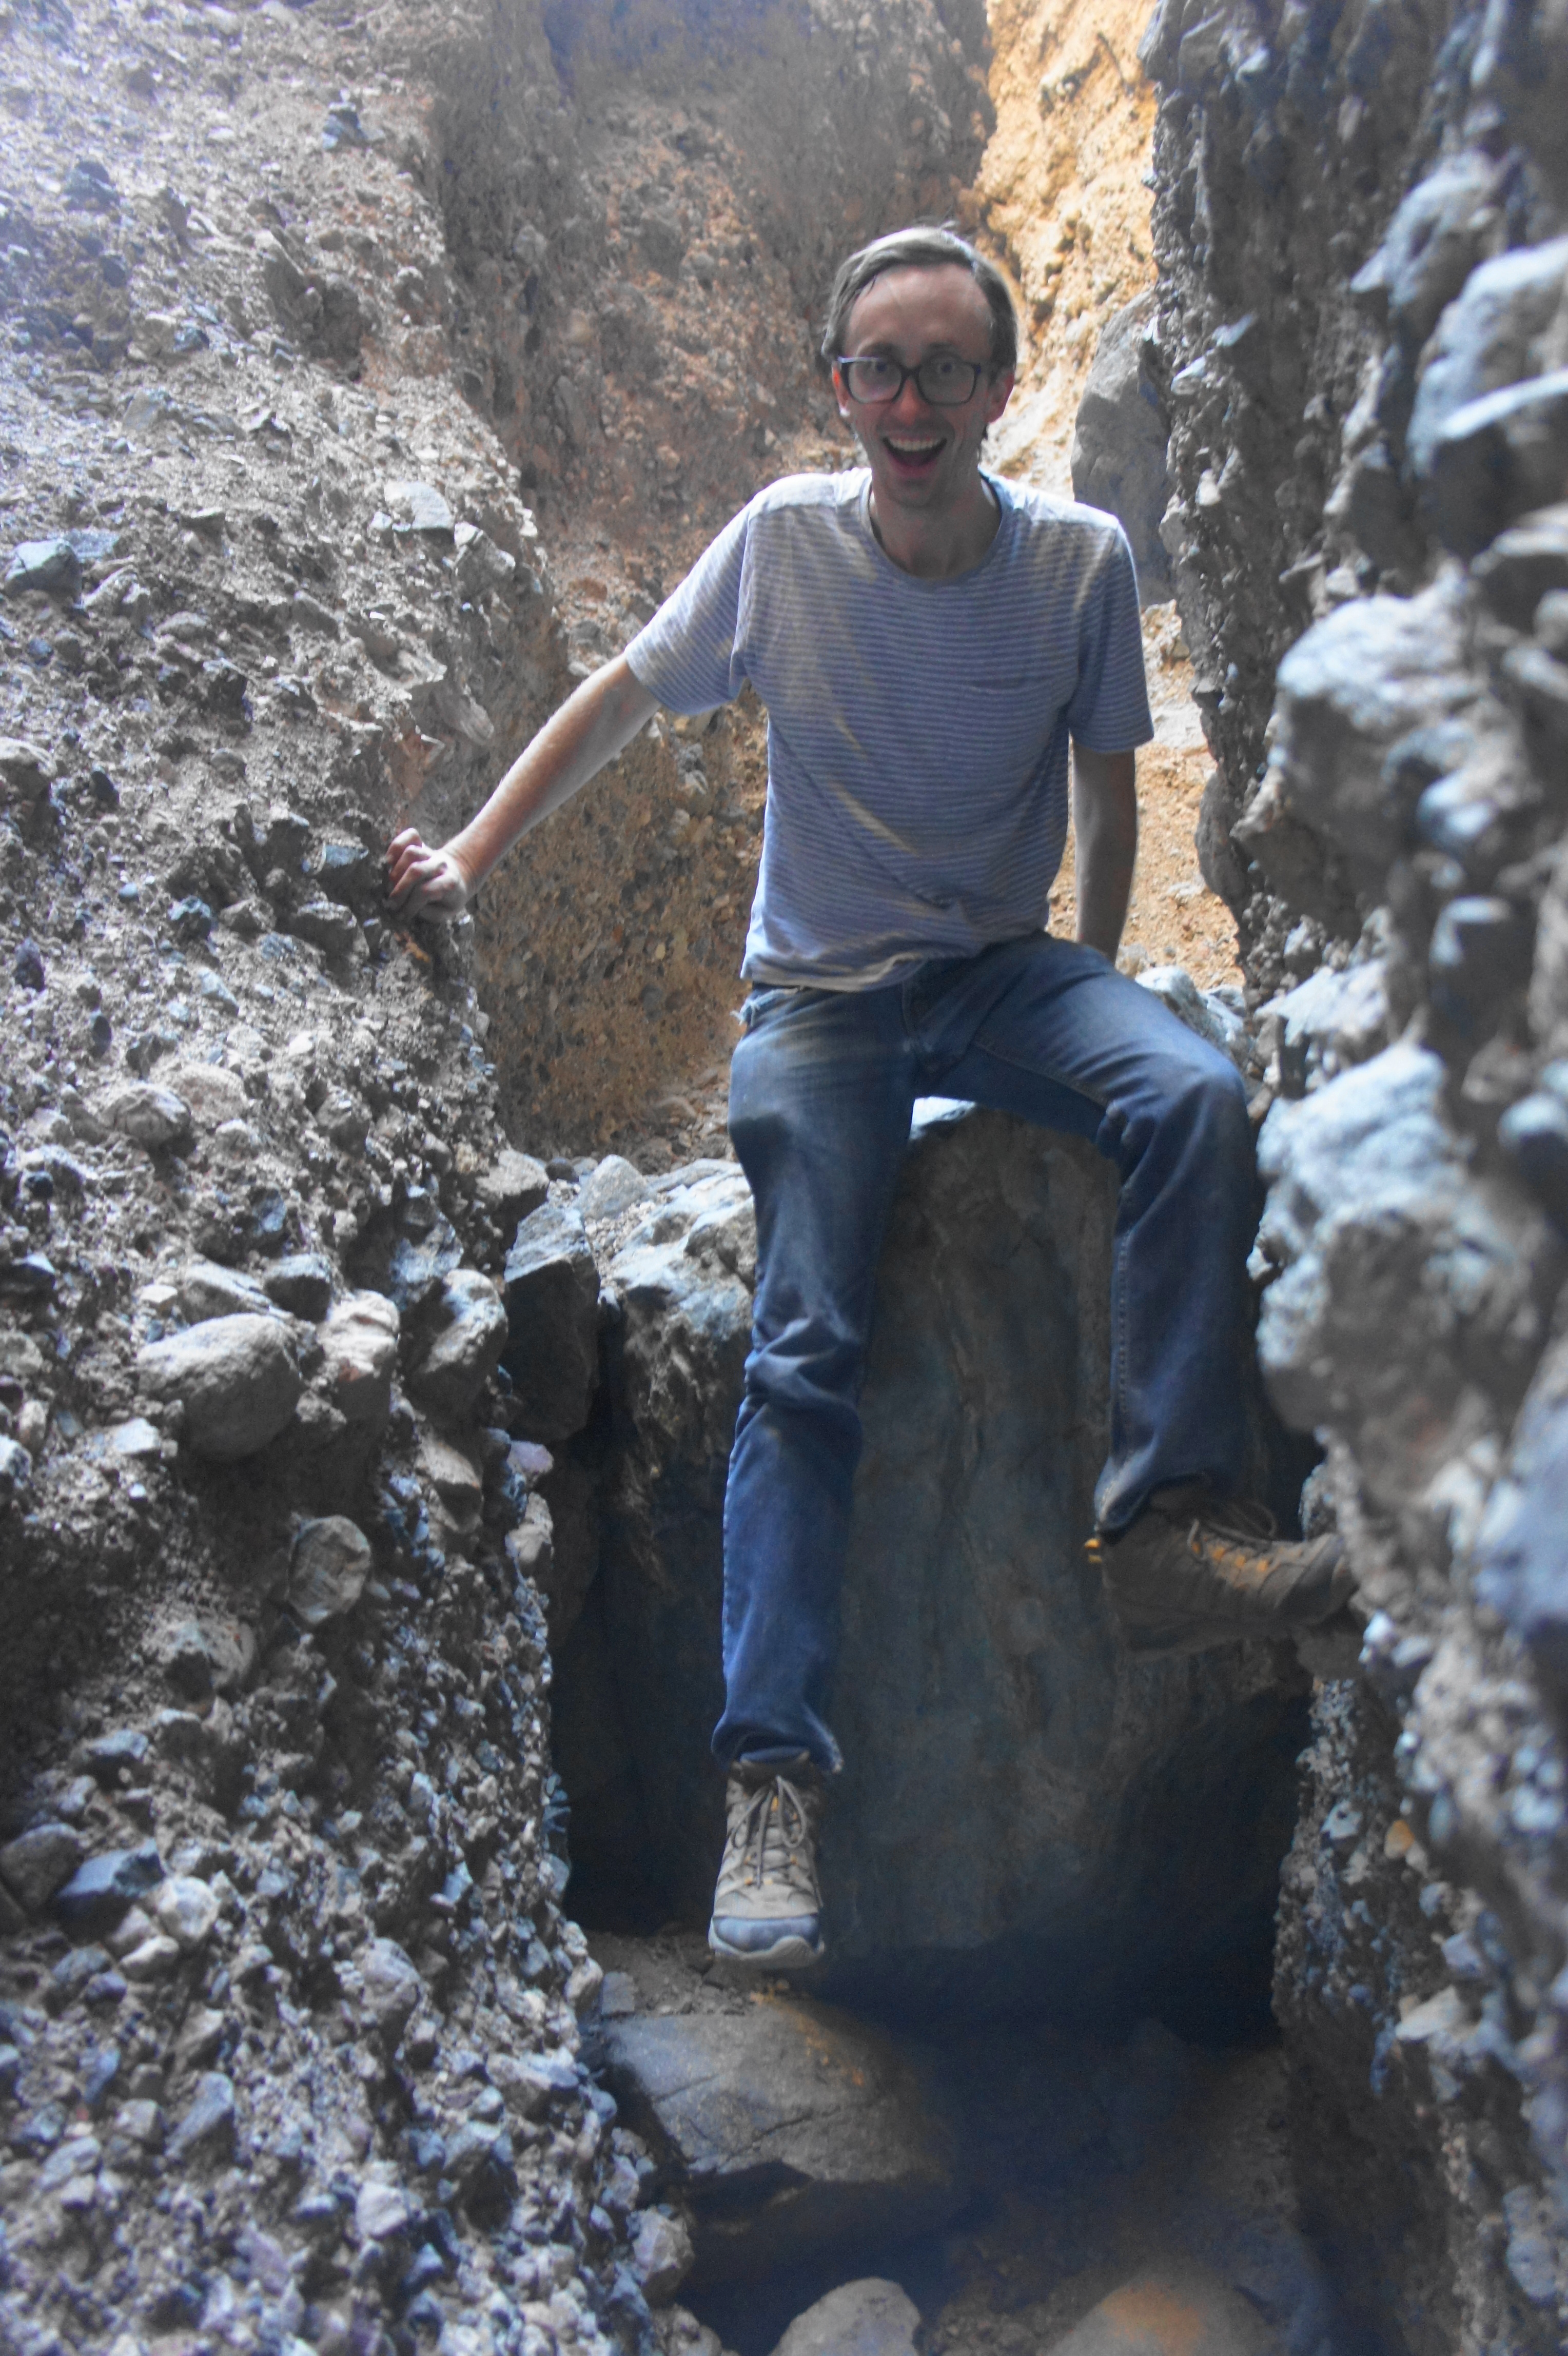
Obstacles are aplenty in this slot, although they start relatively easy. An initial five-foot ascent clears a small chockstone near the beginning, followed by two four-footers with nice handholds. Just beyond, the walls lower and the canyon suddenly opens up, revealing a garden of spires and hoodoos on the right, a secret paradise of rock.


The canyon continues onward, narrowing again and leading to a 7-doot dryfall that, while difficult to ascend head-on, is relatively easily bypassed via an upslope with nice handholds on the right. The narrows beyond are splendid and largely crowd-free; with the right angle, the sun reveals streaks of orange and red up above, with deeper blues and purples in the lower reaches.


About 1/3 mile from the start, hikers reach an unexpected feature: a natural bridge, where water has cut through a weakness in the rock to form a 20-foot-high archway. Beyond the bridge lie the canyon’s three hardest obstacles: three 6- to 8-foot dryfalls that are relatively easily negotiated by experienced canyoneers but may be intimidating for first-timers. Most hikers turn around at this point.
The hearty and persistent, however, are rewarded with more excellent narrows before the canyon opens up again and splits, revealing a second hoodoo garden. Eventually the drainage rises high enough such that Death Valley is visible again through a cleft to the north. After a seemingly endless series of bends and turns, it is potentially possible to climb all the way to the top of the ridgeline, with more expansive views of the surrounding area. Reaching this point requires at least 30-45 minutes of climbing from the slot’s start.

Heading back down can be as tricky as climbing up the slot, so allot a similar amount of time for returning to the slot entrance.
The third Sidewinder slot
The day is not yet done, as one more slot awaits, this one situated a quarter-mile walk up Sidewinder Canyon via beautiful, reddish narrows. Look for the third slot on the right; like the second, it is easy to spot.

The third Sidewinder slot is a close match to the second for beauty. Almost immediately, hikers are greeted with two natural bridges. The slot then opens up a bit into a section with high narrows, followed by the first obstacle of the hike: a low underpass that requires getting on hands and knees to clear.
After emerging out of the dark crawl space, hikers must negotiate a tricky notch, after which the canyon drops suddenly down a gravelly slope. Ahead is a massive chockstone, at least 30- to 40-feet high, that guards the entrance to another narrow and beautiful passage. Within this slot is a smooth and difficult boulder about seven feet high that is probably passable…but was yours truly’s turn-around point.


Retrace your steps back up over the notch, through the crawl space, and out of the slot canyon. There is more of Sidewinder ahead, off to the right—but most head back to the trailhead from here. (Note: Ambitious hikers can continue up-canyon to visit some additional, smaller slots before the main drainage ends at an impassable dryfall.) Allot around 4-5 hours to visit the three main slots and return to the trailhead.

Pingback: Top 10 Hikes in 2020 | Live and Let Hike