

– Civil War Series –
Malvern Hill is one of the country’s best-preserved Civil War battlefields and marked the culmination of the Seven Days’ Battles, a series of engagements outside Richmond, Virginia in June-July 1862 that ended Union Gen. George McClellan’s Peninsula Campaign. McClellan’s Army of the Potomac, in the midst of a retreat to the James River, nonetheless won an undisputed victory at Malvern Hill on July 1, 1862, fending off an ill-fated attack by Gen. Robert E. Lee’s Confederate forces.
The terrain today at Malvern Hill is a mix of sunny fields and dense woods. The roughly 2-mile Malvern Hill Trail (a.k.a. White Trail) forms a circuit around the battlefield, while a 1.5-mile add-on loop—the Carter’s Farm Trail (a.k.a. Blue Trail)—explores the forested area that served as the Confederate staging area for the battle. The trail is maintained as part of Richmond National Battlefield Park.

The hike
Hikers can access the main loop at two different points along Willis Church Road, or Virginia Route 156. The first and most common is the Malvern Hill parking area, marked by a line of Union cannons to the west of Willis Church Road, about two miles south of Glendale National Cemetery and about a 25-30 minute drive from downtown Richmond. The second option, however—beginning up the road 4/10 mile at the Parsonage parking area—is preferable, as it allows hikers to follow the battle roughly chronologically in a counter-clockwise direction.
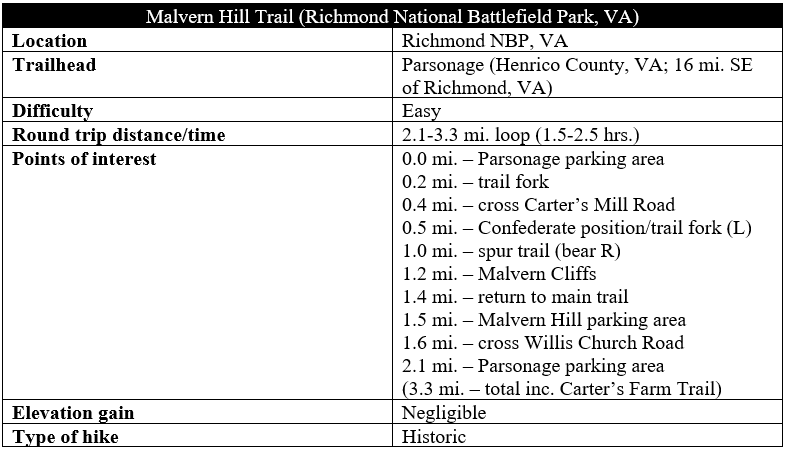
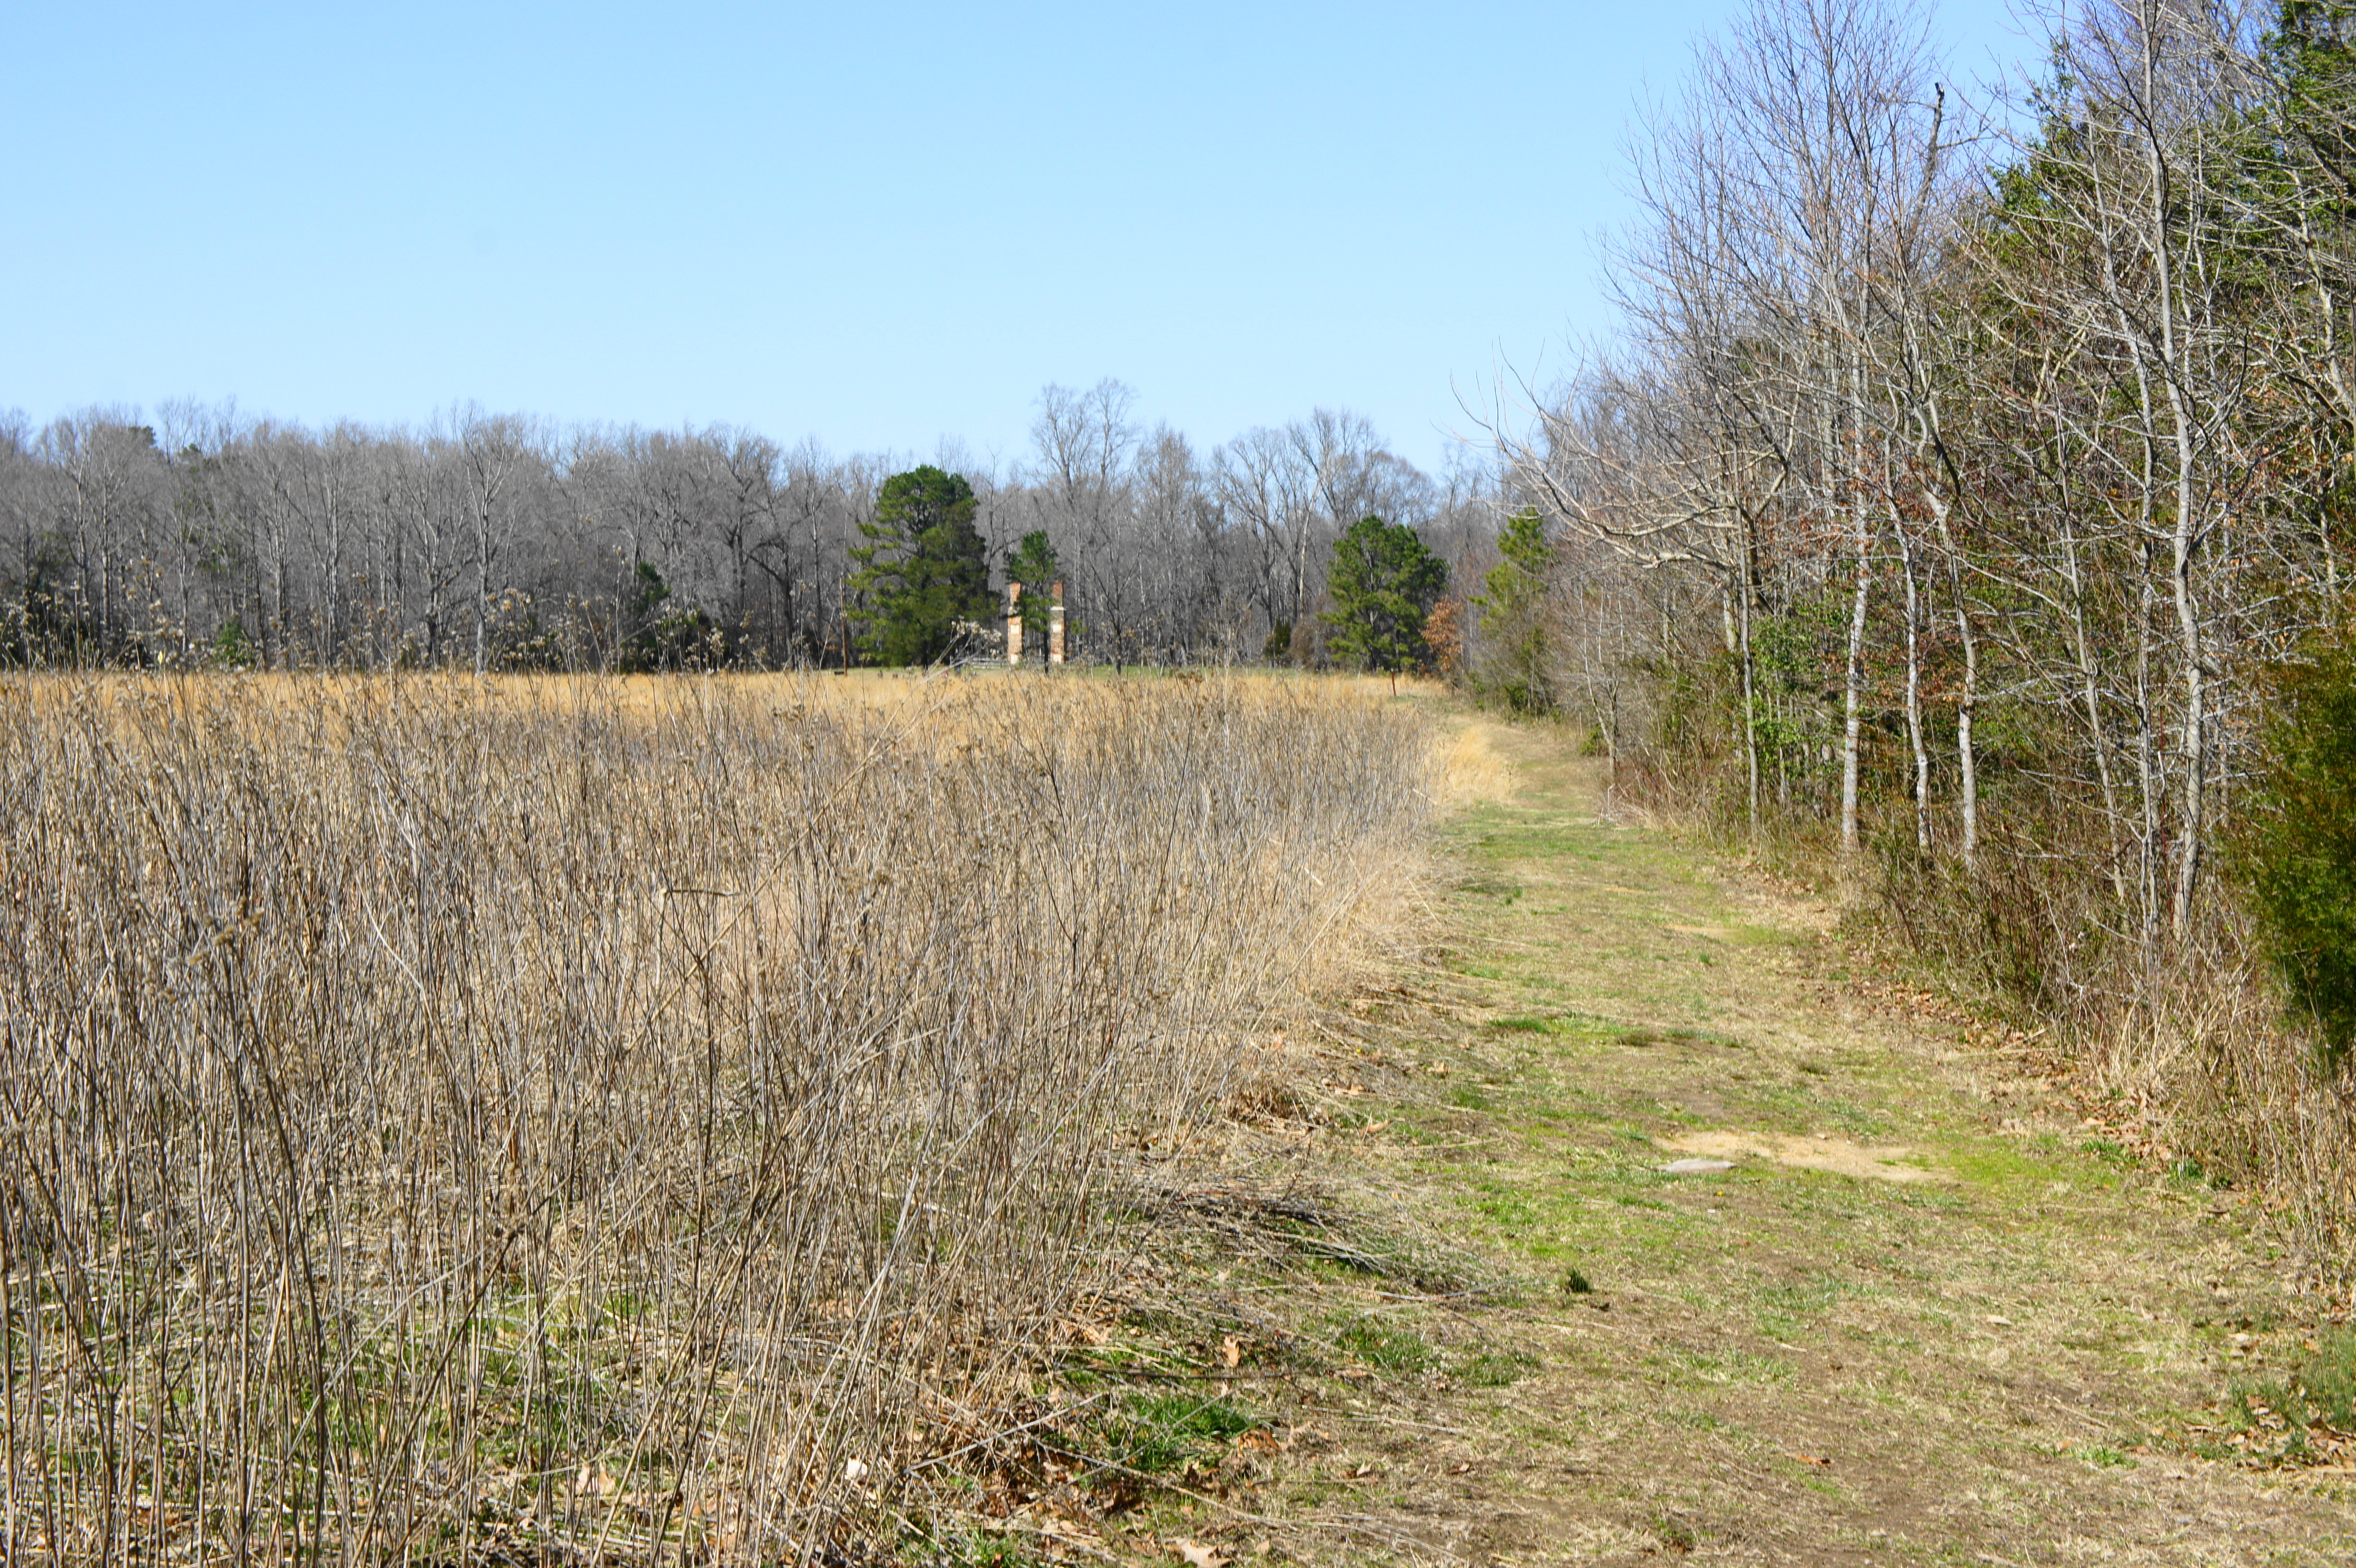
The small, graveled parking area at the Parsonage has only enough space for around five cars, but it is considerably less crowded than the main trailhead 4/10 mile to the south. The parking lot is situated across the street from the ruins of the Willis Creek Parsonage, a house that was a key landmark during the battle. Looking south, one can survey the modest slope of Malvern Hill, with the West House in the distance.
The Battle of Malvern Hill came amid the backdrop of Union retreat. After a long and cautious advance up the Virginia Peninsula beginning in March 1862, Gen. McClellan’s Army of the Potomac finally approached the doorstep of Richmond by May…and then, after a set of counterattacks by Gen. Lee’s Army of Northern Virginia, promptly called off the attack. Even after a Federal victory at Beaver Dam Creek on June 26, the ever-timid McClellan ordered a “change of base”—effectively a capitulation—moving his entire force south to the banks of the James River. Lee’s Army struck the retreating Federals several times—at Gaines’ Mill (June 27), Garnett’s and Golding’s Farms (June 28), Savage’s Station (June 29), White Oak Swamp (June 30), and Glendale (June 30)—before attempting a final blow on July 1 at Malvern Hill.
Only a few miles from the James, Federal forces at Malvern Hill enjoyed a significant advantage in their final battle of the campaign. The slight incline of the grassy hill, though minor, offered excellent fields of fire for Union artillery. Nonetheless, it was from here—at the Parsonage—that Maj. Gen. D.H. Hill’s division decided to go forward with charging the hill, despite the shower of shells and shot from the Federal batteries.
Heading counterclockwise around the loop, hikers will follow the path of the ill-fated Confederate charge. Begin by crossing the street and passing through a break in the fence, leading to the Parsonage ruins. (Note: All that remains of the Willis Creek Parsonage is a pair of chimneys.) It was here that Hill—under Gen. Thomas “Stonewall” Jackson’s command—set up his headquarters for the battle.

The trail stays well left of the Parsonage, briefly fading as it crosses a grassy patch. It is easy to pick up again, however, as the trail drops into the woods, descending a steady slope and crossing a bridge over a minor stream. From here the path climbs gently and bears west.
At 2/10 mile, the trail splits. Here you face a choice: stay left on the main track, or tack on 1.2 miles to your hike by continuing right on the Carter’s Farm Trail (or Blue Trail), which explores the woods to the north that served as the staging point for D.H. Hill’s forces. (Note: This description follows the main trail to the left, but I have included a brief description of the Carter’s Farm hike below under “Extra credit.”)
Staying on the main track, hikers will make good time across a steady flat, surrounded by tall oaks, poplars, and beech trees, as well as a shrub-sized holly. At about 1/3 mile, two depressions on the right mark the site of former graves of Confederate soldiers slain in the battle. Most fallen soldiers were disinterred after the war and reburied at nearby Glendale National Cemetery; these shallow graves, however, represent the hasty construction that was required to bury the dead on a transient and shifting battlefield.
After a short uphill, the woods abruptly end as the trail crosses Carter’s Mill Road, a now-paved track that traces the route of a former road present during the battle. Traverse the road and continue onto land once owned by Dr. Carter (first name unknown) during the war. These crop fields would serve as the primary funnel for the Confederate forces who staged their attack on Union positions in the late afternoon of July 1, 1862.
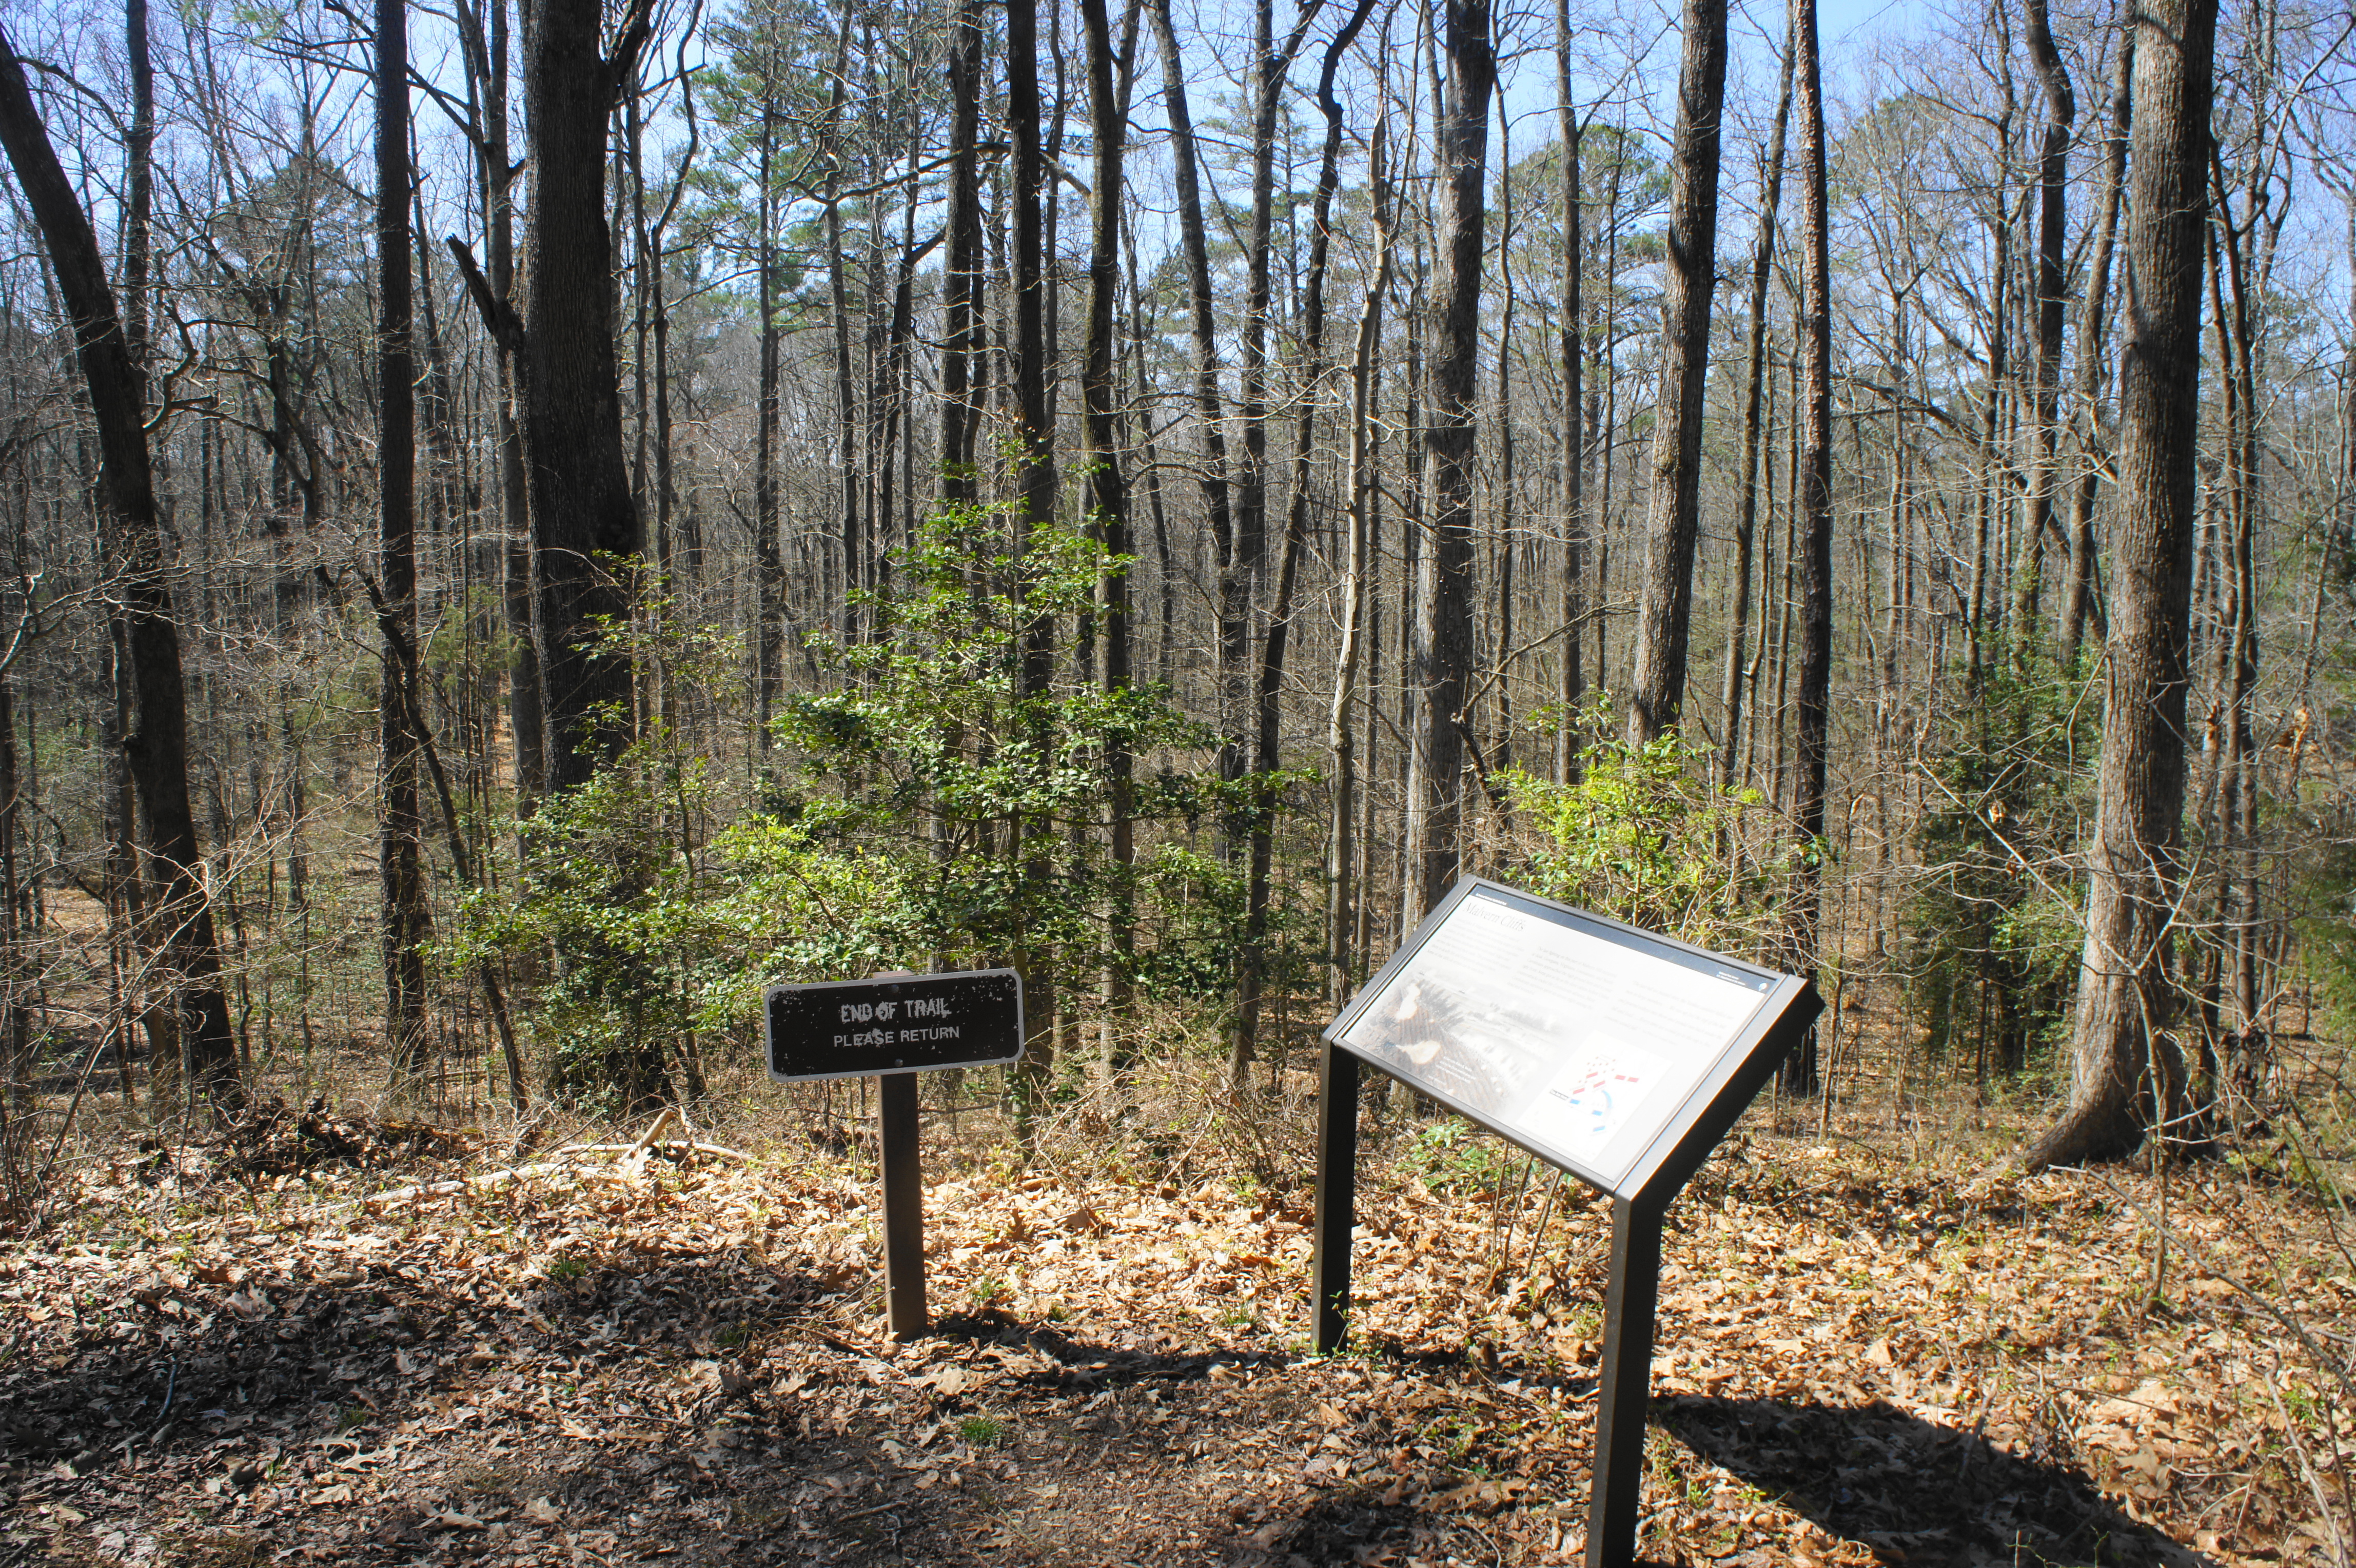
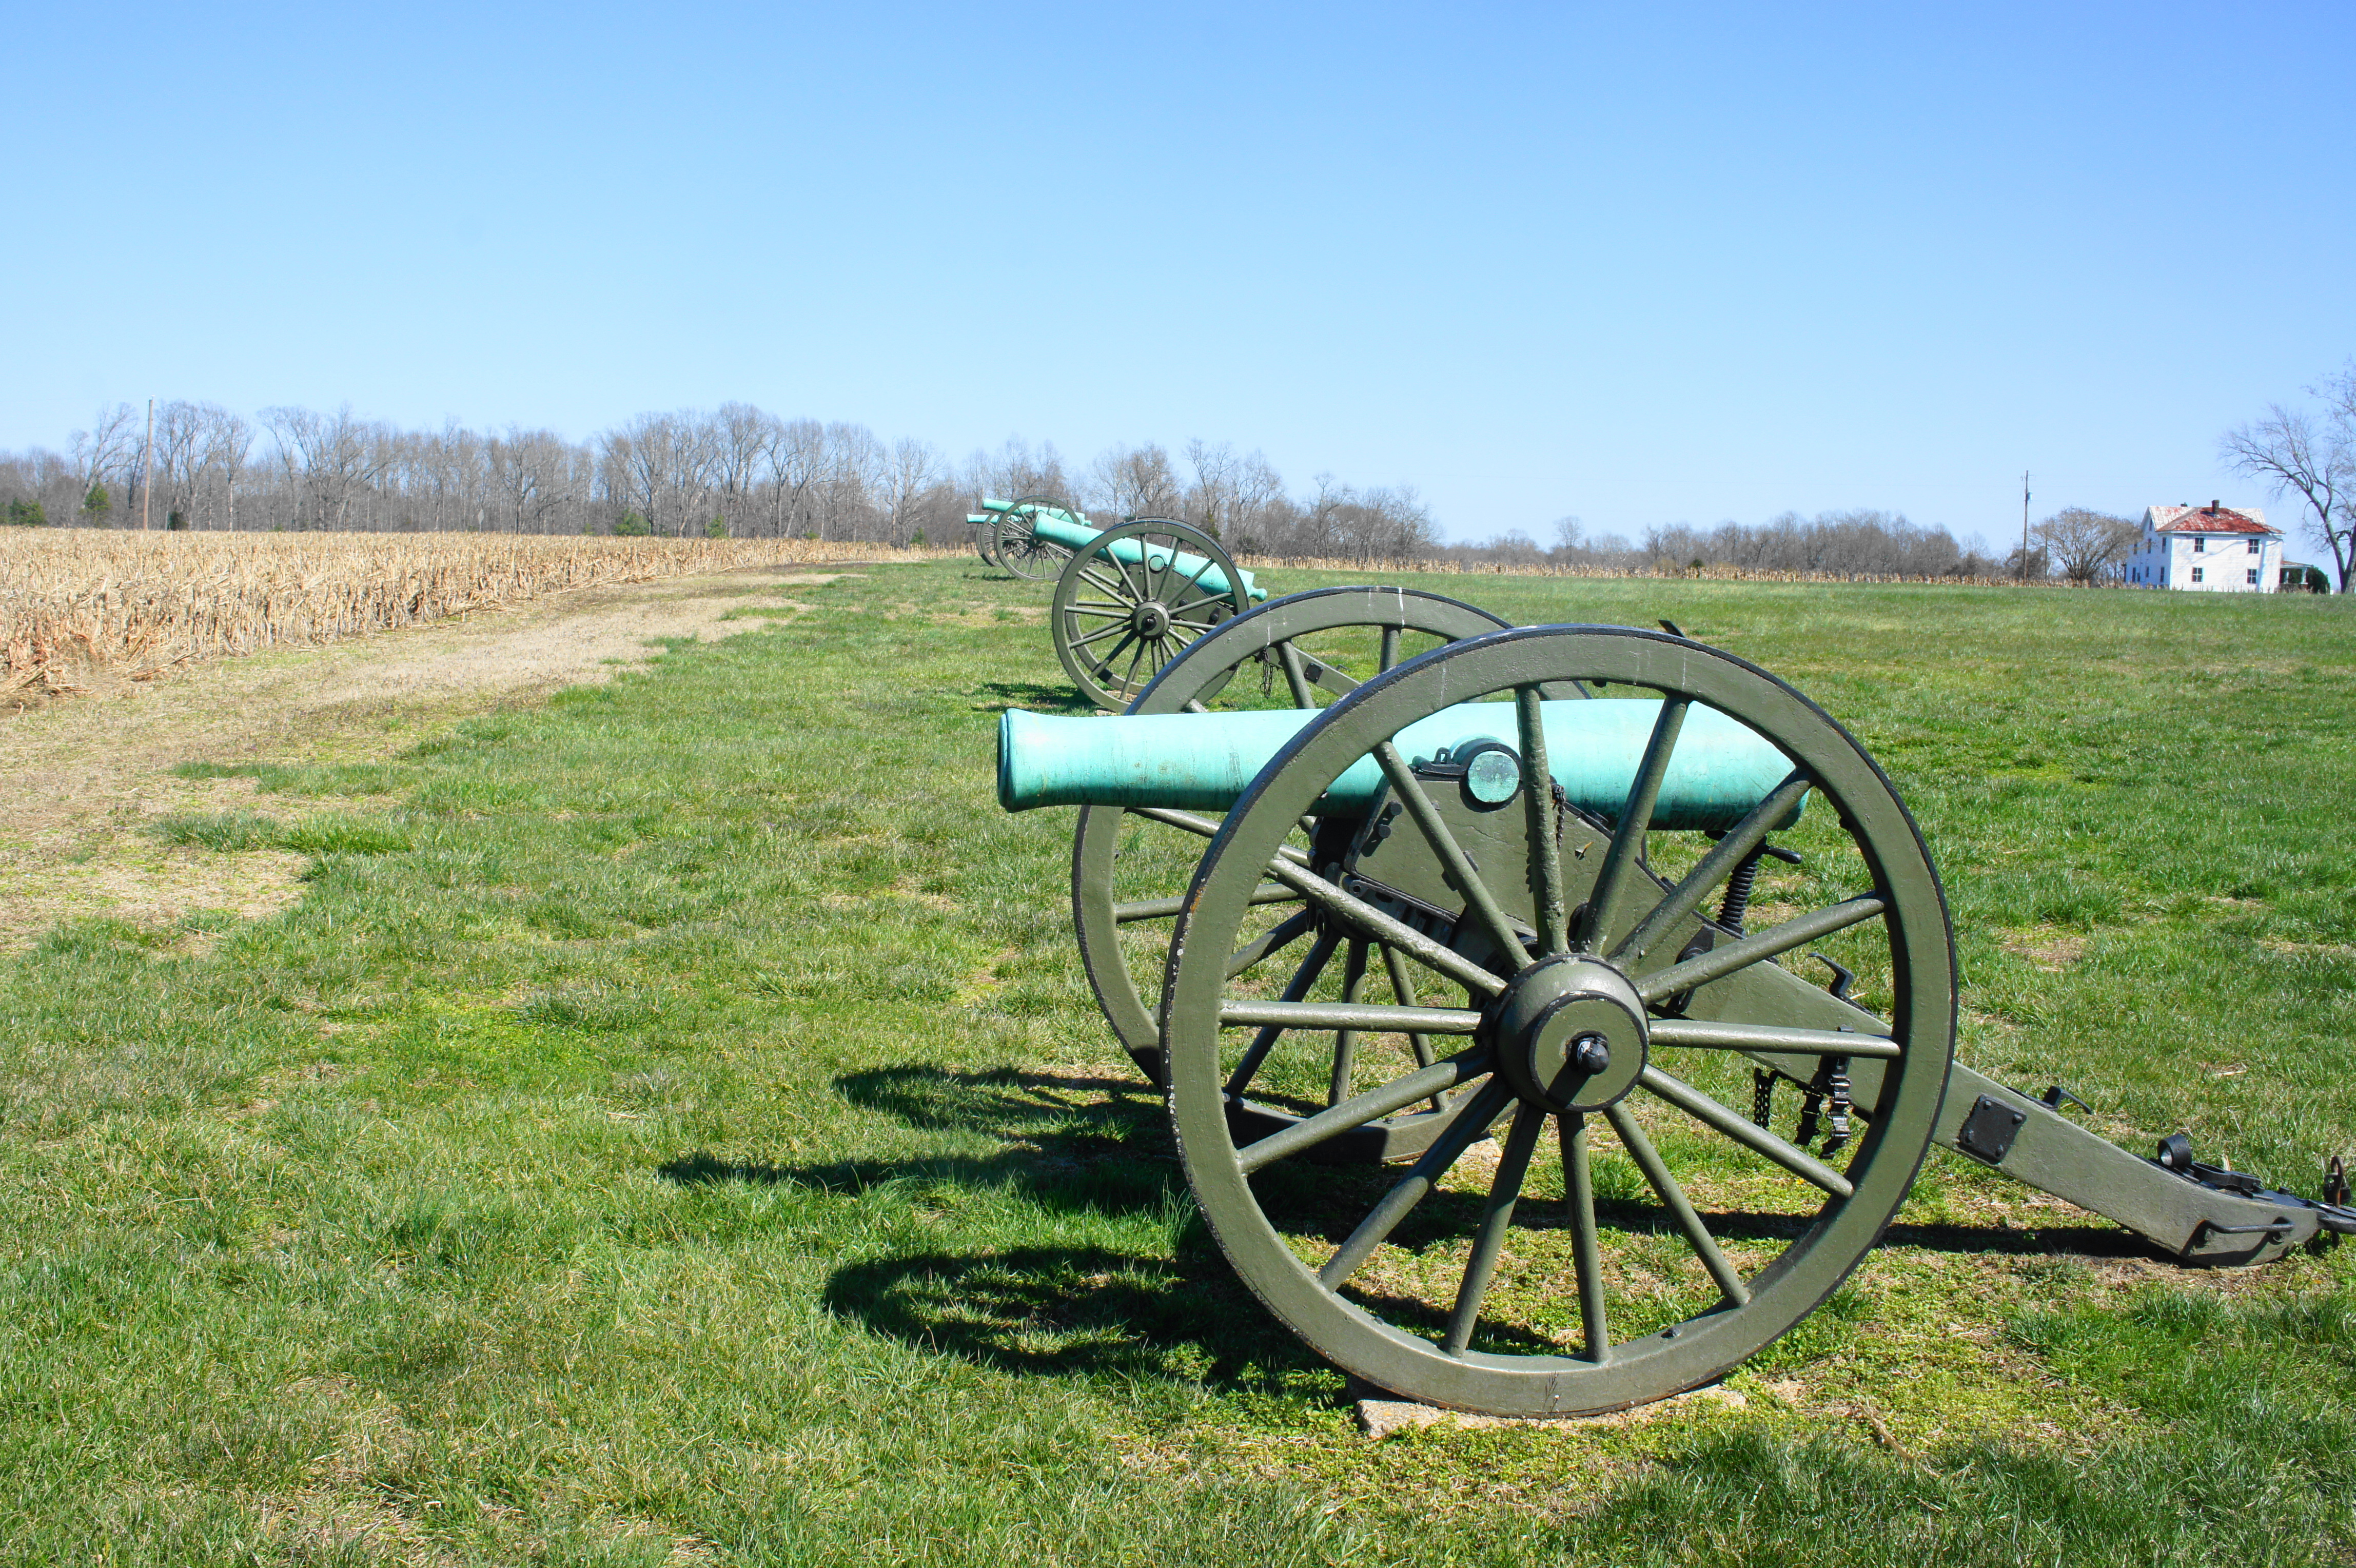
Just ahead, at the ½ mile mark, hikers will encounter three Civil War-era cannons, marking the spot where Gen. Lee made his first moves of the battle. The Confederate plan called for rolling out dozens of cannons—here and at nearby Poindexter Farm—to try to neutralize the superior Union artillery on Malvern Hill, paving the way for an infantry assault. While the cannons were in place by 1pm, they were outnumbered more than two-to-one by Union artillery, and their fire was largely ineffective in softening the Union defenses.[1]

Confederate plans for the battle—an opening artillery barrage followed by an orderly infantry frontal charge—quickly disintegrated. Ambiguous instructions from Gen. Lee led the Confederate infantry to attack prematurely: at around 3 pm, Brig. Gen. Lewis Armistead’s brigade advanced into a small ravine, baited by Union skirmishers; Maj. Gen. John Magruder, believing that Armistead’s movement signaled the start of the infantry attack, led 5,000 men in a charge against the Union line. D.H. Hill’s division followed, sending five brigades forward, even as Gen. Lee was considering calling off the entire attack.[2]
Looking south across Carter’s Farm, one can spot the West House and the site of the Union cannons on the horizon. Armistead’s brigade would have emerged out of the woods behind you, followed by Magruder’s forces. Here, at the cannons, the trail splits—the Carter’s Farm (Blue) Trail comes in from the right, while the main trail cuts left, following the path of the Confederate assault across the fields to the south.

After around 1/3 mile in the exposed sun, the trail reaches the edge of the woods. Though not easily visible from this vantage point, this forest covers a steep drop-off in the terrain, a geographic barrier that forced the Confederates to stay left, conducting a frontal attack on Malvern Hill amid a barrage of artillery fire. Stacks of recently harvested wheat provided some cover; however, the advance halted at a point marked by a wayside at roughly 0.9 miles. (Note: It was here that Private Edwin F. Jemison, a 17-year old Georgian soldier, was killed; a photograph of young Jemison in uniform, taken before the battle, would go on to be one of the most iconic photos of the war.) By now the line of destructive Union cannons is in full view.
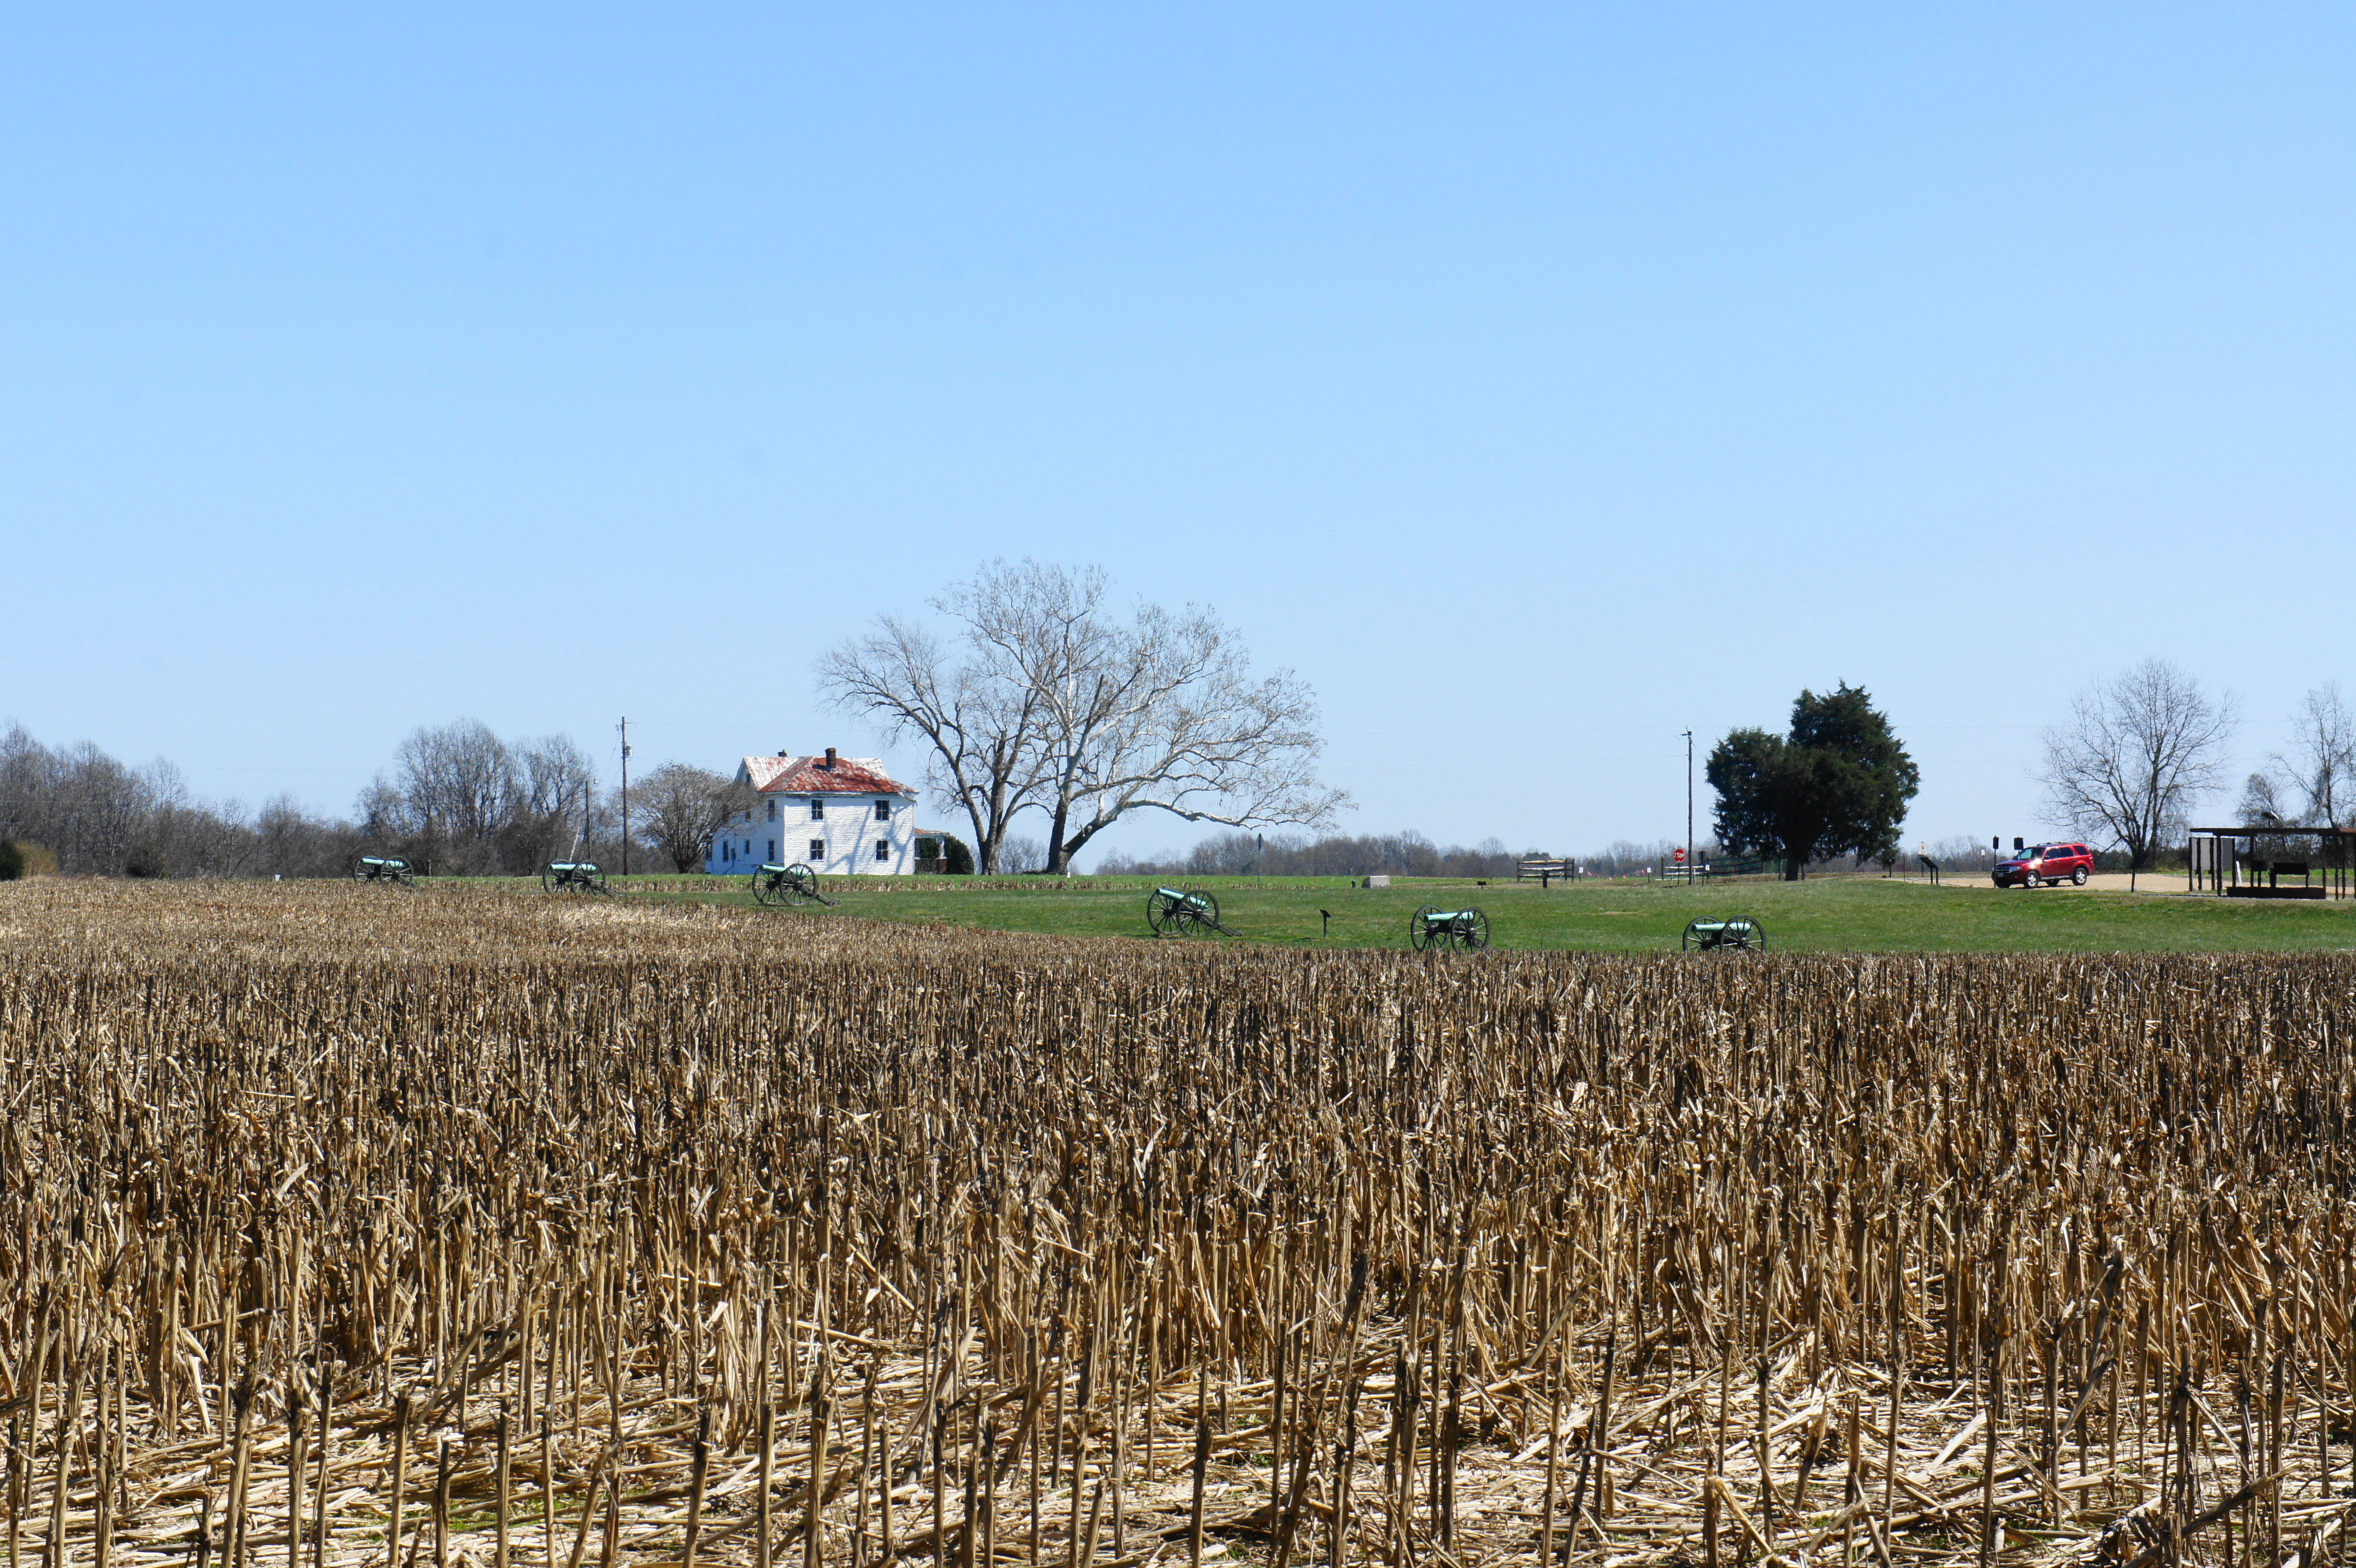
As the trail approaches the Union position, the path splits. Head right to hike a short 0.4-mile out-and-back spur, which leads to an obscured viewpoint of Malvern Cliffs. After skirting the property of privately-owned Crew House, the trail drops back into the woods and crosses a grassy patch to one of the Richmond area’s 61 “Freeman Markers,” a set of stone tablets that tells the story of the Civil War in the area (with a noticeable pro-South bias). Beyond, the trail dips left and narrows, ending at the edge of a steep slope with a wooden bench and wayside sign.
Now covered in woods, the area around Malvern Cliffs comprised largely treeless terrain at the time of the battle, and the sharp ridges and ravines proved difficult for the attacking Confederates to handle. Here forces under the direction of Gen. Magruder were repelled by the Yankees stationed at and around the Crew House, effectively putting an end to the ill-fated Confederate assault.
From the end of the spur, return the way you came, arriving back at the main trail at about 1.4 miles. From here, head straight, hugging the side of the road as it approaches the main parking area for Malvern Hill Battlefield. (Note: This is the alternative starting point for the loop hike.) Here a covered shelter offers a view north across the battlefield, where six Northern cannons are pointed at the Confederate artillery position encountered earlier at the ½ mile mark. (Note: You can also spot the chimneys of the Parsonage in the distance to the northeast.) During the battle, this battery unleashed more than 1,300 rounds of shell and canister, stopping the Southern charge in its tracks.

Continuing east from the Malvern Hill parking area, the trail reaches an intersection near the West House. Bear north at Willis Church Road, paralleling the street on the left for less than 1/10 mile. Use the crosswalk to get to the other side of the road, then follow the eastward path through the fields to another set of artillery.

This section of the battlefield saw slightly less action but was also the site of a Confederate push by D.H. Hill’s forces. Facing weaker fields of fire than the forces to the west, Union soldiers east of the road were forced to deploy infantry ahead of the cannons, but the Federals once again enjoyed superior position and turned back the charge.
At 1.75 miles, the trail abruptly turns left and hugs the edge of the woods. Aiming for the Parsonage, the path continues north for ¼ mile before leaving the forest behind and cutting across open fields back to the Parsonage parking area. Brig. Gen. Darius Couch’s three brigades took on the brunt of the fighting in this area, holding off the Southern attackers until darkness fell on Malvern Hill, ending the day’s fighting. In the end, the Confederates never breached the Union defenses, providing the Federals a rare victory in an otherwise disappointing campaign in which McClellan failed to seize Richmond.
The entire circuit, including the 4/10-mile detour to Malvern Cliffs, covers roughly 2.1 miles, or about 1-1.5 hours of mild hiking. In an area where many battlefield sites have been lost to development, Malvern Hill stands out for its near-complete preservation, an excellent capstone to a multi-day driving tour of the Peninsula Campaign.
Extra Credit: Carter’s Farm Trail
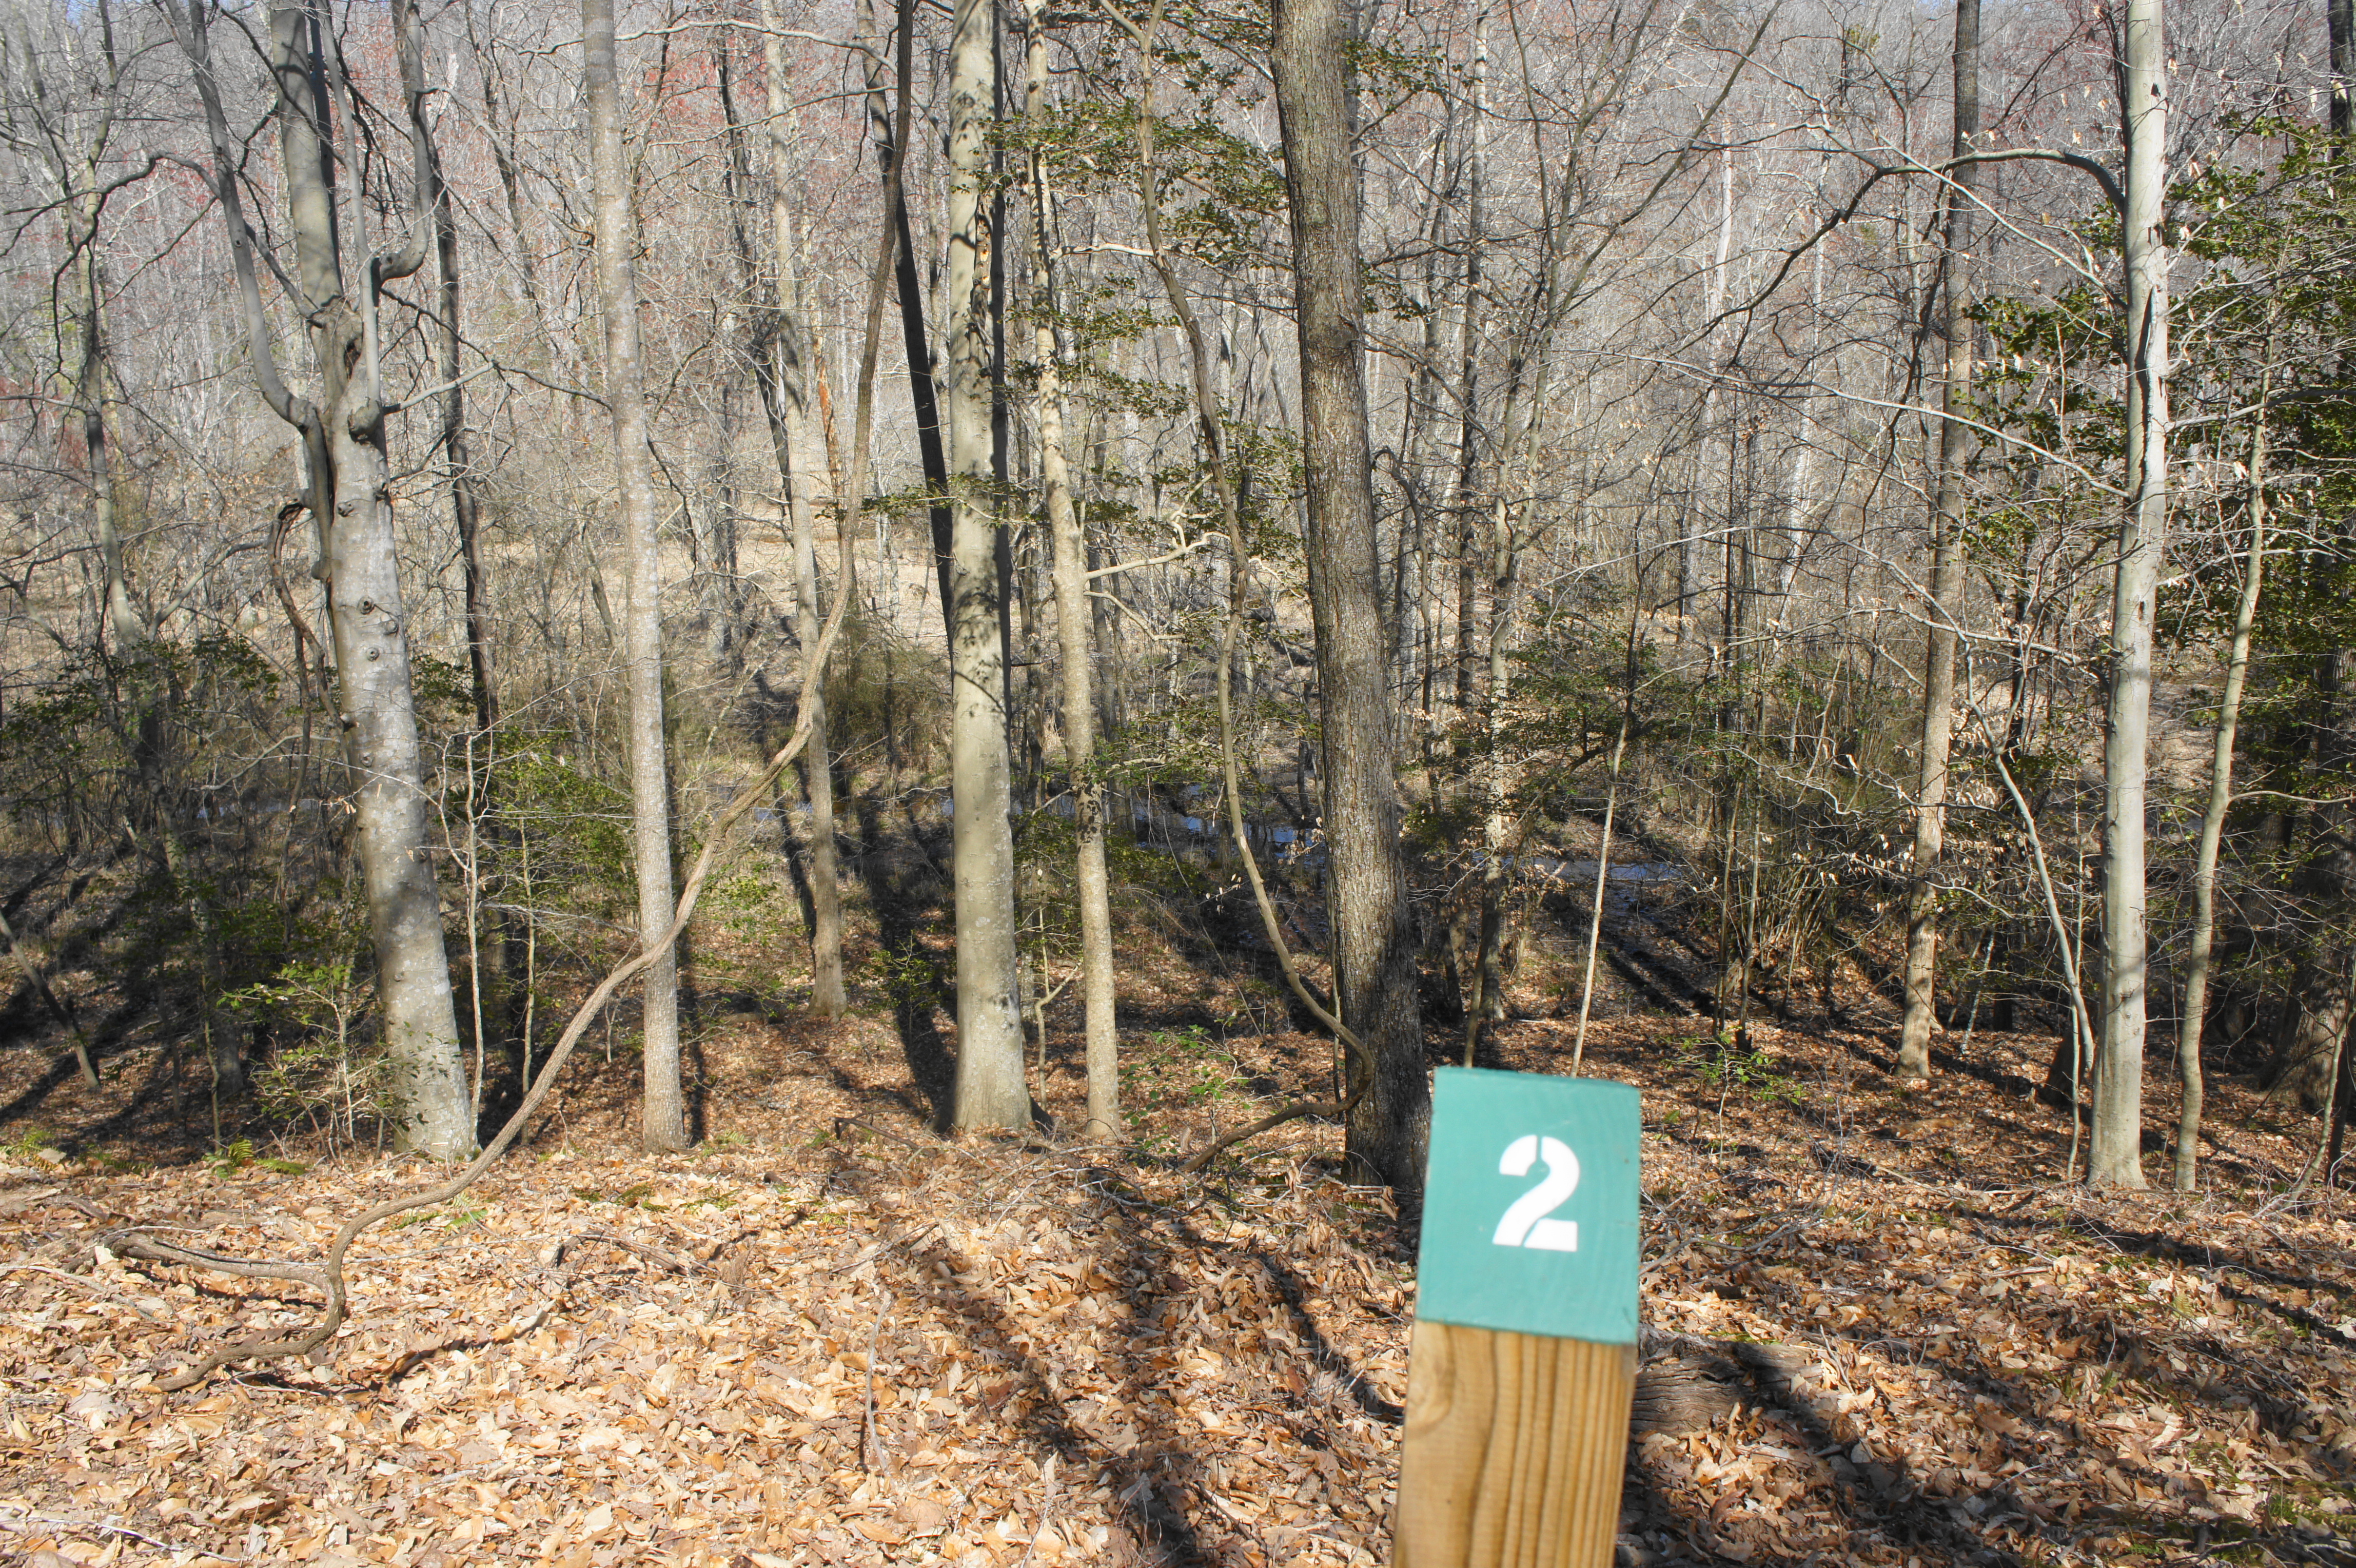
As mentioned earlier, the blue-blazed Carter’s Farm Trail offers an extended option that adds 1.2 miles to the loop hike; it was just constructed in 2015. The extension begins at a right turn about 2/10 mile down the Malvern Hill (White) Trail from the Parsonage. Spending most of the time in the woods, the Carter’s Farm Trail goes behind the Confederate lines, crisscrossing the area where D.H. Hill positioned his division as he awaited orders to advance. (Note: Along the way, eight marked posts correspond with descriptions on the “Malvern Hill Trail System” brochure, found here.)
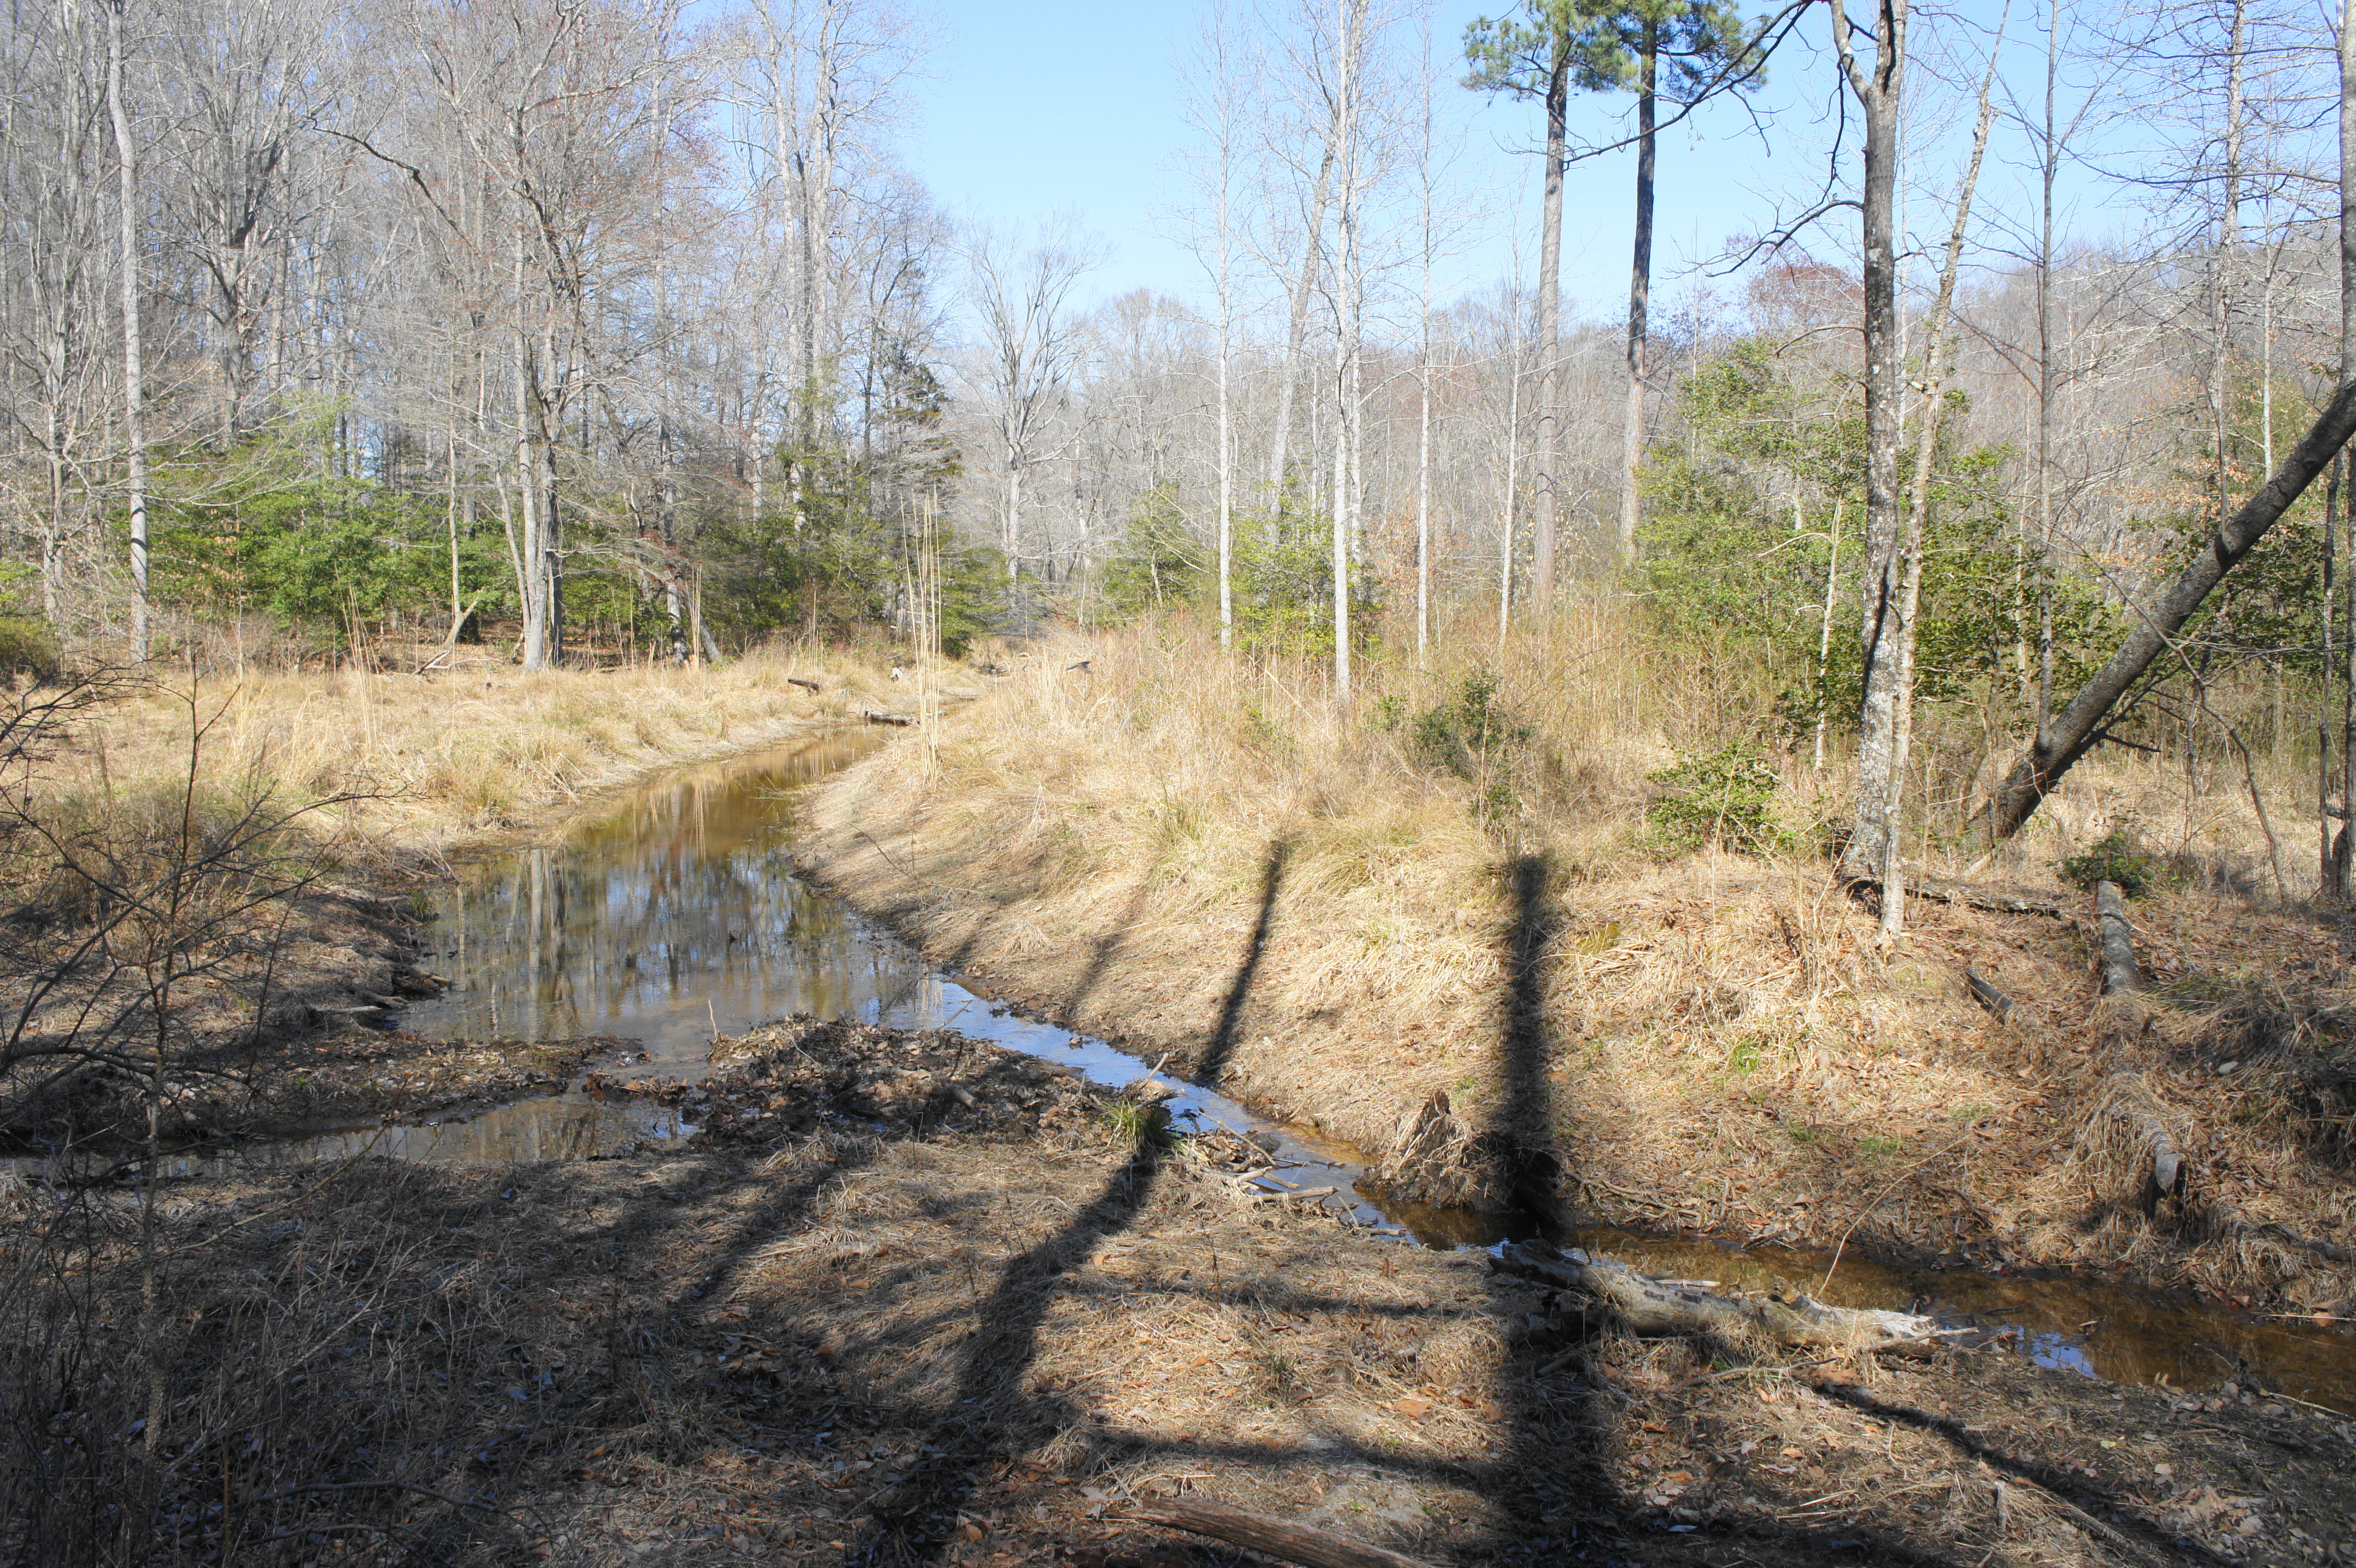
The Carter’s Farm Trail offers a more natural experience than the Malvern Hill Trail, remaining within earshot of the flowing stream of Western Run through much of the first mile. Around 2/10 mile past the start, the trail crosses a tributary of the main creek, followed by a sharp climb to an obscured view of Western Run.
One of the most interesting stories of the battle comes at post #3, which explains how Gen. Hill and fellow Confederate Brig. Gen. Robert Toombs nearly fought each other in a duel after Hill and Toombs accused one another of poor performance during the failed attack. The defeated Confederates fled back through this area as twilight approached on the night of July 1, with confusion ensuing. After hikers cut through swampy terrain (where the blue-blazed trail is somewhat hard to follow), they will approach an escape route used by the Confederates at 6/10 mile: the remnants of an old dam, which Brig. Gen. Jubal Early’s brigade used to transport horses across Western Run.
Beyond this point, the trail cuts left, leaving the stream valley behind and climbing to cross Carter’s Mill Road at 0.9 miles. Follow the road south for ¼ mile, keeping the corn fields—formerly belonging to Dr. Carter—on your right. Just before the road reenters the woods, the blue-blazed path cuts right, and then bears south through a pine forest. This was the last solace of cover for attacking Confederates before they were exposed to intense Union artillery fire.
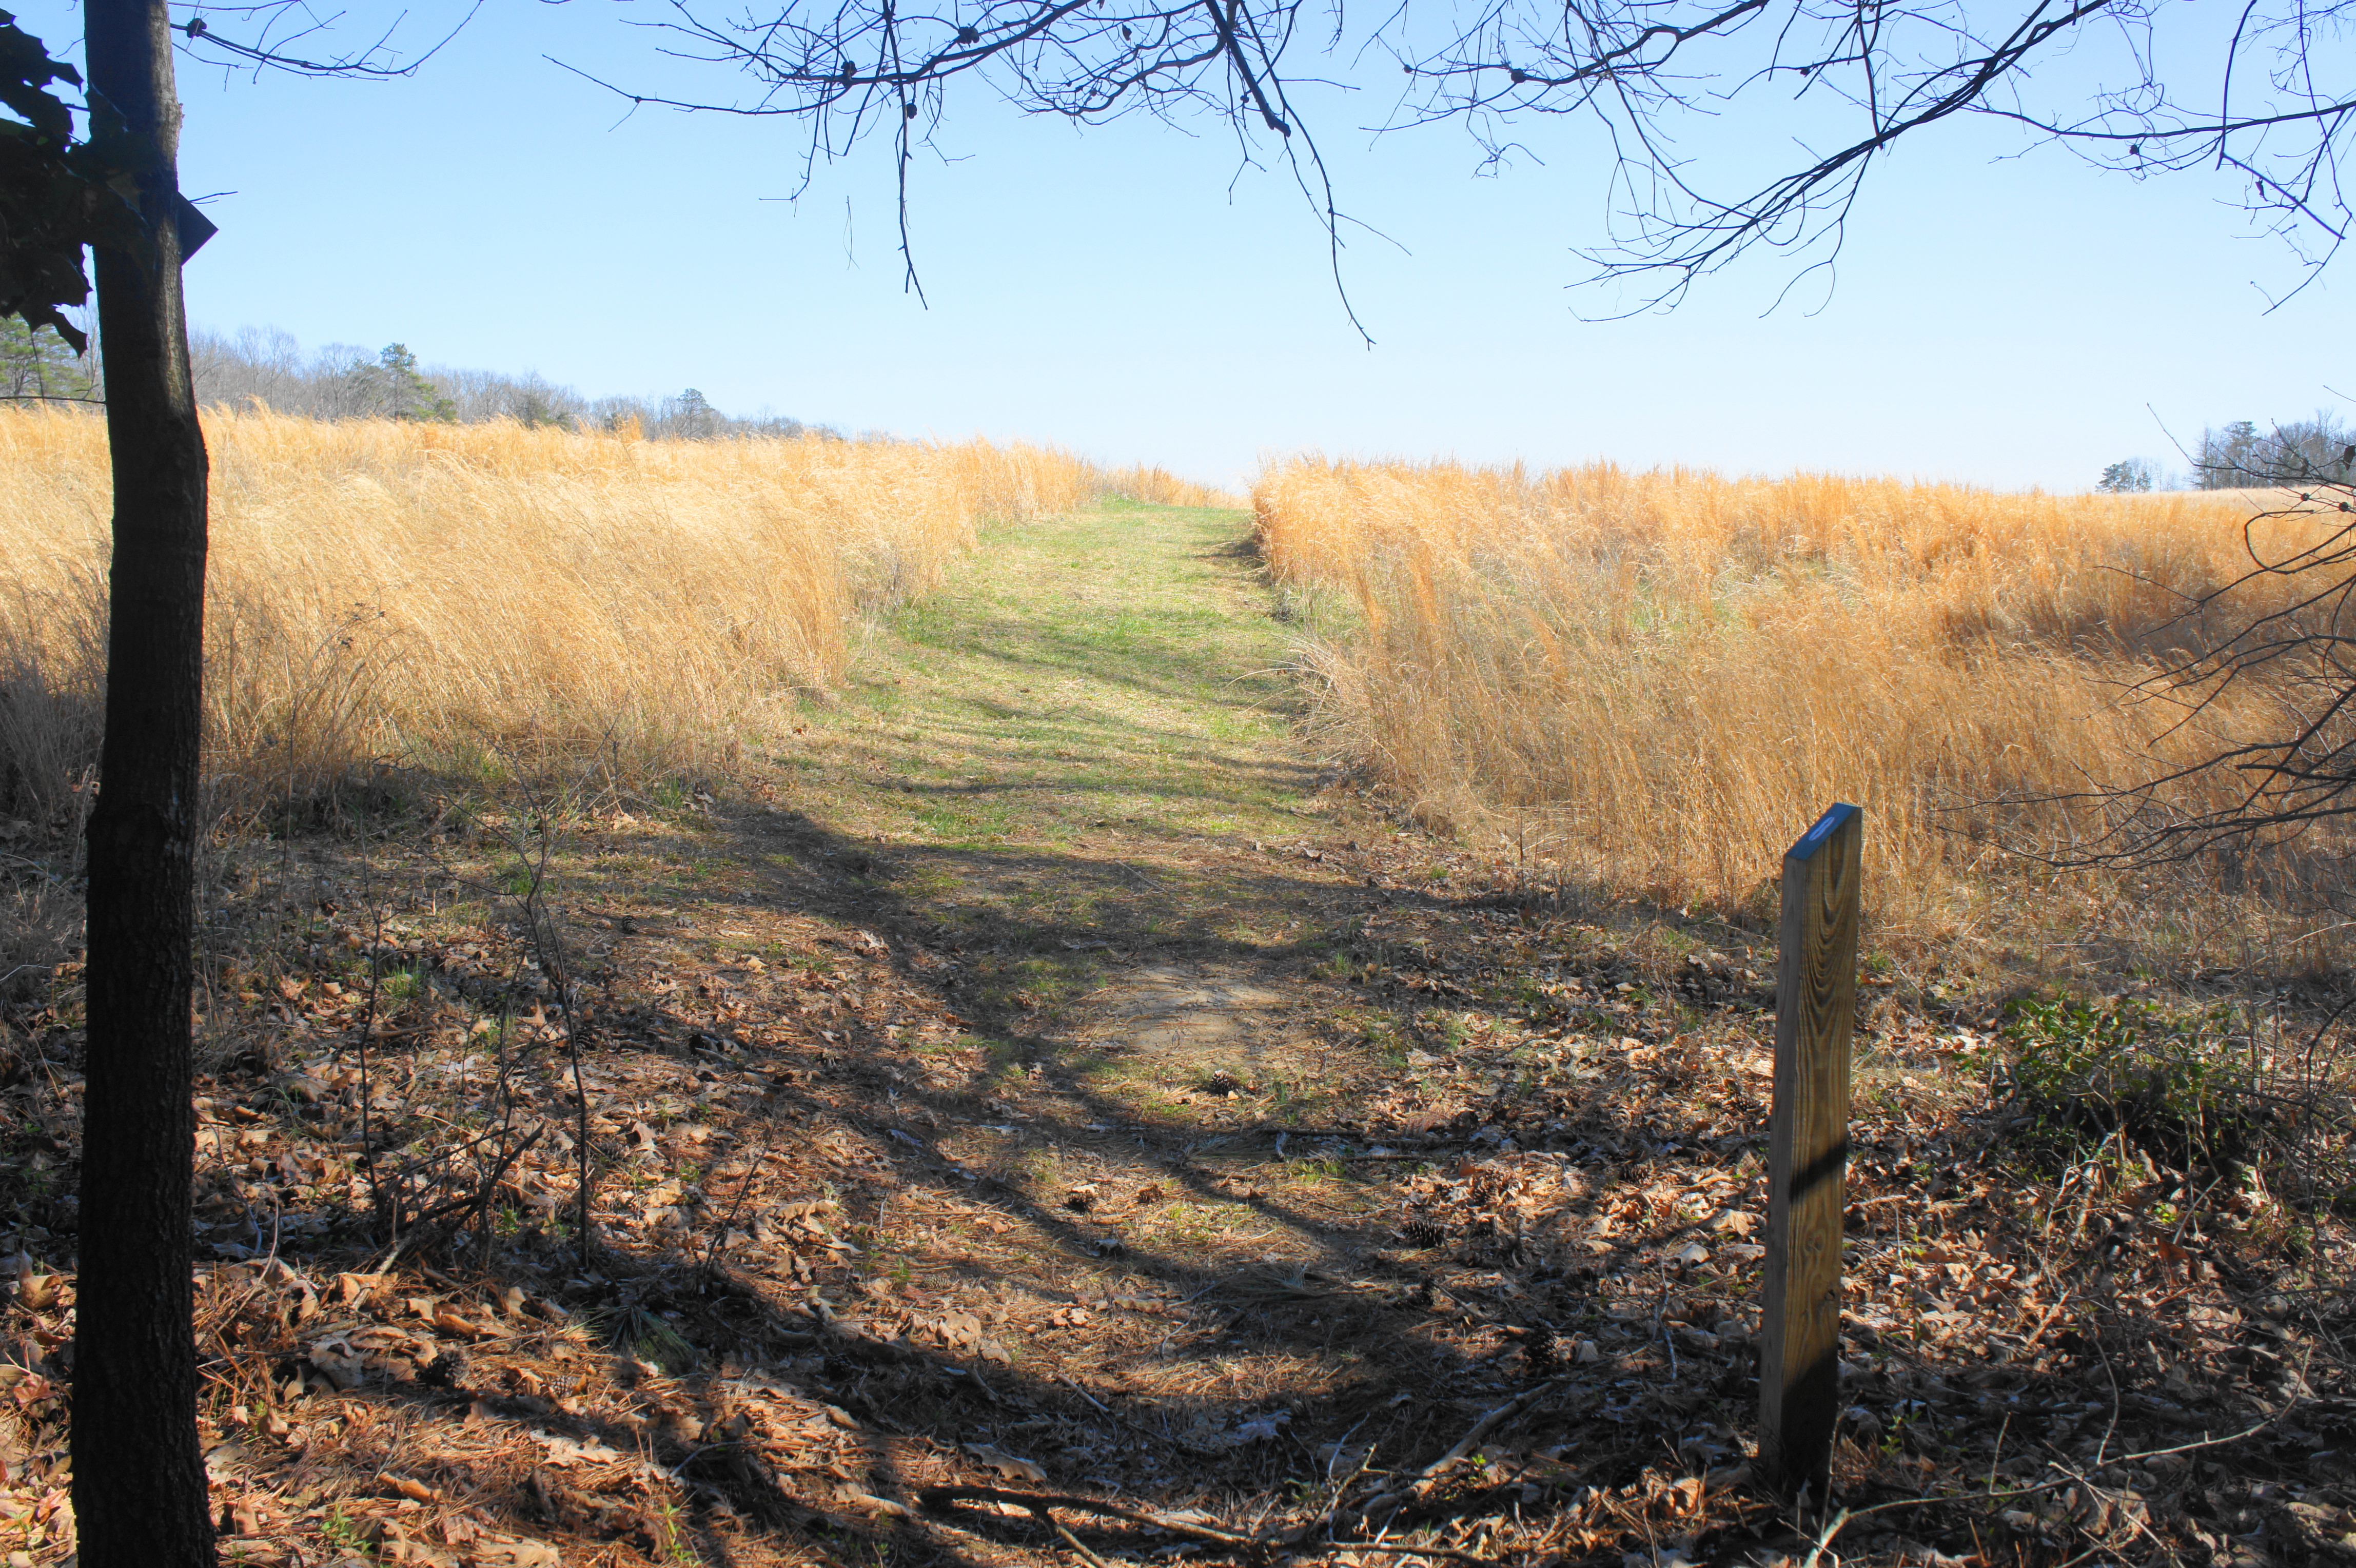
Hikers reach this breakthrough point at around 1.3 miles, crossing the sun-soaked field to the Confederate cannon position, where the Carter’s Farm Trail merges with the white-blazed Malvern Hill route. From here, continue right on the main loop, or bear left to head back to the Parsonage parking area. The Carter’s Farm Trail is roughly 1.5 miles long and adds about 1.2 mile to a loop hike around the battlefield; allot around 2-2.5 hours for the entire loop if you opt to include the Carter’s Farm extension.
[1] Michael Weeks, The Civil War Road Trip Volume I: A Guide to Northern Virginia, Maryland & Pennsylvania 1861-1863 (Woodstock, VT: The Countryman Press), 183.
[2] Weeks, The Civil War Road Trip Volume I, 184-85.

Pingback: Peninsula Campaign Driving Tour – Part 2 | Live and Let Hike