
Note: This is the first in a series of five posts describing the John Muir Trail (JMT), a scintillating, multi-week hike through California’s Sierra Nevada that extends more than 200 miles from Yosemite National Park in the north to Mount Whitney and Sequoia National Park in the south. This post (and those that follow) assumes a northbound journey, beginning southeast of Mount Whitney at Horseshoe Meadow in Inyo National Forest, culminating at Happy Isles in Yosemite. The JMT is an arduous, multi-week backpacking trip that requires careful planning, preparation, and an official backcountry permit that can be quite difficult to obtain. Hikers typically complete the entire trail, including detours for food resupplies, in about 2-3 weeks. For summaries of the four sections of the trail, see Section I (Horseshoe Meadow to Onion Valley), Section II (Onion Valley to Muir Trail Ranch), Section III (Muir Trail Ranch to Red’s Meadow), and Section IV (Red’s Meadow to Happy Isles).
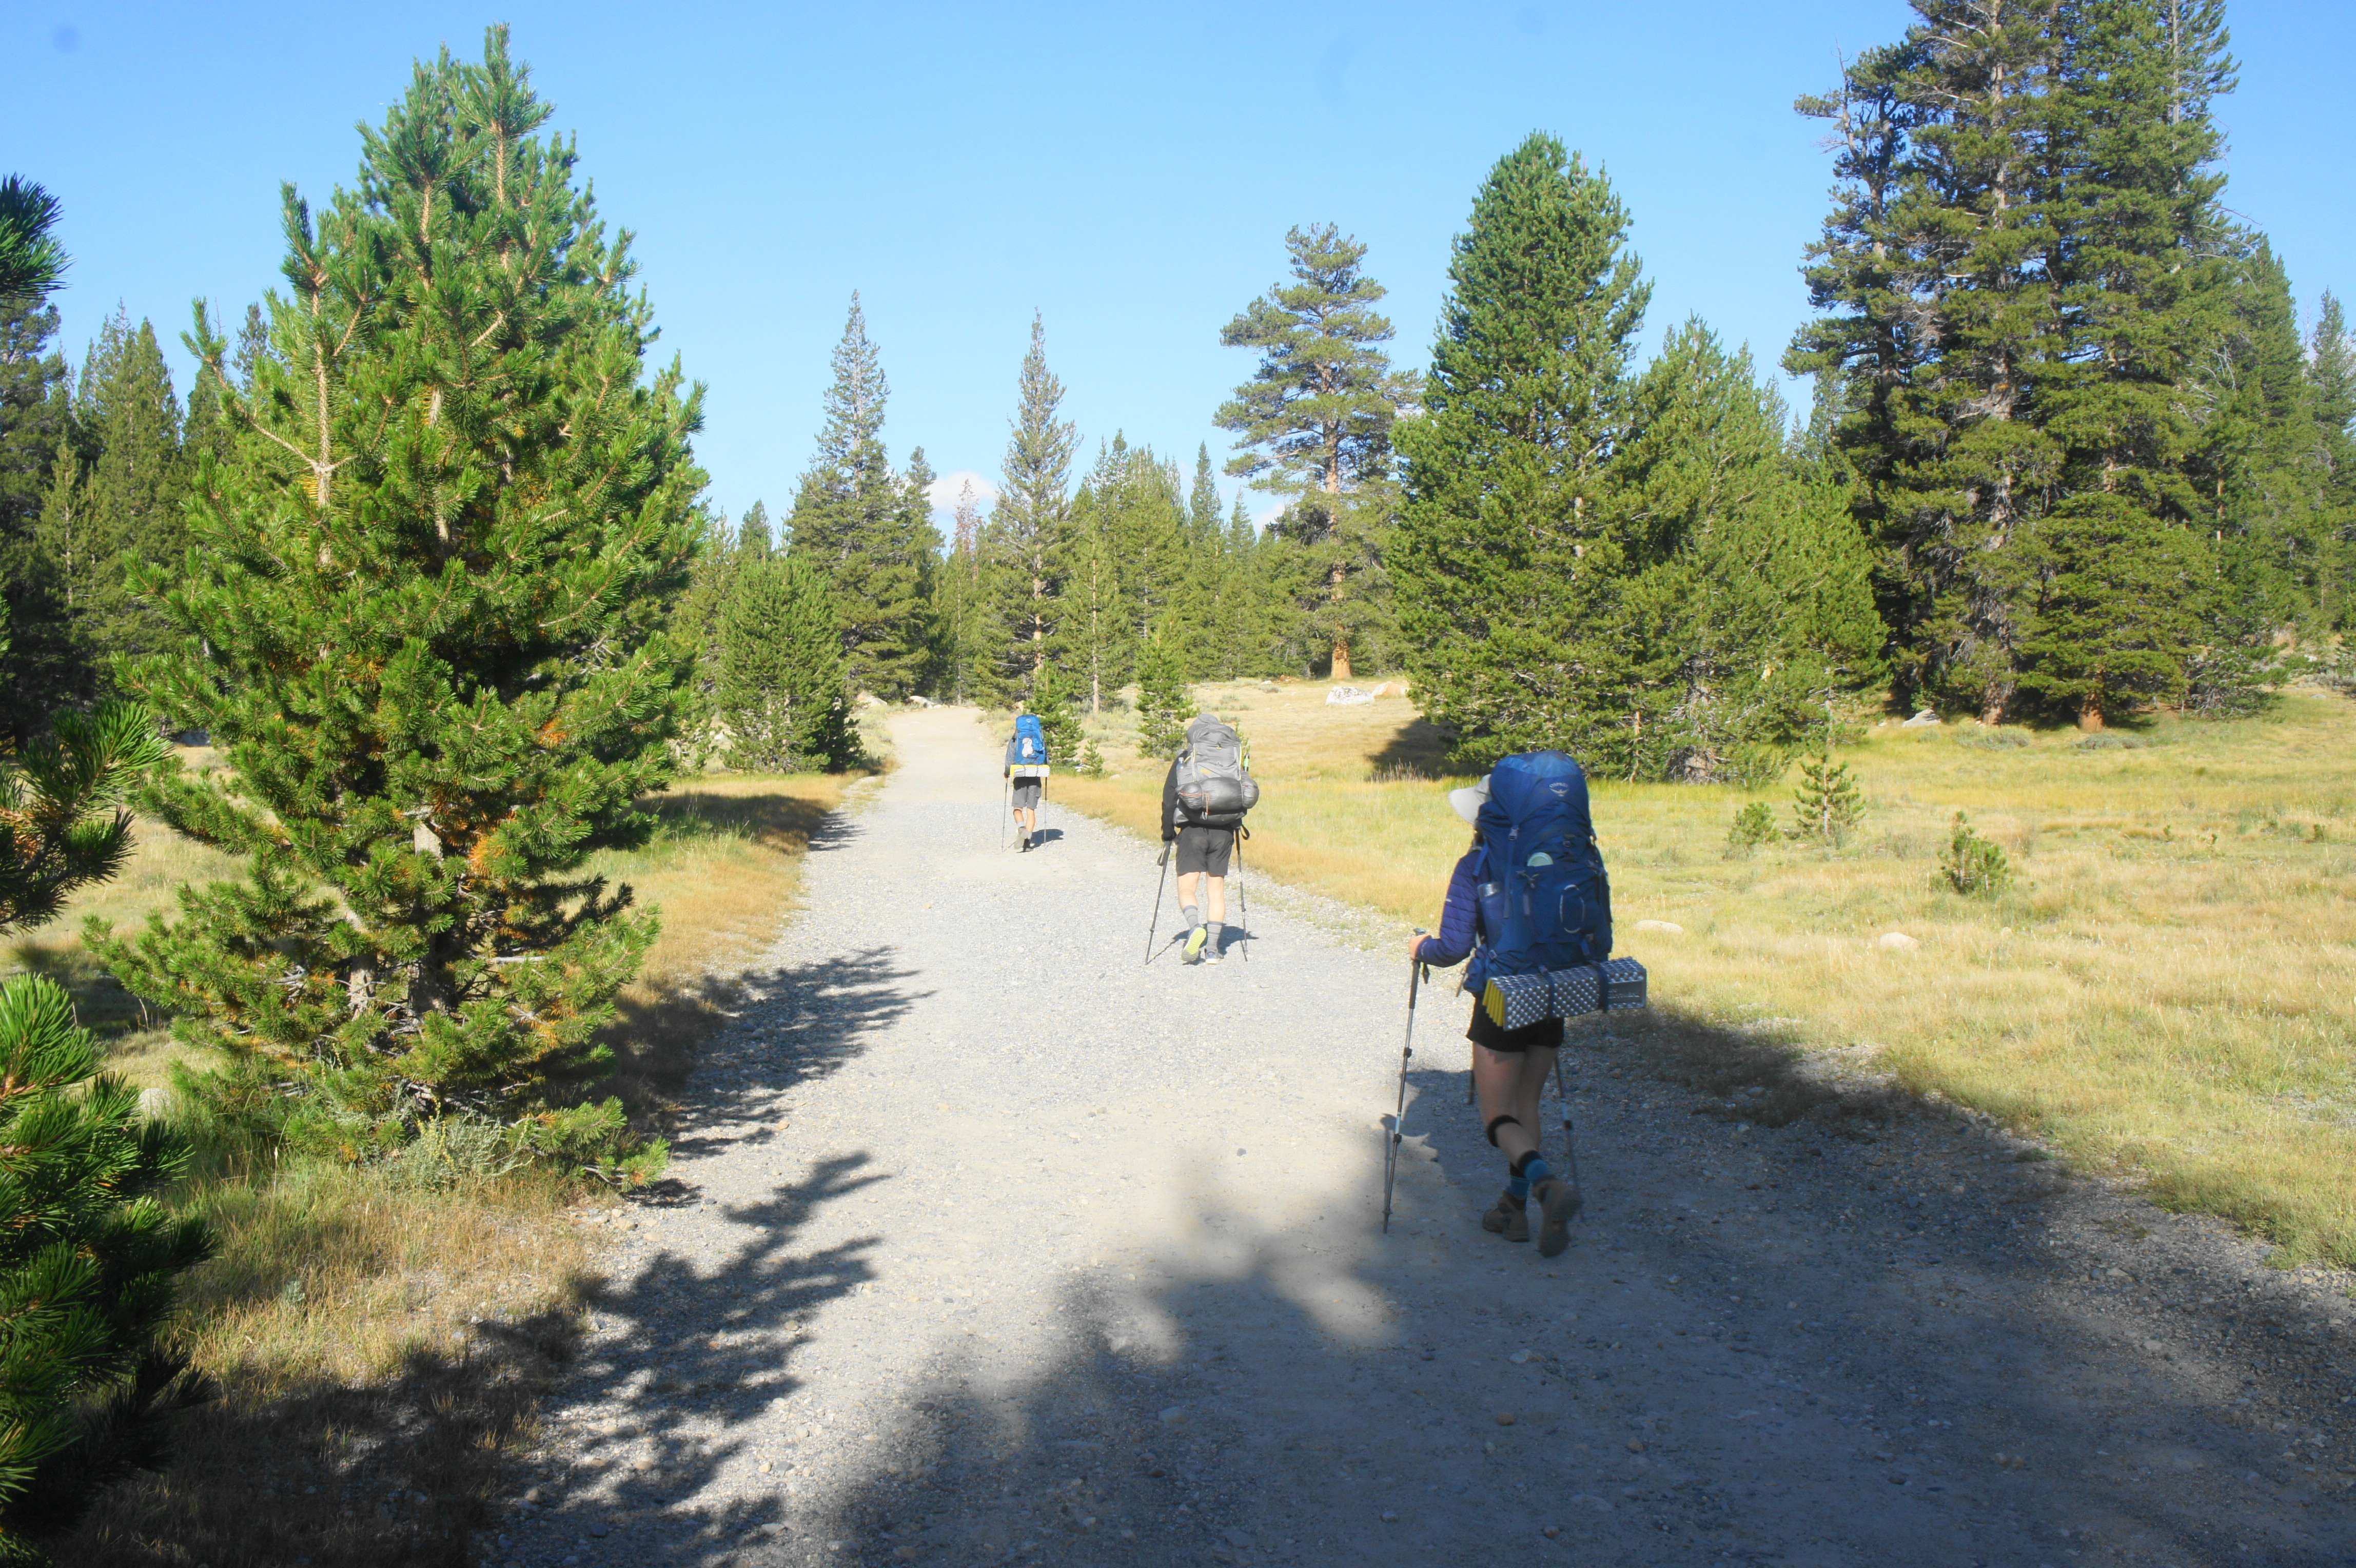
Stretching more than 200 miles from California’s Yosemite National Park in the north to Sequoia National Park and Mount Whitney in the south, the John Muir Trail (JMT) is one of the finest multi-week backpacking trips in the country. The iconic trail, which doubles as a section of the longer Pacific Crest Trail (PCT) for much of its length, covers vast stretches of sublime alpine and subalpine wilderness in one of the most beautiful stretches of the Sierra Nevada. Along the way, the difficult but well-established route passes jagged granite peaks, serene alpine lakes, cascading streams, and panoramic vistas, including a strenuous climb to the summit of Mount Whitney (14,505’), the highest point in the contiguous United States. The lengthy trip—upwards of 220 miles with more than 40,000 feet of elevation gain—generally requires around 2-3 weeks to complete.
Multi-week hikes such as this require a good deal of advance planning, so this post serves as a brief guide to preparing for the JMT, including resources and advice on obtaining backpacking permits, planning an itinerary, arranging food resupply, and assembling and packing gear, concluding with a brief “Do’s and Don’ts of the John Muir Trail.”
How do I obtain a permit?
There was perhaps once a time when hiking the John Muir Trail (JMT) was something one could do rather spontaneously. Those days are over. With the rising popularity of the JMT, Yosemite National Park and Inyo National Forest—the two most common entry points—have imposed strict permit quotas to limit overnight use on the trail. Southbound JMT trips typically start at Happy Isles or Tuolumne Meadows in Yosemite, but the probability of winning the rolling lottery (held six months prior to one’s proposed start date) is in the single digits. The ideal northbound option, beginning at Whitney Portal in Inyo National Forest, also requires winning a lottery that is nearly as difficult to achieve. (Note: This assumes you want to hike during peak season—June through August—as hiking in the spring or fall brings chilly temperatures and a higher likelihood of snowfall.)
Where does this leave prospective JMT hikers? In short, I suggest picking up a permit for Cottonwood Pass or Cottonwood Lakes in Inyo National Forest’s Horseshoe Meadow area. How to do this? Fortunately, Inyo NF has teamed up with Recreation.gov to create an online portal where hikers can check availability and reserve a permit. As of 2021, 60% of quota reservations are released six months ahead of the proposed start date (so permits for August 1 are released around February 1), while 40% are held for “walk-up” permits, which are released two weeks prior to the trip start date. (Note: While walk-up permits have always been a thing, Covid caused the Forest Service to change the procedures such that these reservations can only be obtained online.) The daily hiker quota for Cottonwood Pass is 40 (24 reserved, 16 walk-up), while the quota for Cottonwood Lakes is 60 (36 reserved, 24 walk-up).
While considerably easier to obtain than the two lottery permits, Cottonwood reservations remain competitive. As the traditional options become more and more of a pipe dream, backpackers are increasingly using Cottonwood Pass/Lakes as an alternative; moreover, the many scenic lakes and vistas of the area attract many non-JMT thru-hikers for shorter overnight trips. When I was trying to obtain a reservation for a late July start from Cottonwood Pass in March 2021, there were no non-walk-up spots available; however, keeping an eye on the permit portal throughout the spring, I was eventually able to scoop up a cancellation. (Note: It is also important to note that, even with a reservation, hikers have to check-in—either in person, over the phone, or via email—within two weeks of the start date to obtain the actual permit.)
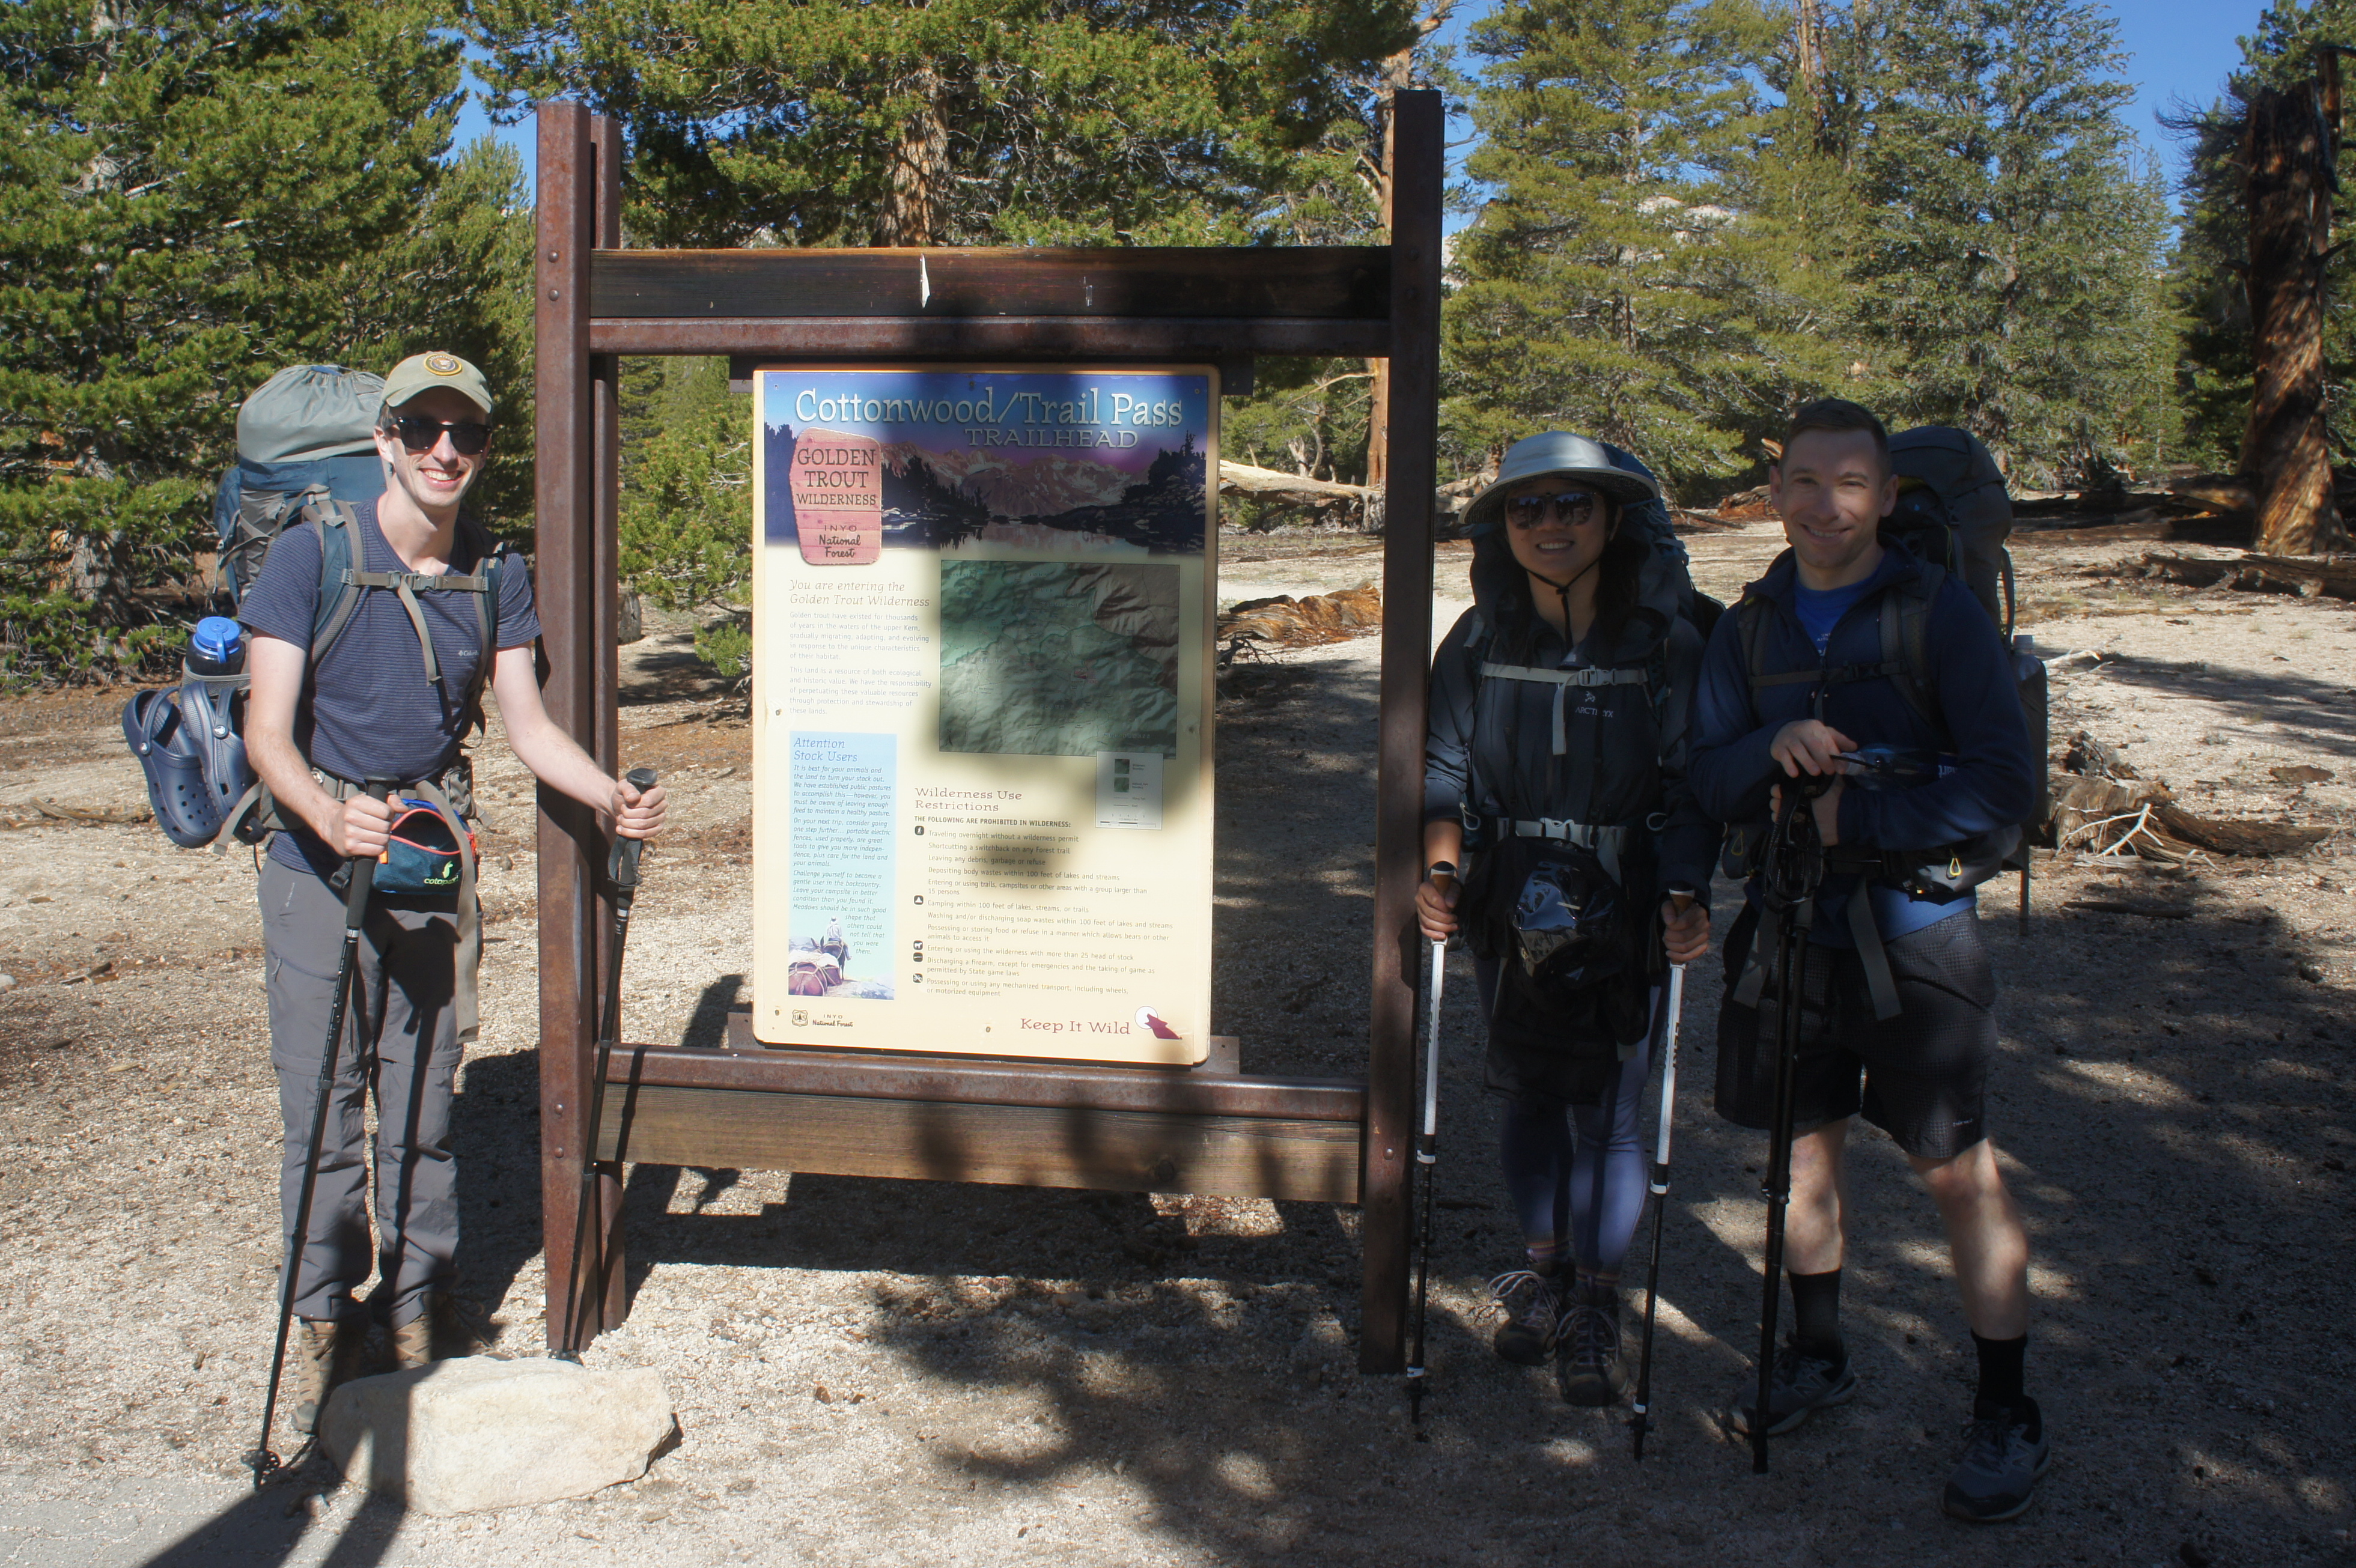
The downside of this approach, of course, is that starting from Cottonwood adds roughly 20 miles (usually two days) to the overall hike. But this is increasingly becoming the new norm and is a worthy price to pay for the opportunity to complete the JMT. On the bright side, there are several distinct advantages of starting at Cottonwood Pass/Lakes, at least over Whitney Portal. First, rather than taking on a crushing, 6,000-foot gain (to the Whitney summit) in the first two days, the route from Cottonwood Pass to Crabtree Meadow and Mount Whitney offers a considerably more leisurely ascent, allowing more time for hikers to acclimate to the high altitude. (Note: Northbound hikers should not underestimate the risks of altitude sickness, given that much of the early JMT is above 10,000 feet.) Second, starting from Cottonwood Pass/Lakes allows hikers to tackle Mount Whitney as an out-and-back day hike from Crabtree Meadows or Guitar Lake—rather than a slog from Whitney Portal with heavy packs—on Day 3 or 4 of the trip. Finally, the scenery along the way from Horseshoe Meadow is also terrific, with sweeping views of the southern Sierras.
(Note: See this useful resource for a full set of options for obtaining permits for the JMT, as well as this 9-step guide to preparing for the JMT.)
How long does it take? What should be my itinerary?
Assuming a start from Cottonwood Pass or Cottonwood Lakes, hikers are committed to tackling the JMT in the northbound (often called “NoBo”) direction. While southbound has become the traditionally preferred option, heading northbound has some nice perks (beyond greater permit availability). NoBo hikers will cover the hardest and highest-elevation terrain at the start of the trip, with resupply locations and creature comforts (showers, beer, etc.) becoming more frequent in the latter half of the journey. Heading north also means having the sun at your back, rather than in your eyes, for much of the trip.

The pace of travel will vary widely from person to person, group to group, with length of time on trail generally ranging anywhere from 10 days to a full month. Yours truly covered the JMT (plus the additional two days from Cottonwood Pass) in 24 days, including two full rest days (one scheduled and one unanticipated). This seems about average, covering roughly 10-11 miles per day. On four separate occasions, we covered 15+ miles; on some other days, we hiked less than ten. Flexibility is the name of the game, as shifts in weather, injuries, and other unexpected surprises may alter one’s schedule. Generally, while I found my body held up better than expected (no injuries, repeated pain, or even blisters)—and there were days we probably could have pushed farther—I had no regrets about our itinerary. Some spots—such as Evolution Lake, Marie Lake, or Upper Lyell Canyon—are simply too spectacular to pass by without spending at least some of the daylight hours, and—despite subtle pressures to keep pace with other hikers we met along the way—it was critical to remember why we were on this journey to begin with: to enjoy the spectacular scenery to its fullest.
Below was our itinerary for the 24-day hike:
LEG 1: Horseshoe Meadow to Onion Valley (66 miles)
- Day 1: Horseshoe Meadow to Rock Creek via Cottonwood Pass (13 miles) ^
- Day 2: Rock Creek to Crabtree via Guyot Pass (8 miles) ^
- Day 3: Crabtree to Mount Whitney (out-and-back day hike) (15 miles)
- Day 4: Crabtree to Tyndall Creek (9 miles)
- Day 5: Tyndall Creek to Lower Vidette Meadow via Forester Pass (12.5 miles)
- Day 6: Lower Vidette Meadow to Onion Valley via Kearsarge Pass (8.5 miles) ^*
LEG 2: Onion Valley to Muir Trail Ranch (80 miles)
- Day 7: Onion Valley to Charlotte Lake (8 miles) ^
- Day 8: Charlotte Lake to Woods Creek Jct. via Glen Pass (12 miles) ^
- Day 9: Woods Creek Jct. to Bench Lake Jct. via Pinchot Pass (9.5 miles)
- Day 10: Bench Lake Jct. to Deer Meadow via Mather Pass (15 miles)
- Day 11: Deer Meadow to Below Muir Pass (10.5 miles)
- Day 12: Below Muir Pass to Evolution Lake via Muir Pass (10 miles)
- Day 13: Evolution Lake to Muir Trail Ranch/Blayney Hot Springs (15 miles) ^*
LEG 3: Muir Trail Ranch to Red’s Meadow (49.5 miles)
- Day 14: Muir Trail Ranch/Blayney Hot Springs to Marie Lake via Selden Pass (8 miles) ^
- Day 15: Marie Lake to Mono Creek (13 miles)
- Day 16: REST DAY at Mono Creek (unplanned, due to my hiking partner’s injury) (0 miles)
- Day 17: Mono Creek to Lake Virginia via Silver Pass (13 miles)
- Day 18: Lake Virginia to Red’s Meadow (15.5 miles) ^
LEG 4: Red’s Meadow to Happy Isles (58.5 miles)
- Day 19: REST DAY at Red’s Meadow (0 miles) *
- Day 20: Red’s Meadow to Garnet Lake (14 miles)
- Day 21: Garnet Lake to Upper Lyell Canyon via Donohue Pass (11 miles)
- Day 22: Upper Lyell Canyon to Tuolumne Meadows Campground (11.5 miles)
- Day 23: Tuolumne Meadows Campground to Sunrise Creek (13 miles)
- Day 24: Sunrise Creek to Happy Isles (9 miles)
*denotes resupply
^denotes some off-JMT hiking
With the side trips—including the Cottonwood Pass addition and detours for resupply—the entire journey was around 254 miles. Not including the two zero days, this amounted to around 11.5 miles per day. It is often said on the trail that things get easier as the journey wears on: hikers get their “trail legs,” gaining strength and confidence to push farther each day. That said, the terrain is no joke, with most days covering thousands of feet of elevation gain and loss. The most difficult stretches, aside from the climb to Mount Whitney, tend to be the 14 mountain passes. Each JMT hiker has their own opinion—and the passes take on different difficulties depending on time of day and whether one is going NoBo or SoBo—but I would rate the passes as follows, from easiest to hardest:*
- Island Pass (10,200’) (Day 21)
- Cathedral Pass (9,700’) (Day 23)
- Mather Pass (12,100’) (Day 10)
- Cottonwood Pass (11,130’) (Day 1)
- Guyot Pass (10,930’) (Day 2)
- Forester Pass (13,110’) (Day 5)
- Silver Pass (10,740’) (Day 17)
- Muir Pass (11,980’) (Day 12)
- Selden Pass (10,900’) (Day 14)
- Kearsarge Pass (eastbound) (11,790’) (Day 6)
- Kearsarge Pass (westbound) (11,790’) (Day 7)
- Donohue Pass (11,060’) (Day 21)
- Glen Pass (11,970’) (Day 8)
- Pinchot Pass (12,130’) (Day 9)
- Trail Crest/Mount Whitney (14,505’) (Day 3)
*elevations taken from Guthook app and Elizabeth Wenk, John Muir Trail: The Essential Guide to Hiking America’s Most Famous Trail, 5th Edition (Wilderness Press, 2014).

There are also some challenging stretches without official passes, including nasty climbs up to Bighorn Plateau in Sequoia National Park, Bear Ridge and Tully Hole in the John Muir Wilderness, and from Red’s Meadow to Garnet Lake in the Ansel Adams Wilderness. Fortunately, if heading northbound, there are more descents than ascents—and hikers avoid some brutal SoBo climbs (e.g., out of Yosemite Valley and Mono Creek drainage and up the Golden Staircase). In sum, however, take the elevation gain seriously—15 miles of High Sierra up-and-down feels like 20-25 miles of flat walking, making for some very long days.
How and where do I resupply?
Another consideration for planning your itinerary will be determining where to resupply. All but the speediest hikers will have to divert off-trail at some point to grab a new bear canister’s worth of food. There are resupply services—in which food is brought to hikers by horse or mule train—but most will opt for a more economical option: either shipping or buying meals and snacks at a series of pickup locations.
Unless you have a very large bear canister (or are a packing wizard), chances are you will want a resupply within every seven days. Heading northbound from Cottonwood Pass, the most common first resupply comes after the first 66-mile (6-7 day) leg, when hikers will exit the JMT at Kearsarge Pass and make their way down to Onion Valley. From here, arrange a pickup or hitchhike down to the town of Independence in Owens Valley. Some will mail their buckets to the local post office, while others opt for a resupply service at the Mount Williamson Hotel or other nearby establishments. From here, you’ll have to make your way back to Onion Valley (there are some shuttle services) to continue the hike. (Note: We were lucky enough to have my girlfriend pick us up at Onion Valley—there is spotty cell service on the way down from Kearsarge Pass—and bring us our pre-arranged resupply for Leg 2.)
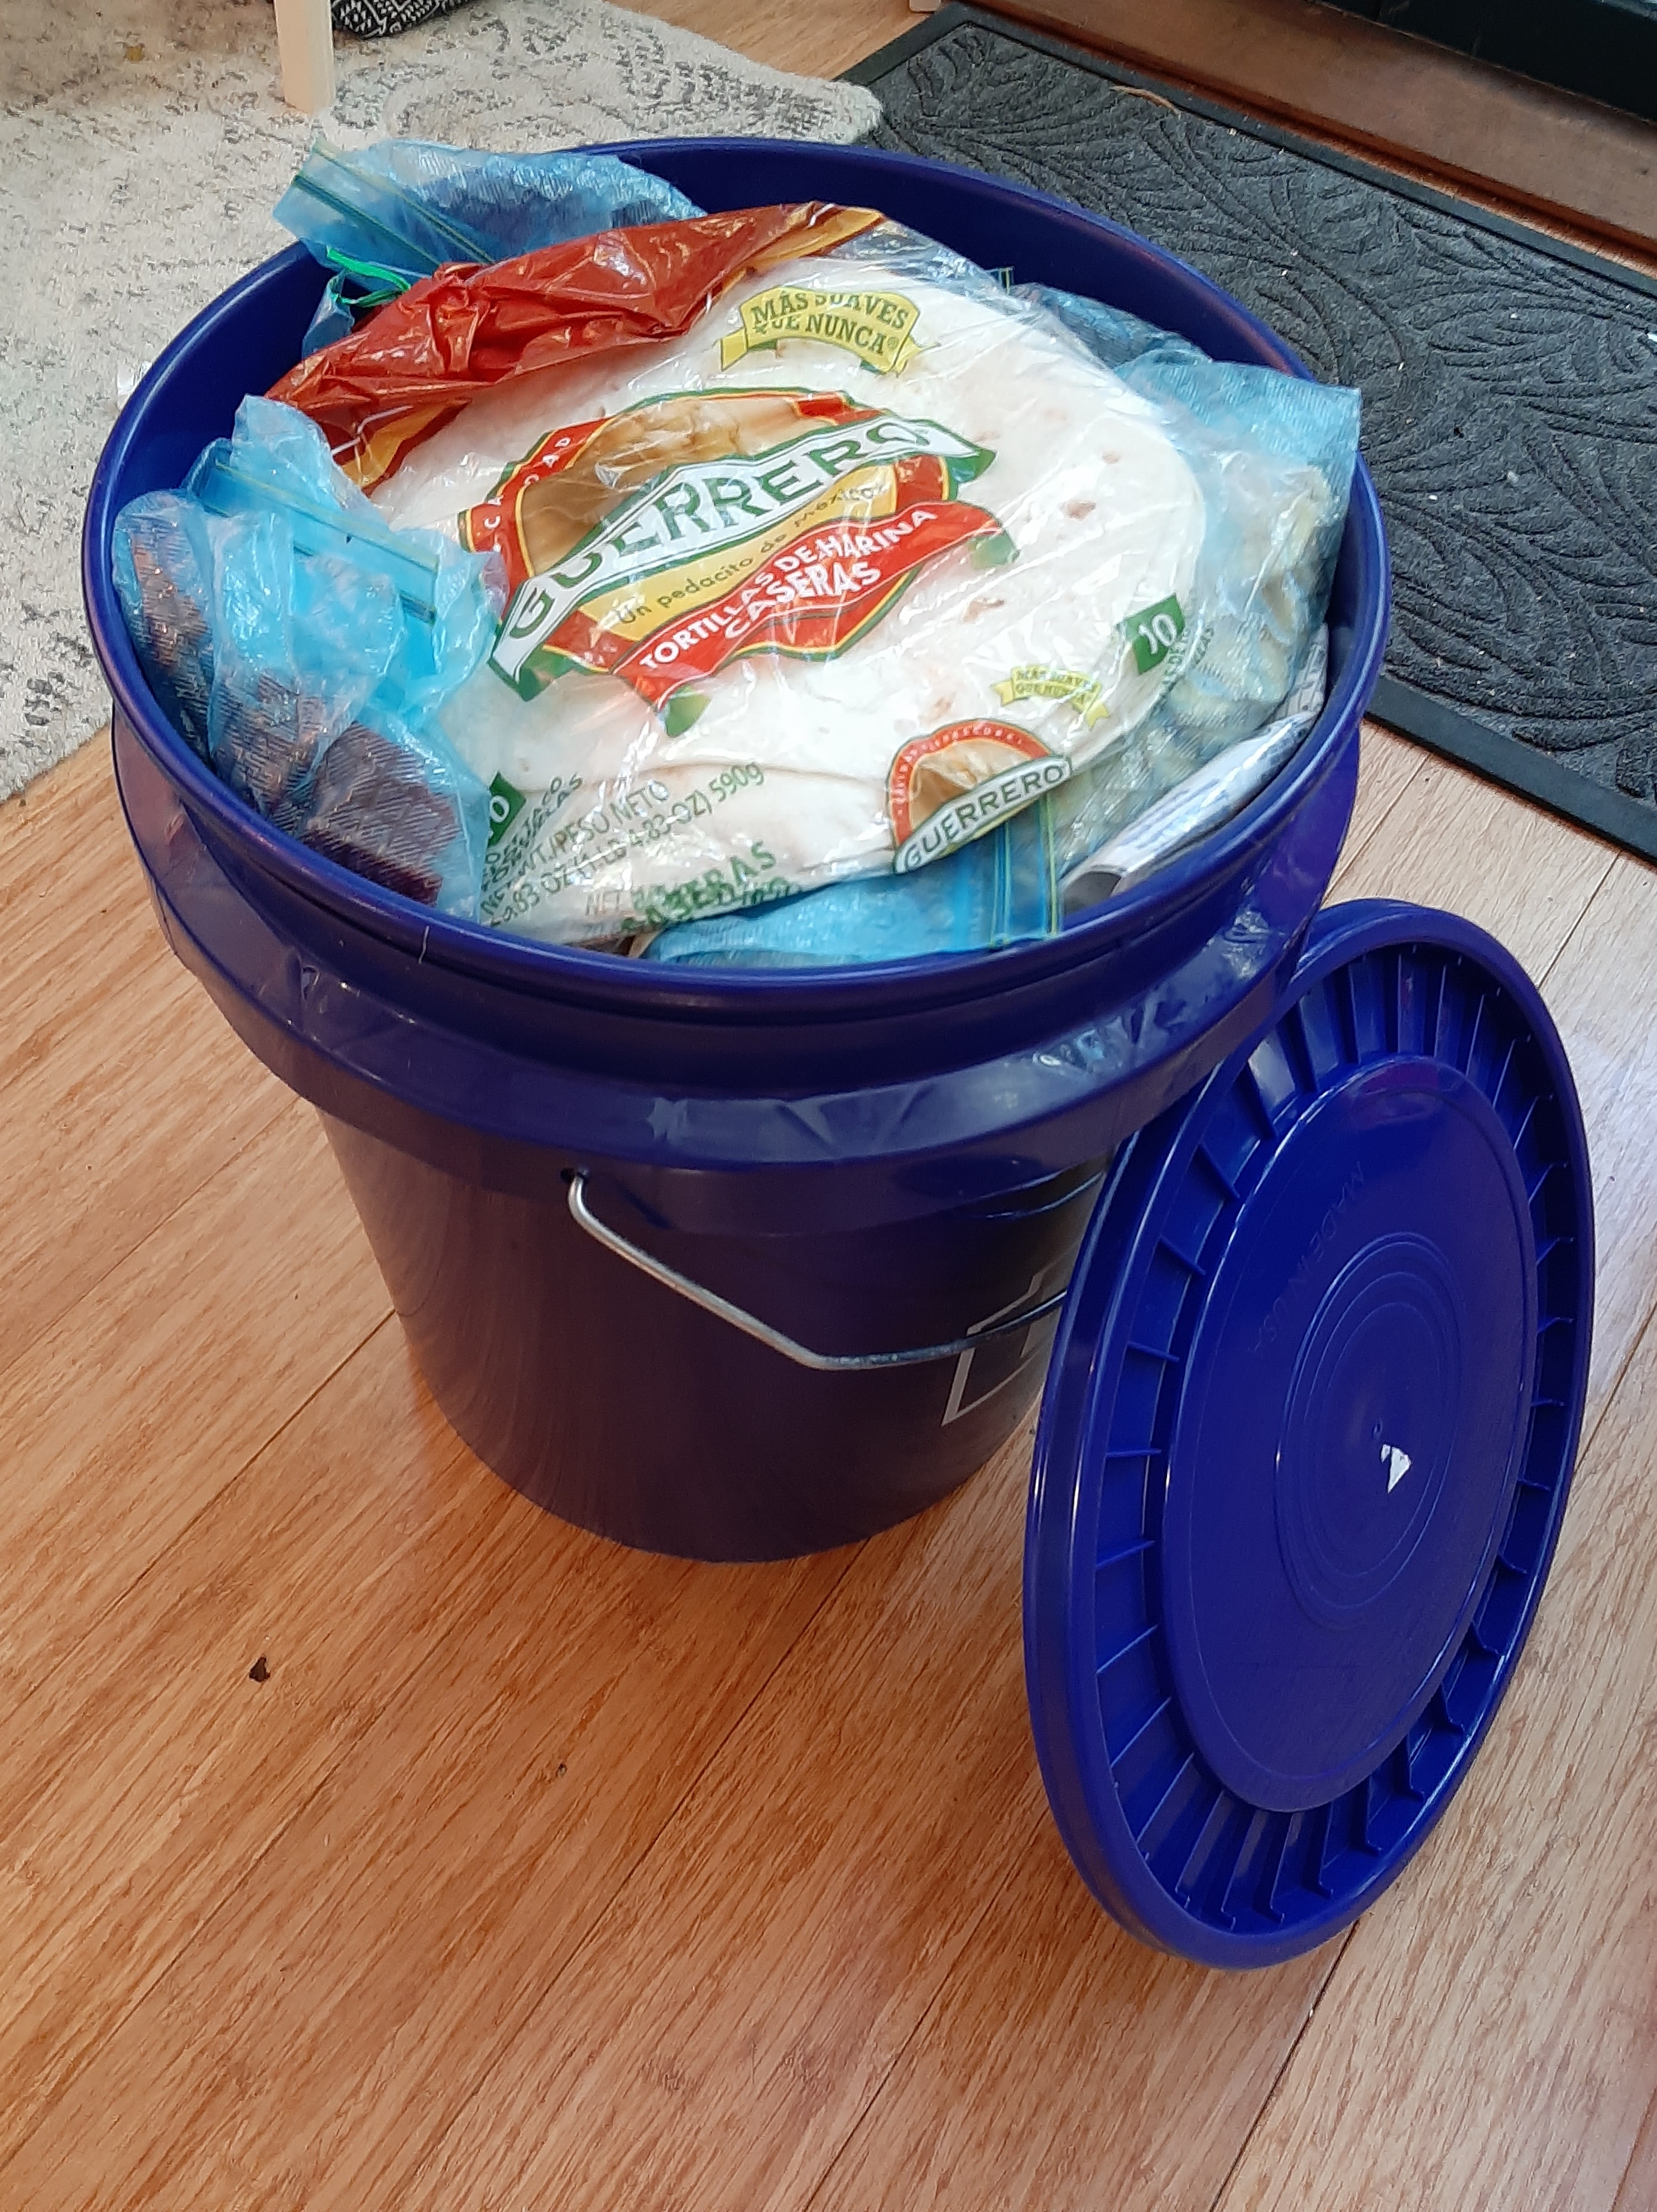
The next option for most NoBos will be Muir Trail Ranch (MTR), conveniently located just off the JMT at the end of Leg 2. While the ranch luxuries (showers, etc.) are off-limits to backpackers, there is a small shop and staging location where hikers can access their resupply buckets. The shop offers a surprising number of items for sale—from liters to water bottles to hats—and there is (except during Covid) a hiker’s box where backpackers dump their extra food for others to scrounge through. (Note: We scored some excellent home-cooked freeze-dried meals from here!) The price of sending a bucket—$85 plus shipping costs—is steep, but the location is very convenient.
Another resupply option, about two days past MTR, is the Vermilion Valley Resort (VVR), often a backpackers’ favorite due to its hiker-friendly atmosphere (a free beer is presented upon one’s arrival!) and free camping options. However, VVR is a half-day’s walk from the JMT across hot and dusty terrain, and with MTR so close, many hikers will opt to skip this spot.
Next is Red’s Meadow Resort, the end of Leg 3, where hikers can also ship their food buckets or purchase items at the small store. There is also a decent outdoor restaurant, good beer, showers/laundry, and a generous hiker’s box at the resort, with the Red’s Meadow Campground about ¼ mile walk away. This is most northbound hikers’ final resupply spot, with just 5-6 days of hiking remaining until Yosemite Valley.

One last option is Tuolumne Meadows in Yosemite, more often used for SoBo resupply than NoBo, given it is only two days’ walk from the end of the trail at Happy Isles. But there is a decent store and café here, an easy walk from the backpacker’s campground at Tuolumne Meadows.
Each resupply location (if shipping) has slightly different rules and regulations. Be sure to read the instructions closely, and plan ahead—you’ll want to ship your food at least 2-3 weeks prior to your expected arrival.
(Note: All told, we utilized three resupply locations—Independence, MTR, and Red’s Meadow—for our journey. At Independence and MTR, we picked up our pre-arranged food, while at Red’s Meadow, we were able to resupply for our last five days of hiking entirely off the hefty hiker’s box.)
What food and gear should I bring?
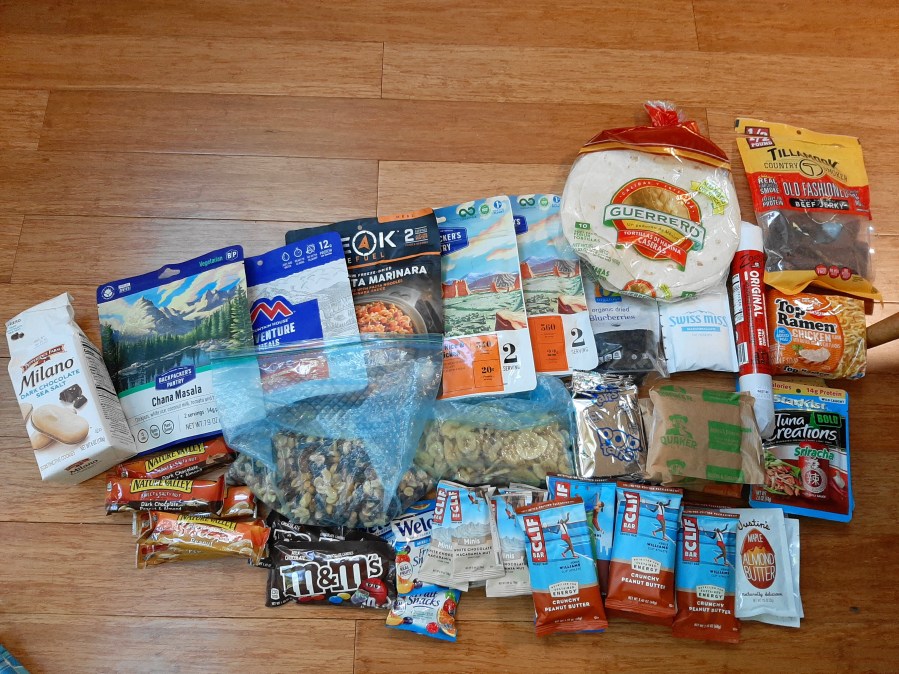
Before arranging your resupply boxes, of course, you’ll need to decide on what food items to bring. This decision is highly variable depending on dietary restrictions, food preferences, etc. The name of the game in all cases, however, efficiently packing as many calories as possible into a small container (like a Bear Vault BV500 bear canister). In the end, as someone who wasn’t picky about repetition, I packed the following for seven days, prioritizing breakfast and dinner:
- Breakfast: 10-12 oatmeal packets, 1 dried berries packet, 7 coffee Clif bars, 8 instant coffees (Starbucks Via), 3 Pop-Tarts
- Lunch: 1 dried salami, 1 block of hard cheese, 6 tortillas, 2 peanut butter packets, 2 almond butter packets, 2 Tuna Creations
- Snacks: Clif bars, Clif bar minis, Nature Valley granola bars, beef jerky, banana chips, trail mix, fruit snacks, Milano cookies, M&Ms, hot cocoa, electrolytes
- Dinner: 6 freeze-fried meals (Peak Refuel, Backpacker’s Pantry, Mountain House), 1 Ramen
- Other: camp soap, 1 sponge for cleaning

This was generally enough to keep me going. Others are much more particular about meticulously counting calorie intake or creating food calendars to ensure they have enough. I took the strategy of generally ensuring I had seven days’ worth of food but not worrying too much about the details. It paid off, and I had a little bit of snack food left after each leg. We also picked up extra meals at the hiker’s boxes, which gave us some more variety.
In the end, food and water end up making up much of the weight one has to carry, so trimming down the rest of one’s gear to just the bare essentials is wise. Yes, going ultralight is an option—if you’re willing to shell out thousands of dollars. For yours truly, some lightweight stuff was nice, but I willingly carried some extra pounds to cut costs. Much of my gear (especially my backpack and sleeping bag) was far from state-of-the-art, but it got the job done with little to no issues.
Here was my gear list:
- 1 70L backpack (Eastern Mountain Sports)
- 1 2-lb tent (Nemo Hornet 1p)
- 1 20-degree sleeping bag (Teton Sports)
- 1 cotton sleeping bag liner (Teton Sports) (didn’t need, would not bring again)
- 1 sleeping pad (Klymit Static V)
- 1 blow-up pillow (from Decathlon)
- 1 tarp
- 2 water filters (LifeStraw gravity bag and Sawyer Squeeze)
- 3 Nalgene water bottles (we frequently refilled)
- 1 bear canister (Bear Vault 450 – the old version, which is the same size as the 500)
- 1 cooking pot
- 1 cook stove (MSR Pocket Rocket)
- Fuel cans (don’t remember how many – 1 small MSR can lasted me almost all of Leg 1; 1 medium and 1 small MSR can lasted the rest of the trip)
- Aluminum foil (for wind screen)
- 1 bowl
- 1 cup (for coffee)
- 2 sporks
- 1 sharp knife
- Lighters (x2)
- Matches (didn’t need – but brought for backup)
- 1 pair of hiking pants
- 2 lightweight shirts
- 2 fleece jackets (could have subbed in a down jacket)
- 3 pairs of hiking socks (could have done with 1 fewer)
- 1 pair of hiking boots (Merrill Moabs)
- 1 belt
- 1 fanny pack (by far the most useful item)
- 1 pair of pajamas
- 1 beanie
- 1 pair of gloves
- 1 pair of long underwear
- 3 pairs of underwear
- 1 cheap pair of sunglasses
- 1 pair of camp shoes (Crocs)
- 1 mosquito head net (didn’t need, but a necessity if hiking in June/early July)
- 1 baseball cap
- 2 trekking poles (from Decathlon)
- 1 rain jacket (Columbia)
- 1 rain pack cover (Frelaxy)
- 2 headlamps
- 1 camp towel
- 1 cheap trowel (I can’t believe some people spend $50 on these…)
- Bandages/first aid/blister care
- 1 small roll duct tape
- 1 roll of toilet paper
- 1 small toothbrush
- 1 small toothpaste
- 1 hand sanitizer
- Contact lenses/solution/case
- 1 pair of glasses/case
- 1 lip balm
- 1 sunscreen tube
- 3 trash bags
- Several Ziploc bags
- 1 compass (didn’t need)
- 1 all-weather outdoor journal
- 1 alarm clock
- 1 deck of playing cards
- 1 camera (Sony Nex)/charger/extra battery
- 1 phone/charger
- 1 Guthook app
- 5 maps (Trails Illustrated): Sequoia & Kings Canyon; Mammoth Lakes & Mono Divide; Yosemite SE; Yosemite NE; Yosemite SW (yes, there is a consolidated one for the John Muir Trail, but I like maps…)
- 2 copies of hiking permit (printed)
- (Did not pack: razor, deodorant, camp suds, rain pants, sandals, bug spray, lotion, excess shirts/pants, umbrella, GPS, book)
Again, some people are much more into gear—in fact, some are so obsessed it seems the whole reason they do the JMT is to test their gear—so look elsewhere for better guides for going ultralight, etc. But the above list was sufficient to get me through the trip. We were also able to share some items (toothpaste, a couple meals, etc.), but it was good that everyone in the group had enough to be self-sufficient if need be.
Do’s and Don’ts of the John Muir Trail
Finally, a brief word about some do’s and don’ts for the JMT.
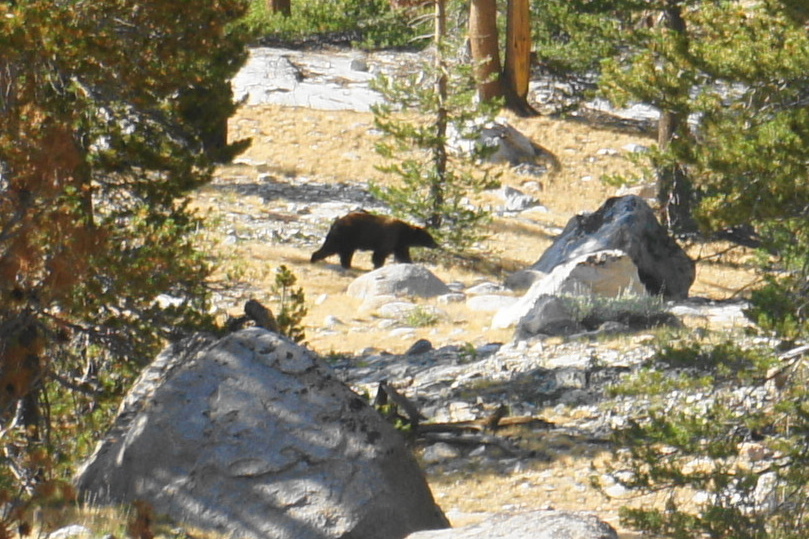
First, do follow wilderness regulations. As California is increasingly prone to wildfire, having fires is generally a no-no; even in the wet season, fires above 9-10,000 feet (depending on the park) are prohibited year-round. Moreover, expect to see black bears (we saw five), and plan accordingly: all food and scented items (including sunscreen, hand sanitizer, toothpaste, etc.) must be stored in an approved bear canister, which should then be placed at least 50-100 feet from your sleeping area. (Note: There are some bear boxes along the way, but it’s best not to rely on them.) Also, pack out everything you pack in—yes, that includes your used toilet paper. Camp in previously disturbed sites—there are plenty—to avoid trampling healthy grasses, plants, etc. and do not camp within 100 feet of a water source. See your permit for more regulations.

Second, do bring rain gear—and sun protection. The High Sierra is generally blessed with some of the nicest summertime mountain weather in the country—temperatures are generally mild, and rain is somewhat rare. However, if hiking during the monsoon season (late July-August), expect to encounter afternoon thunderstorms, some of which bring nasty hail and lightning. This is no joke—someone died of a lightning strike near Muir Trail Ranch while we were on the trail. Be prepared with rain gear, and seek shelter immediately in the event of lightning. Most times, however, the biggest problem is sun—much of the trail is exposed, above treeline, with nothing protecting you from the sun’s rays; so pack a hat and liberally apply sunscreen to avoid over-exposure.

Third, don’t race. It is tempting, when you meet other hikers on the JMT, to try to keep up with them, pushing yourselves beyond your abilities. The pressure is subtle but often present. Remember, however, that—unless you plan to break the record of 81 hours—there are no prizes for completing the JMT at a quicker pace than others, and that the whole point of being out here is to enjoy it. Even speedy hikers who you will encounter on the trail will often have a way of slowing down eventually, with most backpackers finishing only a couple days above or below the average (about 3 weeks).
Finally, do be social. With the increased popularity of the JMT, crowds are inevitable. Rarely an hour goes by without passing several hiking parties on the trail (especially in the Yosemite and Sequoia sections). The common experience—of sweat and toil—tends to bring total strangers together, producing sometimes strong friendships that endure beyond the completion of then trail. Embrace the social nature of the JMT; you never know who you will meet and the stories you’ll hear. Fellow hikers can also be a good source of information—on bear sightings, good campsites, etc.
—
Stay tuned for a blow-by-blow description of the John Muir Trail in its entirety, with detailed accounts of each leg in turn, complete with tips and tricks on epic campsites, side trips, etc.

Pingback: John Muir Trail Northbound Section 1 – Horseshoe Meadow to Onion Valley (Sequoia & Kings Canyon National Parks, CA) | Live and Let Hike
This looks like an awesome trip, Andrew! I just started out taking overnight trails a couple of months ago and this post just excites me. Although I think I’m not ready for this yet, I’ll make sure to go back to this guide when I am. One question, what months would you recommend for the trail? Thanks for sharing this!
Hi Dakota, I would recommend this in the summer season (June-early Sep), although permits can be challenging. Late summer is usually better for mosquitoes (which are brutal in June/much of July) but there is a risk of monsoon showers in July/August.
Pingback: John Muir Trail Northbound Section 2 – Onion Valley to Muir Trail Ranch (Kings Canyon National Park, CA) | Live and Let Hike
Pingback: John Muir Trail Northbound Section 3 – Muir Trail Ranch to Red’s Meadow (John Muir Wilderness, CA) | Live and Let Hike
Pingback: John Muir Trail Northbound Section 4 – Red’s Meadow to Happy Isles (Ansel Adams Wilderness & Yosemite National Park, CA) | Live and Let Hike
Pingback: Top 10 Hikes in 2021 | Live and Let Hike
Pingback: Mott Lake Trail (John Muir Wilderness, CA) | Live and Let Hike